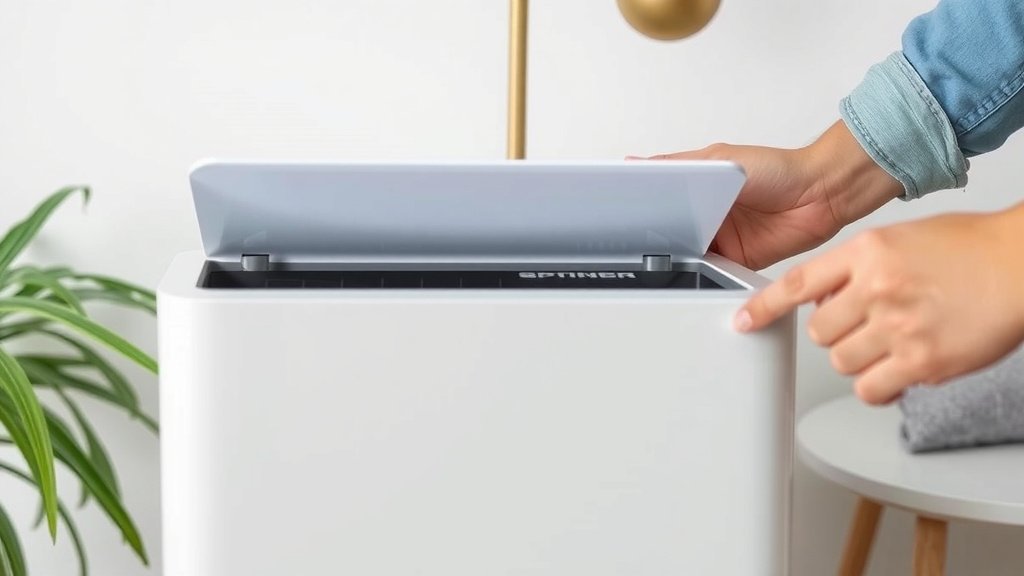
Easy Air Purifier Filter Change Guide
Changing the filter on your air purifier is a simple process that can greatly improve your home’s air quality. You can easily swap out an old filter for a new one in just a few minutes. Look for the air purifier filter replacement instructions specific to your model for the best results.
Keeping your air purifier’s filter clean is essential for its effectiveness. A dirty filter can reduce airflow and make your purifier work harder, costing you more in energy. Many experts say regular filter changes are key to breathing cleaner air and extending the life of your appliance. This simple maintenance task is a smart choice for your health.
- Unplug your air purifier first.
- Open the unit to access the filter.
- Remove the old filter.
- Insert the new filter correctly.
- Close the unit and plug it back in.
Ready to get started? Let’s walk through exactly how to change your air purifier filter step by step.
Your Guide to Swapping Out Your Air Purifier Filter
Changing your air purifier’s filter is an easy maintenance task. It ensures your device continues to clean your home’s air effectively. You can typically complete this in less than 15 minutes. This simple step is vital for maintaining good indoor air quality for your family.
When Should You Change Your Air Purifier Filter?
Knowing the right time to change your filter is key. Most manufacturers recommend a replacement schedule. This varies based on the air purifier model and its filter type. Ignoring this can lead to reduced performance.
Manufacturer Recommendations: Your First Clue
Your air purifier’s manual is your best friend here. It will specify recommended filter life. Common timeframes are every 6 to 12 months. This general guideline is a good starting point. Always check your specific model’s manual for accuracy.
Signs Your Filter Needs Replacing
Even if it’s not time according to the manual, watch for other clues. Your air purifier might give you hints. These can include:
- A noticeable decrease in airflow from the unit.
- An increase in dust buildup around the purifier.
- Unusual or unpleasant odors lingering in your home.
- Some purifiers have a filter indicator light that will turn on.
Research shows that a clogged filter can significantly reduce an air purifier’s effectiveness (Environmental Protection Agency). If you notice these signs, it’s likely time for a change, even if it’s sooner than expected.
Gathering Your Supplies Before You Start
Before you begin, make sure you have everything ready. This makes the process smooth and efficient. You don’t want to be searching for things mid-task.
The New Filter: Getting the Right One
This is the most important item. Ensure you have the correct replacement filter for your specific air purifier model. Using the wrong filter can damage your unit. It may also prevent it from working properly. Always buy filters recommended by your air purifier’s manufacturer. You can usually find part numbers in your manual.
Other Helpful Items
While not always necessary, a few other items can be useful:
- A clean, damp cloth for wiping down the inside of the unit.
- A small vacuum cleaner with a brush attachment for cleaning debris.
- A trash bag for disposing of the old filter.
- Gloves, if you prefer not to touch the dusty filter.
Step-by-Step: Changing Your Air Purifier Filter
Now, let’s get to the actual filter swap. It’s a straightforward process, and you’ll have fresh air circulating in no time.
Step 1: Safety First – Unplug the Unit
This is non-negotiable. Always unplug your air purifier from the electrical outlet before opening it. Working with electrical appliances while they are powered on is dangerous. Ensure the unit is completely off and disconnected.
Step 2: Accessing the Filter Compartment
Each air purifier is designed a bit differently. The filter compartment is usually located at the back or bottom of the unit. You might need to remove a cover or a panel. Some have clips, while others might have screws. Consult your manual if you’re unsure how to open it.
Pay attention to how the panel or cover is attached. You want to be able to put it back on securely later. Gentle pressure is usually all that’s needed.
Step 3: Removing the Old, Dirty Filter
Once the compartment is open, you’ll see the filter. It might look quite dusty or discolored, which is a sign it’s been doing its job! Gently pull the old filter out. Some filters have handles or tabs to help with this. Be careful not to force it.
If the filter is very dirty, you might want to place it directly into your trash bag. This prevents spreading dust around your cleaning area. Some sources suggest gently vacuuming around the area before removing the filter, but be careful not to damage the unit (Consumer Reports).
Step 4: Installing the New Filter Correctly
Take your new filter out of its packaging. Many filters have an indicator showing which side should face outwards or inwards. This is often marked with arrows or text like “airflow” or “front.” It’s crucial to install it in the correct orientation. An improperly installed filter won’t work as intended.
Slide the new filter into the compartment. Ensure it fits snugly and is fully seated. It should feel secure and not wiggle around. If it doesn’t fit easily, double-check that you have the right filter and that it’s oriented correctly.
Step 5: Reassembling and Powering On
Once the new filter is in place, reattach the cover or panel you removed earlier. Make sure it’s secured properly. This ensures the air purifier functions as designed, forcing air through the filter.
After the unit is reassembled, plug it back into the electrical outlet. Turn it on to test. You should notice improved airflow and a cleaner smell soon after.
Post-Filter Change Checklist
After you’ve successfully changed your filter, run through this quick checklist:
- Did you unplug the unit before starting?
- Is the new filter installed in the correct direction?
- Is the filter compartment cover securely fastened?
- Did you plug the unit back in and turn it on?
- Does the unit sound normal and have good airflow?
If you answered yes to all these, you’ve successfully changed your air purifier filter!
Conclusion
You’ve now got the full picture on how to change your air purifier’s filter. It’s a straightforward process that only takes a few minutes. By following these steps, you ensure your air purifier continues to work efficiently. This simple maintenance task is a smart choice for better indoor air quality. Don’t wait for those warning signs; make filter changing a regular part of your home care routine. Your lungs will thank you!
Frequently Asked Questions
How often should I really check my air purifier filter?
You should aim to check your air purifier filter based on the manufacturer’s recommendation, usually every 6 to 12 months. Also, be observant of performance changes like reduced airflow or odors, which indicate a need for earlier replacement.
What happens if I don’t change my air purifier filter often enough?
If you neglect filter changes, your air purifier’s effectiveness will decrease significantly. It can lead to reduced airflow, increased dust in your home, and potentially allow allergens and pollutants to circulate freely.
Can I clean my air purifier filter instead of replacing it?
Most modern air purifier filters, especially HEPA filters, are not designed to be cleaned and must be replaced. Some pre-filters might be washable, but always check your model’s manual to avoid damaging the unit.
My new filter doesn’t seem to fit right; what should I do?
Ensure you have purchased the exact replacement filter model recommended by your air purifier’s manufacturer. Double-check that you are installing it in the correct orientation, as some filters have specific airflow direction indicators.
How do I know which filter is the right one for my air purifier?
The best way to find the correct filter is to consult your air purifier’s user manual. It will list the specific filter part number or compatible filter types for your model.