How to Clean Your Clorox Air Purifier: A Simple Guide
The easiest way to clean your Clorox air purifier is by unplugging it and wiping down the exterior with a damp cloth. For internal parts like the filter, you’ll want to refer to your model’s manual for specific cleaning instructions. Regular cleaning helps your purifier run efficiently and keep your air fresh.
Keeping your Clorox air purifier clean is important for its performance. A dirty purifier might not work as well, and it could even recirculate dust. We found that simple, regular maintenance, like cleaning the pre-filter and checking the main filter, can make a big difference. Many experts say this helps extend the life of your appliance and ensures you’re breathing the cleanest air possible.
- Unplug your purifier first.
- Wipe the outside with a damp cloth.
- Check your manual for filter cleaning steps.
- Clean the pre-filter regularly.
- Ensure parts are dry before reassembling.
Let’s walk through exactly how to get your Clorox air purifier sparkling clean, step by step.
Keeping Your Clorox Air Purifier Running Smoothly
Ensuring your Clorox air purifier is clean helps it work its best. A tidy unit can capture more airborne particles. We found that a regular cleaning routine prevents dust buildup. This helps your purifier last longer and keeps your air fresher. Let’s get your purifier back to peak performance.
Step-by-Step Guide to Cleaning Your Clorox Air Purifier
Safety First: Always Unplug!
Before you do anything, always disconnect the power cord. This is the most important step for your safety. You don’t want any accidental starts while you’re cleaning. Just pull the plug from the wall outlet. It’s a simple step, but a critical one.
Exterior Cleaning: A Quick Wipe-Down
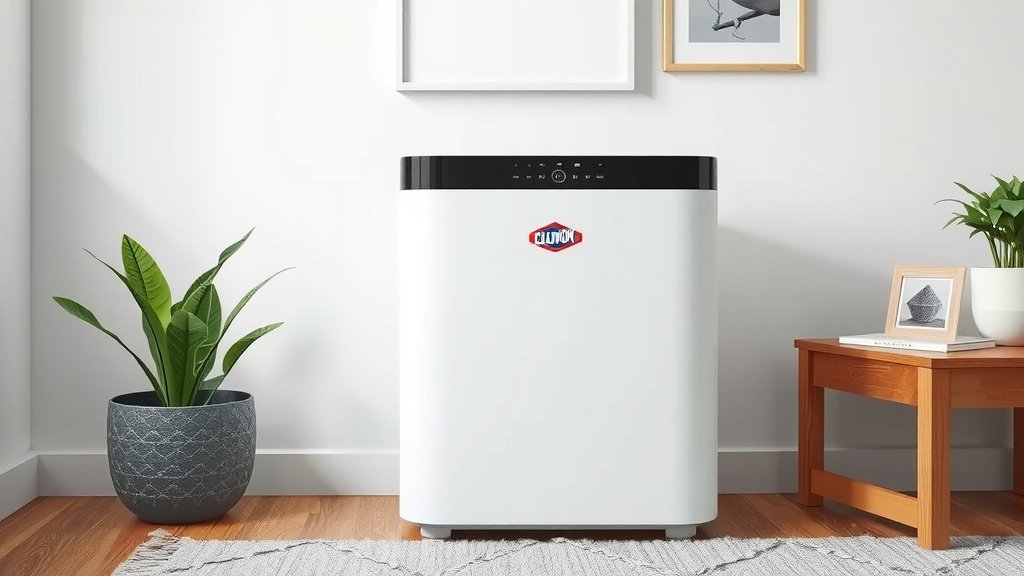
Most of the exterior is easy to clean. You’ll just need a soft, damp cloth. For tougher spots, a little mild soap can help. Wipe all surfaces gently. Make sure to get into any nooks and crannies. Avoid using harsh chemicals or abrasive cleaners. These can damage the plastic. After wiping, use a dry cloth to remove any moisture.
Cleaning the Pre-Filter: Your First Line of Defense
The pre-filter is usually the part that gets dirty first. It catches larger particles like dust and pet hair. Many Clorox models have a removable pre-filter. Check your owner’s manual to see if yours does. If it’s washable, you can rinse it under cool water. Gently scrub away any accumulated debris. Let it air dry completely before putting it back. Many experts recommend cleaning this weekly.
When to Wash vs. Replace Your Pre-Filter
Most pre-filters can be washed multiple times. However, if yours shows signs of wear or damage, it might be time for a replacement. Look for rips or thinning material. A damaged pre-filter won’t do its job effectively. Always use genuine Clorox replacement parts for best results.
The Main Filter: Handle with Care
This is where things get a bit more specific to your model. The main filter is usually not washable. Most Clorox air purifiers use HEPA filters. These are designed to trap very fine particles. Washing a HEPA filter can damage its structure. It might reduce its ability to filter air effectively. Always refer to your specific user manual.
Checking Your Model’s Manual for Filter Instructions
Your manual is your best friend here. It will tell you exactly what kind of filter your purifier uses. It will also explain if and how it should be cleaned. Some filters might allow for light vacuuming with a brush attachment. Others need to be replaced entirely. Never use water or cleaning solutions on a HEPA filter unless your manual explicitly says it’s okay. We found that following these instructions is key.
Replacing Your Clorox Air Purifier Filters
Filters don’t last forever. They need to be replaced periodically. The lifespan of a filter depends on usage and air quality. Your purifier might have a filter life indicator. If not, check your manual for recommended replacement intervals. This is often every 6-12 months. When it’s time, carefully remove the old filter. Dispose of it properly and install the new one. Make sure it’s seated correctly.
How to Know When It’s Time to Replace the Filter
Besides the indicator light, there are other signs. If you notice a decrease in air quality or an increase in dust. If the purifier starts to sound louder. These could all indicate a clogged filter. A dirty filter restricts airflow. This makes your purifier work harder and less efficiently. Think of it like trying to breathe through a clogged nose. Many studies show that replacing filters regularly is essential for performance.
Cleaning Other Components
Don’t forget the air outlet and inlet grilles. These can also accumulate dust. You can use a soft brush or a vacuum cleaner with a brush attachment. Gently go over these areas to remove dust. For the fan blades, if accessible, a slightly damp cloth can work. Always ensure everything is completely dry before plugging it back in. A little attention to these parts goes a long way.
Reassembly and Final Check
Once all parts are clean and dry, it’s time to put everything back together. Carefully reinsert the main filter. Make sure any latches or covers are secured. If you washed a pre-filter, ensure it’s fully dry. Then, put the pre-filter back in place. Once reassembled, you can plug your air purifier back in. Turn it on to ensure it’s running smoothly. You should notice a difference in the sound and performance.
Your Clorox Air Purifier Cleaning Checklist
- Unplug the unit before starting any cleaning.
- Wipe the exterior surfaces with a damp cloth.
- Check your model’s manual for specific filter cleaning steps.
- Wash or vacuum the pre-filter if applicable.
- Ensure all parts are completely dry before reassembly.
- Replace main filters as recommended or when airflow decreases.
Conclusion
You’ve learned how to keep your Clorox air purifier in top shape! Regular cleaning is key to its performance and your home’s air quality. Remember to always unplug it first, gently clean the exterior, and consult your manual for filter care. Washing the pre-filter weekly and knowing when to replace the main filter will ensure your purifier runs efficiently. Now, take the next step: schedule a quick cleaning session this week to get your purifier back to its best.
Frequently Asked Questions
How often should I clean the exterior of my Clorox air purifier?
You should aim to wipe down the exterior of your Clorox air purifier about once a week. This simple step prevents dust buildup on the surfaces. A quick wipe with a damp cloth is usually all it takes to keep it looking good and functioning well.
Can I use household cleaners on my Clorox air purifier?
It’s best to avoid harsh household cleaners. These can damage the plastic components of your air purifier. Stick to a soft, damp cloth for the exterior. For tougher spots, a tiny amount of mild soap is generally safe, but always follow your manual’s advice.
What if my Clorox air purifier manual doesn’t mention washing the pre-filter?
If your manual is unclear about washing the pre-filter, err on the side of caution. Some pre-filters might be designed only for vacuuming with a brush attachment. Always check the specific instructions for your model to avoid damaging the filter or the unit.
How do I know if my main filter needs replacing, besides an indicator light?
If your purifier’s performance seems to decrease, or you notice more dust settling around your home, it could be a sign. A dirty main filter restricts airflow, making the unit work harder. You might also notice a change in the sound it makes.
Where can I buy replacement filters for my Clorox air purifier?
You can typically find genuine Clorox replacement filters online through major retailers or directly from the Clorox website. Some authorized appliance parts stores may also carry them. Using authentic replacement parts ensures your purifier continues to operate as designed.