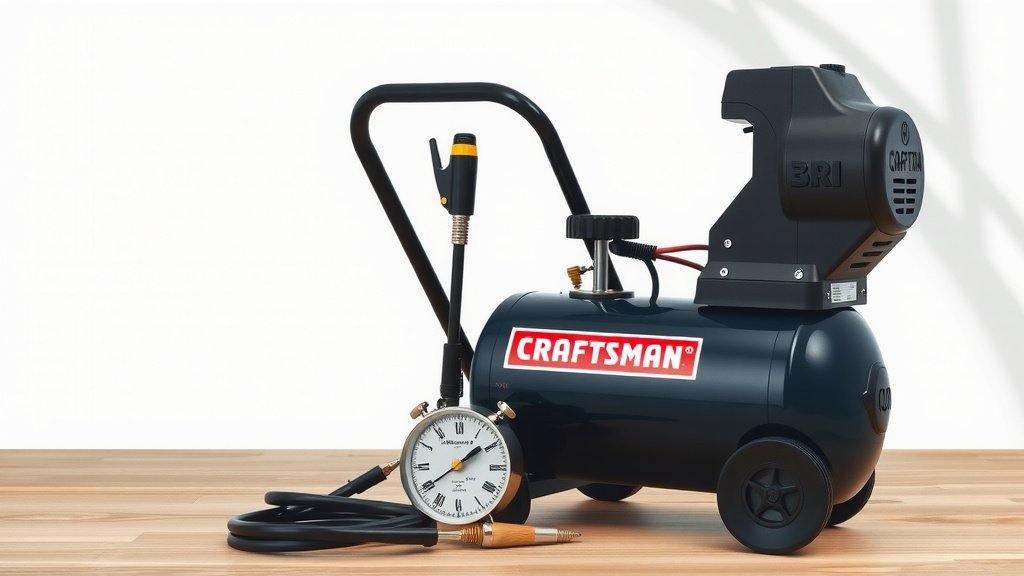
Craftsman Air Compressor: A Simple How-To Guide
Using your Craftsman air compressor is straightforward. First, connect your air hose and tool, then turn the power switch on. Next, watch the pressure gauge and wait for the tank to fill. Finally, adjust the regulator to the correct pressure for your tool and start working!
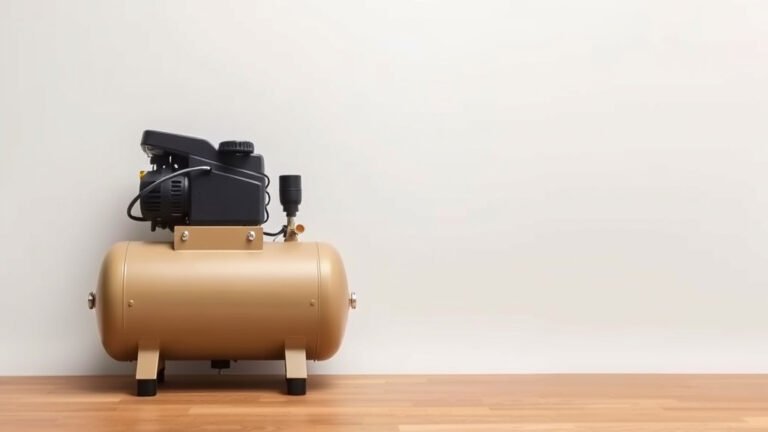
Craftsman air compressors are popular for their reliability and ease of use. They are great for a wide range of tasks, from inflating tires to powering nail guns. Understanding a few basic steps ensures you get the best performance and keep your compressor in good working order for years.
- Connect your hose and tool securely.
- Turn on the compressor and let it build pressure.
- Check the pressure gauge.
- Adjust the regulator for your tool’s needs.
- Start your project!
Let’s walk through exactly how to use your Craftsman air compressor step by step to get your projects done right.
Getting Your Craftsman Air Compressor Up and Running
So you’ve got a new Craftsman air compressor, or maybe you’re just looking to get yours working like a champ. It’s a really useful tool for lots of DIY projects around the house. We’ve found that understanding a few key steps makes using it a breeze. Let’s walk through how to get it going. To understand compressor capabilities, learn about the difference between a 1 gallon vs 2 gallon air compressor.
Before You Plug In: Safety First!
Before you even think about powering up your compressor, it’s wise to do a quick safety check. Make sure the power cord is in good condition, with no frays or damage. Also, ensure the compressor is on a stable, level surface. This prevents it from tipping over while it’s running. We found that most user manuals emphasize this, and it’s a really simple step that makes a big difference.
Connecting Your Air Hose
This is where your compressor starts to become a powerhouse for your tools. You’ll need an air hose rated for the PSI (pounds per square inch) your compressor can produce. Craftsman compressors typically come with standard fittings, but it’s always good to check. Ensure the hose is securely attached to the compressor’s outlet port. You should hear a little ‘click’ or feel it tighten up properly.
Attaching Your Air Tool
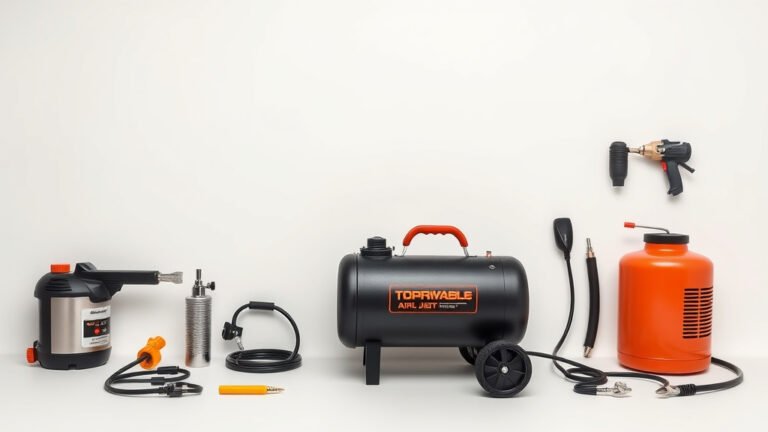
Once your hose is connected to the compressor, it’s time to hook up your air tool. This could be a nail gun, a tire inflator, or even an air duster. Just like with the hose, make sure the connection to your tool is snug and secure. A loose connection can lead to air leaks, which means your tool won’t perform at its best, and your compressor will run more often.
Understanding Your Compressor’s Controls
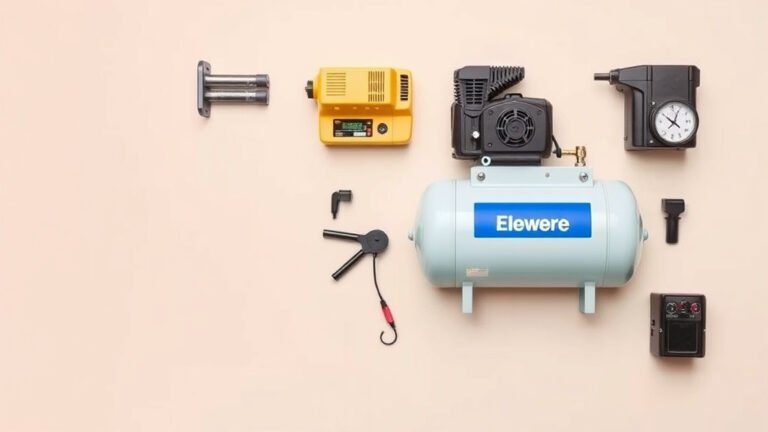
Craftsman air compressors usually have a few key controls that you’ll want to get familiar with. Knowing what each one does will help you operate it efficiently and safely. We’ve seen that understanding these basic components makes all the difference.
The Power Switch and Pressure Gauge
Locate the power switch on your compressor. It’s usually a simple on/off toggle or button. Then, find the pressure gauge. This gauge tells you how much air pressure is currently stored in the compressor’s tank. There are typically two gauges: one showing the tank pressure and another showing the regulated pressure going to your tool. Many experts suggest always keeping an eye on these.
The Regulator: Setting the Right Pressure
This is a super important part! The regulator allows you to control the air pressure sent to your hose and tool. Your tool will have a specific PSI range it needs to operate correctly and safely. You don’t want to send too much pressure, as it could damage the tool or even be dangerous. Conversely, too little pressure means the tool won’t work properly. We found that many users overlook this, leading to less-than-ideal results.
Here’s how to adjust it:
- With the compressor running and building pressure, slowly turn the regulator knob (usually located near the regulated pressure gauge).
- Turn it clockwise to increase the pressure and counter-clockwise to decrease it.
- Adjust it until the regulated pressure gauge shows the correct PSI for your specific air tool.
Operating Your Craftsman Air Compressor: Step-by-Step
Now that you know the basics, let’s put it all together. Following these steps ensures you’re using your compressor effectively for any task.
Step 1: Build Tank Pressure
Plug in your compressor and flip the power switch to the ‘on’ position. You’ll hear the motor start up. The compressor will begin drawing in air and filling the storage tank. Watch the pressure gauge; it will start to climb. Most Craftsman compressors will automatically shut off once the tank reaches its maximum pressure limit. This is a safety feature to prevent over-pressurization.
Step 2: Check and Set Regulated Pressure
Once the compressor has finished its fill cycle and shut off automatically, it’s time to set your working pressure. Check the regulated pressure gauge. If your tool requires a lower pressure than what’s in the tank, adjust the regulator as described earlier. Remember, this pressure is what your tool actually receives. We found that setting this accurately is key for tool longevity and performance.
Step 3: Power Your Tool
With the correct pressure set, you can now use your air tool. When you pull the trigger on your tool, air will flow from the tank, through the regulator, and out to your tool. As you use air, the tank pressure will drop. Once it falls to a certain level, the compressor’s motor will kick back on automatically to refill the tank. This is called an auto-cycle feature, and it’s pretty standard on most models.
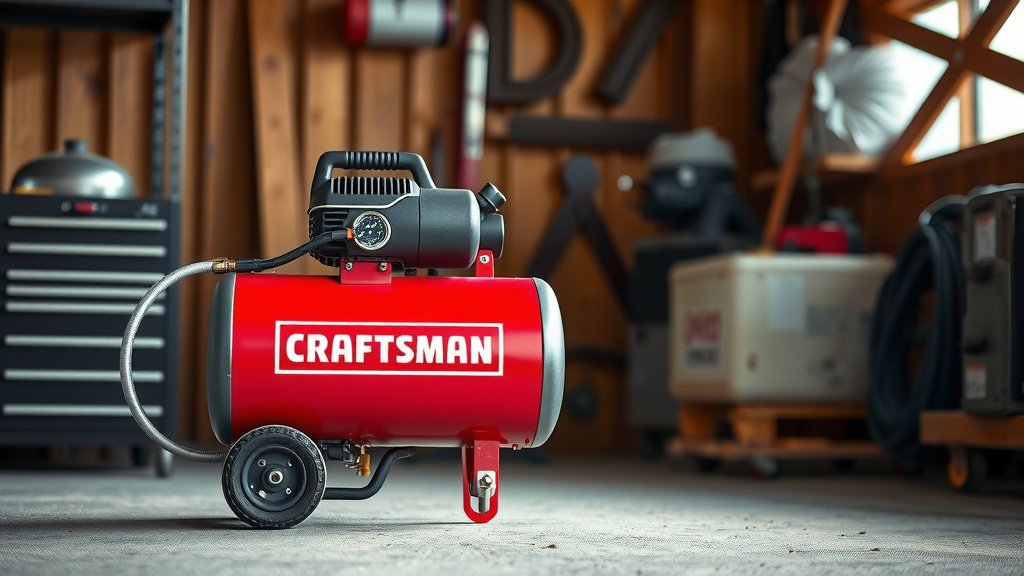
Essential Maintenance Tips for Longevity
Keeping your Craftsman air compressor in good shape doesn’t require a lot of effort, but a few regular checks will go a long way. Following these simple maintenance steps helps ensure your compressor runs reliably for years.
Draining the Tank: A Must-Do!
Water is the enemy of any air compressor tank. Moisture from the air condenses inside the tank as it compresses. This water can cause rust and corrosion over time. At the end of each use, or at least daily, you should drain the tank. Locate the drain valve at the bottom of the tank (it often looks like a small spigot). Open it slowly, and let any water or moisture escape. Be prepared for a little hiss! Many mechanics agree this is the most critical maintenance step (National Institute for Occupational Safety and Health).
Checking the Oil Level (for Oil-Lubricated Models)
Some Craftsman compressors are oil-lubricated, while others are oil-free. If yours uses oil, it’s vital to check the oil level regularly. Low oil can cause serious damage to the pump. Most oil-lubricated models have a sight glass or a dipstick. Refer to your owner’s manual for the specific type of oil to use and the correct level. We found that neglecting this can lead to costly repairs.
Keeping it Clean
Dust and debris can clog the air filter, making your compressor work harder. Periodically check and clean or replace the air filter. A clean filter ensures that your compressor is breathing in clean air, which is better for the motor and pump. This is a simple task that contributes to overall efficiency.
Here’s a quick checklist to remember after each use:- Always turn off the power switch.
- Safely disconnect your air hose and tool.
- Drain the water from the tank.
- Check the oil level if your model requires it.
- Store your compressor in a clean, dry place.
Conclusion
You’ve now got a solid grasp on how to use your Craftsman air compressor safely and effectively. Remember to always start with a safety check, connect your hose and tool securely, and understand your compressor’s pressure gauge and regulator. Paying attention to these details, especially draining the tank after each use, will keep your compressor running smoothly for all your projects. Don’t forget to consult your owner’s manual for model-specific tips. Now you’re ready to tackle that next job with confidence!
Frequently Asked Questions
How do I know if my Craftsman air compressor is oil-lubricated or oil-free?
Most Craftsman air compressors are oil-free for easier maintenance. However, if your model requires oil, it will typically have a visible oil sight glass or a dipstick. You can also confirm by checking your owner’s manual or the product specifications on the Craftsman website.
What happens if I don’t drain the water from the compressor tank?
Failing to drain the water from your compressor tank can lead to rust and corrosion inside the tank over time. This moisture can also affect the performance of your air tools. Draining the tank after each use is a simple step that greatly extends the life of your compressor.
Can I use any air hose with my Craftsman air compressor?
It’s important to use an air hose that is rated for the maximum PSI your Craftsman compressor can produce. Using a hose that isn’t rated high enough can be dangerous and cause the hose to burst. Always check the PSI rating on both your compressor and your air hose.
My air tool isn’t working properly. What could be the problem?
There are a few common reasons. First, ensure your air tool is securely connected to the hose. Second, check that you have adequate pressure in the tank. Most importantly, verify that the regulator is set to the correct PSI for your specific tool. Too little pressure will prevent it from working, and too much can damage it.
How often should I check the oil level in my Craftsman air compressor?
If your Craftsman air compressor is an oil-lubricated model, you should check the oil level before each use. Low oil levels can quickly lead to serious damage to the pump mechanism. Always refer to your owner’s manual for the recommended oil type and specific checking procedures.