Master Your Cat Air Compressor: A Beginner’s Guide
Using a CAT air compressor is pretty straightforward once you know the basics. You’ll generally want to connect your air hose, set the correct pressure regulator, and then pull the trigger on your tool. Always ensure the tank is appropriately filled for the job you’re tackling.
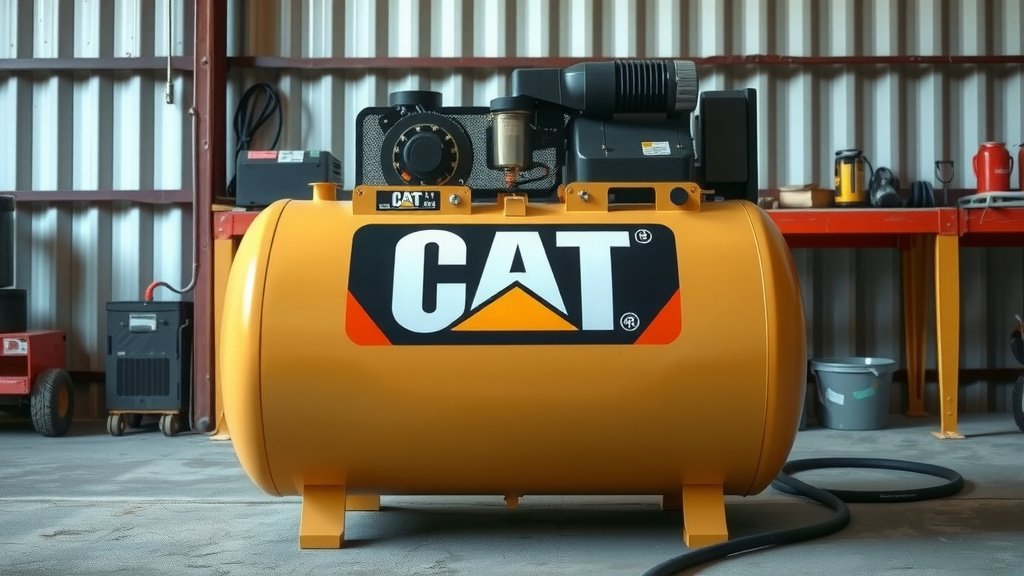
CAT air compressors are known for their durability and power. They can handle a wide range of tasks, from inflating tires to powering pneumatic tools like nail guns or impact wrenches. Understanding your specific model’s features will help you get the most out of it. Understanding the difference between a 1-cylinder vs 2-cylinder air compressor can help you choose the right model for your projects.
- Connect your air hose securely.
- Adjust the pressure regulator as needed.
- Ensure the compressor’s tank has enough air.
- Understand your tool’s air requirements.
Let’s walk through exactly how to use your CAT air compressor, step by step, to make sure you’re set up for success.
Getting Started with Your CAT Air Compressor
So, you’ve got a CAT air compressor and you’re ready to tackle some projects. That’s fantastic! These compressors are built tough, just like the machinery CAT is famous for. Using one correctly is key to getting the job done efficiently and safely. Let’s break down how to get your compressor up and running for whatever task you have in mind.
Understanding Your CAT Compressor’s Basics
Before you even plug it in, take a moment to familiarize yourself with your specific CAT air compressor model. Every compressor has a user manual. It’s your best friend for understanding its unique features and safety warnings. We found that spending just a few minutes with the manual can prevent a lot of headaches later.
Key Components to Know
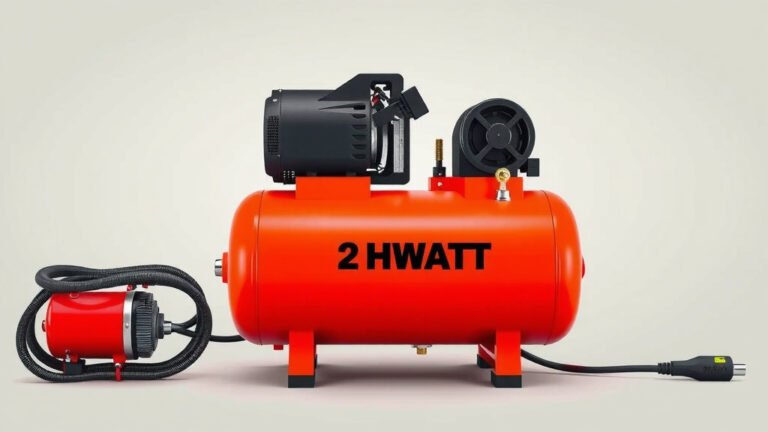
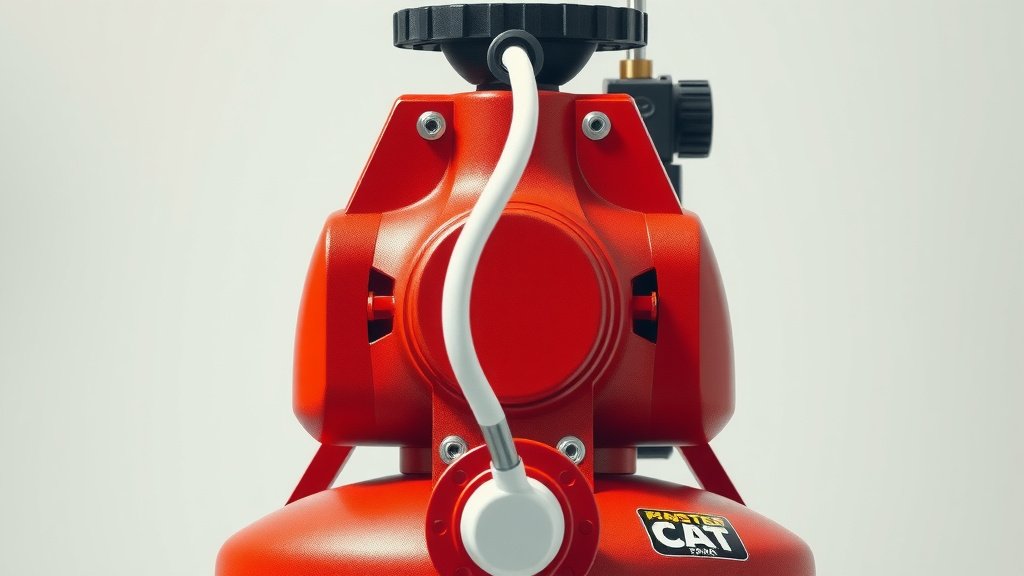
You’ll want to identify a few essential parts on your compressor:
- Power Switch: This is how you turn the unit on and off.
- Pressure Gauge(s): These show the air pressure inside the tank and at the regulator.
- Regulator Knob: This is where you set the output air pressure.
- Air Outlet Port: This is where you connect your air hose.
- Drain Valve: Usually located at the bottom of the tank, this lets out moisture.
- Safety Relief Valve: This is a critical safety device.
Pre-Operation Checks: Setting Yourself Up for Success
Safety and readiness are paramount. Before you turn the power on, there are a few important checks you should always perform. Think of these as your pre-flight checklist for air power.
Inspecting the Air Hose and Connections
Your air hose is the lifeline between your compressor and your tool. Ensure it’s rated for the pressure your compressor can produce. Look for any cracks, abrasions, or damage. A damaged hose can leak air, reducing efficiency, or worse, rupture under pressure (Occupational Safety and Health Administration – OSHA).
Also, check the fittings on both ends of the hose and the compressor’s outlet. They should be clean and free from debris. A secure connection prevents leaks and ensures that air is delivered consistently to your tool.
Checking the Air Tank Level
Most CAT air compressors have a built-in tank that stores compressed air. You need enough air in the tank to start your task. Some models have an automatic shut-off when the tank is full, while others require manual monitoring. Check the pressure gauge to see how full the tank is. For most general tasks, you’ll want the tank to be at least 75% full.
Ensuring Proper Ventilation
Air compressors generate heat and can release oil vapor, especially oil-lubricated models. It’s essential to operate your compressor in a well-ventilated area. This helps prevent overheating and keeps the air you’re breathing cleaner. We found that working in a garage with the door open is usually sufficient for most home projects.
Step-by-Step Guide to Using Your Compressor
Now that you’ve done your checks, it’s time to get to work. Following these steps will ensure you’re using your CAT air compressor safely and effectively for your chosen task.
Connecting Your Air Tool
This is where the magic happens. Connect one end of your air hose to the compressor’s outlet port. Ensure it clicks or screws on securely. Then, connect the other end of the hose to your air tool—be it a nail gun, impact wrench, or tire inflator.
Make sure the air tool is turned off or in a safe position before connecting the hose. Many air tools have a trigger lock; engage this if available. This prevents accidental firing once air is supplied.
Setting the Regulator: The Key to Precision
This is arguably the most critical step for tool performance and safety. The regulator controls the amount of air pressure delivered to your tool. Too much pressure can damage your tool or cause injury, while too little pressure means your tool won’t work effectively.
Consult your air tool’s manual for the recommended operating pressure. This is often listed in Pounds per Square Inch (PSI). Once you know the target PSI, adjust the regulator knob. Typically, you’ll turn the knob counter-clockwise to increase pressure and clockwise to decrease it. Slowly increase the pressure while observing the regulator’s gauge until you reach the desired setting.
Many experts suggest setting the regulator to the tool’s recommended PSI while the compressor is running but the tool isn’t being actively used. This accounts for any slight pressure drop when the tool starts working.
Powering Up and Operating Your Tool
With everything connected and regulated, you’re ready to power up the compressor. Flip the power switch. The compressor will begin filling the tank if it’s not already full. Once the tank is pressurized, it will shut off automatically (on most models) or you may need to switch it off manually.
Now, aim your air tool at your workpiece and gently squeeze the trigger. Observe how the tool performs. If it seems weak, re-check your regulator setting and the tank pressure. If it’s too aggressive, ensure your regulator is set correctly.
Monitoring and Adjusting as You Go
Don’t just set it and forget it. Keep an eye on your pressure gauges and listen to your compressor. If you notice the pressure dropping significantly while using the tool, your compressor might be struggling to keep up, or you might have a leak. For sustained use, ensure your compressor can maintain adequate pressure for your tool’s demands.
If you’re switching between different tools that have varying PSI requirements, remember to re-adjust the regulator each time. This simple step ensures optimal performance and longevity for all your pneumatic equipment.
Post-Operation: Essential Maintenance for Longevity
Taking care of your CAT air compressor after each use will significantly extend its lifespan and keep it performing at its best. It’s like putting your tools away neatly after a day’s work.
Draining the Tank: Preventing Rust and Moisture Damage
This is a non-negotiable step. Compressed air inevitably contains moisture, which condenses into water inside the tank. If left unchecked, this water can cause the tank to rust from the inside out. This is a serious safety concern, as a compromised tank can fail catastrophically (National Board of Boiler and Pressure Vessel Inspectors).
Locate the drain valve, usually at the bottom of the tank. Place a suitable container underneath it and slowly open the valve. Let all the air and water drain out. You might hear a hissing sound. Once it stops, close the valve tightly.
Cleaning and Storage
Wipe down the exterior of your compressor with a damp cloth to remove dust and debris. Check the air filter and clean or replace it as per your manual’s recommendations. Store your compressor in a dry, protected area, away from extreme temperatures.
Quick Checklist Before You Start:
- Confirm air hose and connections are in good condition.
- Check the air tank has sufficient pressure for your task.
- Ensure your workspace is well-ventilated.
- Verify your air tool is turned off or in a safe position.
- Set the regulator to the correct PSI for your tool.
- Be ready to monitor pressure during operation.
Conclusion
You’re now equipped to use your CAT air compressor like a pro! We’ve walked through the essential pre-checks, the step-by-step process for connecting tools, and the critical post-operation maintenance. Remember, proper setup and regular draining are your best friends for keeping your compressor running smoothly and safely for years to come. Don’t skip those maintenance steps – they make all the difference!
Your next step? Take a moment to locate and read your specific CAT air compressor’s manual. This small action ensures you’re maximizing its potential and operating it with the utmost safety in mind for your next project.
Frequently Asked Questions
What is the most important part of setting up a CAT air compressor?
Setting the pressure regulator correctly is the most vital step. Your air tool’s manual will tell you the exact PSI it needs. Too much or too little pressure can damage the tool or prevent it from working properly.
Why do I need to drain the air compressor tank after use?
Compressed air naturally contains moisture. This moisture will condense into water inside the tank over time. Draining the tank prevents rust and internal damage, which is a serious safety concern for the compressor’s tank.
Can I use any air hose with my CAT air compressor?
No, you should use an air hose that is rated for the pressure your compressor can produce. Check your hose for any signs of damage like cracks or abrasions, as a compromised hose can be dangerous.
How do I know if my compressor is powerful enough for my air tool?
Check the air tool’s PSI requirements and the compressor’s specifications. If your compressor struggles to maintain pressure while the tool is running, it might not be powerful enough, or you might have a leak.
Where is the best place to store my CAT air compressor?
You should store your compressor in a dry, protected area. Keeping it away from extreme temperatures and moisture will help maintain its condition and prevent damage.