Master Your Ryobi Air Compressor: A Quick Guide
Using your Ryobi air compressor is straightforward once you know the basics. You’ll primarily need to connect your tool, set the correct air pressure, and understand its basic controls to get tasks done. It’s designed to be user-friendly for DIYers and homeowners alike.
Ryobi air compressors are built for a variety of jobs around your home and workshop. From inflating tires to powering nail guns, they offer convenience. We found that understanding the different tank sizes and their uses can help you pick the right one for your needs.
- Connect your air-powered tool securely.
- Adjust the regulator dial for the right pressure.
- Always check your tool’s PSI requirements.
- Turn off and unplug the compressor when finished.
Let’s walk through exactly how to get your Ryobi air compressor up and running for your next project.
Getting Your Ryobi Air Compressor Ready to Go
You’ve got your Ryobi air compressor, and you’re ready to tackle that project. It’s exciting to get started! The first step is making sure everything is set up correctly so you can work safely and efficiently. We found that understanding the basic connections and controls is key.
Understanding the Components
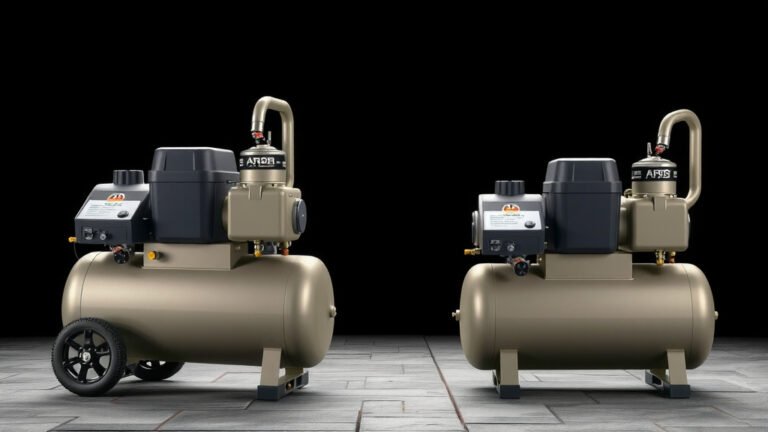
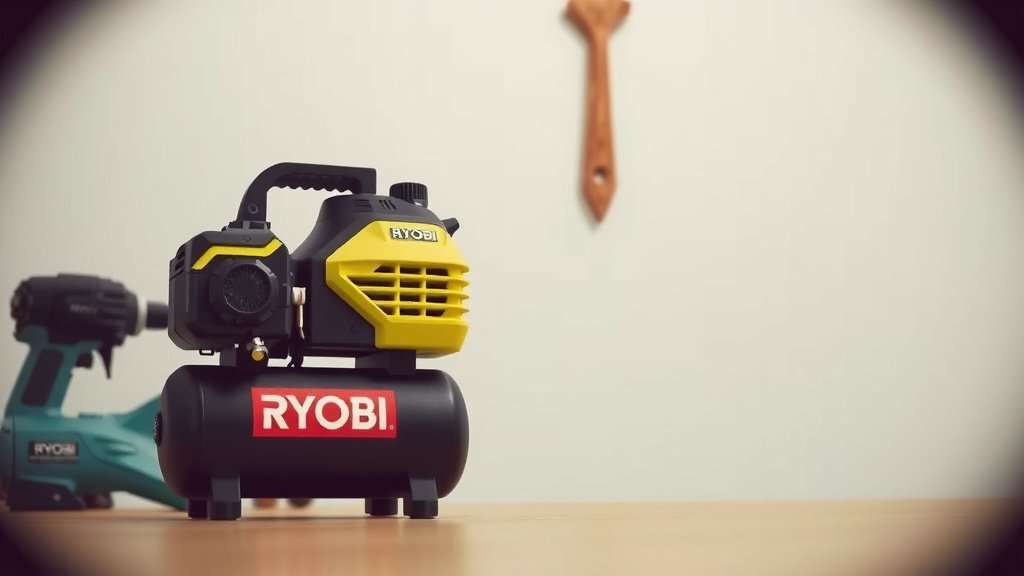
Before you plug anything in, let’s quickly look at the main parts. You’ll see the tank, which holds the compressed air. There’s usually a pressure gauge to show you how much air is in the tank. The regulator dial is super important for setting the right air pressure for your tool. And of course, the coupler is where you’ll connect your air hose.
Connecting Your Air Hose and Tool
This is where the magic happens. Attaching your air hose is usually a simple push-and-twist motion. Make sure it clicks securely into place. Once your hose is connected to the compressor’s coupler, you’ll then connect the other end to your specific air-powered tool. You want to hear a satisfying ‘thunk’ to know it’s locked in. We found that checking for a firm connection prevents frustrating leaks.
Choosing the Right Coupler
Ryobi compressors often use standard couplers. You might have a quick-connect coupler, which is the most common. Just push the hose end onto the compressor’s fitting and it should snap in. Some might require a slight twist. Always double-check your tool’s manual and your hose’s end fitting to ensure they’re compatible. It’s like making sure you have the right key for the lock!
Setting the Correct Air Pressure (PSI)
This is arguably the **most critical step** for both performance and safety. Your air tool has a specific range of air pressure it needs to operate correctly. Too little pressure, and your tool might not work at all, or it will be weak. Too much, and you risk damaging your tool or even causing a dangerous failure.
Finding Your Tool’s PSI Needs
Where do you find this magic number? It’s usually printed right on your air tool itself. Look for a label or stamping that says “PSI” followed by a number or a range. If you can’t find it on the tool, your best bet is to check the owner’s manual. We found that this information is often listed in the specifications section. Many general DIY guidelines suggest starting on the lower end of the recommended range and increasing if needed (Tool Manufacturer’s Manual).
Adjusting the Regulator Dial
Once you know the PSI your tool needs, it’s time to set the regulator. You’ll see a dial, often with numbers or markings. Slowly turn the dial while watching the air pressure gauge on the compressor. For most Ryobi models, you’ll turn the dial clockwise to increase pressure and counter-clockwise to decrease it. Some regulators might have a locking collar you need to pull up or push down to adjust. Aim for the lower end of your tool’s recommended PSI range to start. You can always bump it up a bit if your tool isn’t performing as expected.
Understanding Tank Size and Air Supply
Ryobi offers compressors with different tank sizes. This is important because the tank holds the compressed air. A larger tank means you’ll have a bigger reservoir of air, allowing you to run tools for longer before the compressor needs to kick on and refill.
Here’s a general idea of how tank size impacts usage, based on common tool needs:
| Tank Size (Gallons) | Typical Use Cases | How It Feels |
|---|---|---|
| 1-4 Gallons | Tire inflation, brad nailers, staplers, cleaning tasks | Short bursts of air. Compressor will cycle frequently for continuous use. |
| 6-10 Gallons | Finish nailers, framing nailers, light impact wrench use, inflating multiple tires | Moderate air supply. Good for intermittent use on longer projects. |
| 20+ Gallons | Continuous use of framing nailers, spray painting, heavier impact wrench use | Larger air reserve. Suitable for longer, more demanding jobs. |
We found that for most DIY home projects, a 6-10 gallon tank often hits a sweet spot for versatility. If you’re just topping off tires occasionally, a smaller one works fine.
Powering On and Monitoring
With everything connected and the regulator set, you’re ready to power up. Plug your compressor into a suitable power outlet. Most Ryobi compressors have a simple On/Off switch. You’ll hear the motor start and the compressor begin to fill the tank with air. Keep an eye on the pressure gauge as it climbs.
Once the tank is full, the motor will shut off automatically. The compressor will then cycle back on as the pressure drops. It’s a normal part of how these machines work. Many experts suggest ensuring you have enough air capacity for your specific tool’s CFM (cubic feet per minute) requirement to avoid the compressor running constantly (Industrial Safety and Health News).
Operating Your Air Tool
Now you can start using your air-powered tool! Depress the trigger or activate the mechanism as you normally would. You should feel your tool performing at its intended power. If it feels weak, double-check your PSI setting and ensure the compressor’s tank is adequately pressurized. Remember, some tools use air much faster than others.
Shutting Down Safely
When you’re finished with your project, it’s important to turn off and properly shut down your compressor. This helps prolong its life and ensures safety. First, disconnect your air tool from the hose.
Releasing Excess Pressure
Many Ryobi compressors have a drain valve at the bottom of the tank. It’s a good practice to slightly open this valve to release any residual pressure. You might hear a hiss as air escapes. This also helps prevent moisture buildup inside the tank, which can lead to rust over time. Many maintenance guides recommend draining the tank after each use (Home Maintenance Hub).
Turning Off the Compressor
Flip the On/Off switch to the ‘Off’ position. Then, unplug the power cord from the wall outlet. This ensures no power is running to the unit. You’ve successfully used your Ryobi air compressor!
Quick Checklist for Your Next Use
- Check air hose connection: Ensure it’s secure.
- Verify tool PSI: Always know your tool’s requirement.
- Set regulator dial: Match the tool’s PSI needs.
- Monitor pressure gauge: Ensure adequate tank pressure.
- Drain tank (optional but recommended): Release pressure and moisture.
- Unplug compressor: Safety first when finished.
Conclusion
You’ve now got a solid understanding of how to use your Ryobi air compressor. We’ve covered connecting your tools, setting the right pressure, and understanding tank sizes for different jobs. Remember that proper setup and shutdown are key to performance and longevity. By following these steps, you’re well on your way to tackling projects efficiently and safely. Next time you need to inflate tires or power a nail gun, you’ll be ready to go with confidence!
Frequently Asked Questions
How do I know if my Ryobi air compressor is powerful enough for my tool?
You’ll want to check the CFM (cubic feet per minute) rating of your air tool. Then, compare that to the CFM output of your Ryobi air compressor, usually found on the compressor’s label or in its manual. Ensure your compressor can supply the air your tool needs to operate without constant cycling.
What’s the best way to store my Ryobi air compressor?
Store your compressor in a clean, dry place. Always ensure the tank is drained of air and moisture before storage to prevent corrosion. Unplug the unit and keep it away from extreme temperatures or humidity for best results.
My Ryobi air compressor won’t build pressure. What could be wrong?
First, check that the power switch is on and that the compressor is plugged in. Make sure the drain valve at the bottom of the tank is fully closed. Also, inspect your air hose and tool connection for any leaks, as a small leak can prevent pressure buildup.
Can I use my Ryobi air compressor for spray painting?
Yes, you can, but you’ll need to consider the tank size and the CFM requirements of your spray gun. Smaller tanks might not provide enough continuous airflow for extended painting sessions. Larger tanks (20+ gallons) are generally better suited for painting jobs.
How often should I drain the moisture from my Ryobi air compressor tank?
It’s a good practice to drain the tank after each use. This helps prevent rust and corrosion inside the tank, which can damage the compressor over time and affect air quality. You’ll find a drain valve at the bottom of the tank for this purpose.