Add a Second Tank to Your Air Compressor: A Guide
Yes, you can absolutely add a second tank to your air compressor to increase your air reserve. This is a great way to get more continuous airflow for demanding tools. It’s a common upgrade many DIYers make for their workshops.
Adding a second tank can make a big difference for tasks like painting or running multiple air tools. You’ll have less downtime waiting for your compressor to catch up. We found this setup is a smart solution for many common workshop needs.
- Increase your air reserve significantly.
- Get more continuous airflow for tools.
- Reduce compressor downtime.
- A common and effective DIY upgrade.
Ready to get more air from your compressor? Let’s walk through exactly how you can add a second tank step by step.
Expanding Your Air Compressor’s Capacity
So, you’re looking to boost your air compressor’s reserve? That’s a smart move for any workshop warrior. Adding a second tank is totally doable. It’s like giving your compressor a bigger lung. You’ll get more air when you need it most.
This upgrade means less waiting and more doing. Think about those projects that hog air. Painting a car, running a sandblaster, or even using multiple tools at once. A second tank makes all of that much smoother. We found that this simple addition can drastically improve workflow.
Understanding the Basics of a Dual-Tank Setup
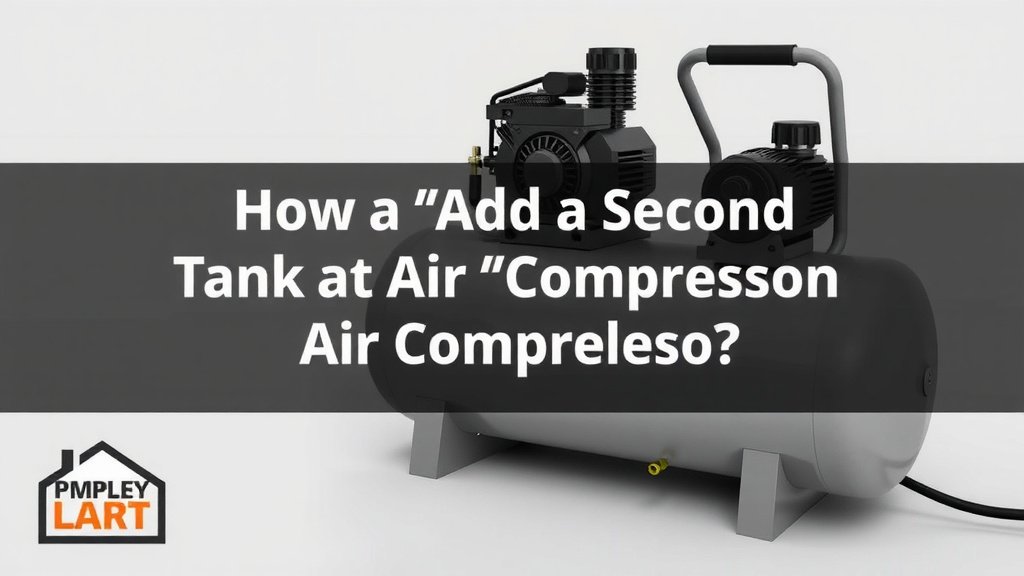
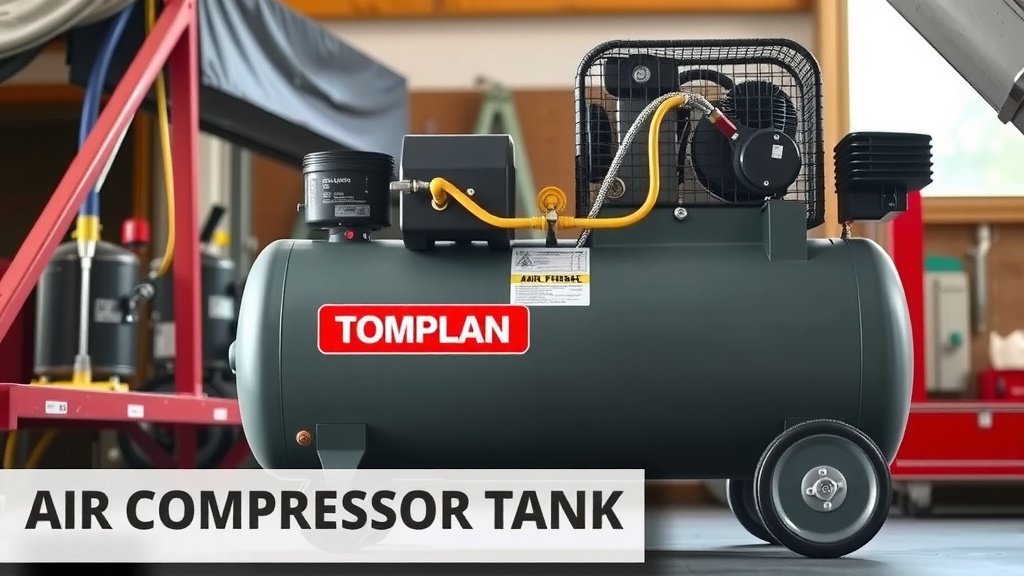
Before we dive in, let’s get the picture clear. You’re essentially linking two tanks together. One is your compressor’s original tank. The other is a new, standalone air receiver tank. The compressor fills both. This combined volume gives you a larger air reserve.
It’s not about making your compressor pump more air. It’s about storing more air. Your compressor’s pump is still the heart of the system. The extra tank just gives you a bigger reservoir. Many experts say this is the most efficient way to increase uptime for demanding air tools (Popular Mechanics).
How the Tanks Connect
The connection is usually made at the outlet of the primary tank. You’ll be plumbing the new tank into the existing air line. This allows compressed air to flow freely between them. Think of it like adding another room onto your house. Everything is connected and accessible from the main hallway.
You can connect them in a few ways. The most common method uses a simple pipe or hose. It runs from the outlet valve of the first tank to the inlet valve of the second. This lets the compressor fill both tanks sequentially or simultaneously, depending on the setup.
Key Components You’ll Need
Gathering the right parts is key to a successful setup. You’ll need more than just another tank. Think about the fittings, valves, and hoses that will join everything together. Getting these right prevents leaks and ensures safe operation. We found that quality fittings are worth the investment.
Here’s a quick rundown of what you’ll likely need:
- An Additional Air Receiver Tank: Make sure it’s rated for the same or higher pressure as your current compressor.
- Plumbing Fittings: These connect your compressor tank to the new tank. You’ll need adapters, nipples, and possibly elbows.
- A Ball Valve: This is essential for isolating the second tank if needed. You can shut it off independently.
- Pressure Gauge: It’s good practice to have a gauge on the second tank. This lets you monitor its pressure.
- Safety Relief Valve: Always have a pressure relief valve. This is a critical safety component.
- Appropriate Hose or Pipe: Use high-pressure air hose or black iron pipe. Ensure it’s rated for your compressor’s PSI.
Step-by-Step Guide to Adding a Second Tank
Ready to get your hands dirty? Let’s walk through the process. We’ve broken it down into manageable steps. Safety first, always! Make sure your compressor is unplugged and the tank is fully drained. Never work on a pressurized system.
Step 1: Prepare Your Workspace and Gather Tools
Clear a space around your existing air compressor. You’ll need room to work comfortably. Make sure you have all your tools ready. This includes wrenches, pipe dope or Teflon tape, a drill (if needed), and safety glasses. Having everything at hand saves time.
Step 2: Inspect and Drain Your Existing Tank
Before you touch anything, double-check that your compressor is unplugged. Open the drain valve at the bottom of your main tank. Let all the air and any moisture out. Inspect the drain valve for any signs of damage or wear. Replacing it might be wise if it looks questionable.
Step 3: Locate and Prepare the Outlet Port
Find the main air outlet port on your compressor’s tank. This is usually where your regulator or main air hose connects. You’ll likely need to remove the existing fitting to attach your new plumbing. Clean the threads thoroughly. This ensures a good seal.
Step 4: Install the Connection Fitting
This is where your new plumbing begins. You’ll attach a fitting here that allows you to connect to the second tank. Often, this involves a T-fitting or a series of adapters. Use pipe dope or Teflon tape on all threaded connections. This is critical for preventing leaks.
Connecting the Ball Valve and Second Tank Inlet
From the outlet fitting, you’ll typically run a short piece of pipe or hose. Install your ball valve in this line. This valve lets you control airflow to the second tank. After the ball valve, you’ll connect to the inlet of your second air receiver tank. Ensure this inlet port is also clean.
Step 5: Mount and Connect the Second Tank
Find a stable location for your second tank. It should be close enough for the plumbing but also secure. You might need to bolt it down. Carefully connect the plumbing from your compressor’s outlet to the inlet of the second tank. Make sure all connections are snug but not overtightened.
Adding Gauges and Safety Valves
If your new tank doesn’t have them, install a pressure gauge and a safety relief valve on the second tank. These are vital safety features. The relief valve should be set to a safe pressure, usually slightly above your compressor’s cut-off pressure. Many sources recommend installing a relief valve on every pressure vessel (OSHA).
Step 6: Test for Leaks and Pressurize Slowly
Once everything is connected, you can begin the leak test. Close the ball valve to the second tank. Turn on your compressor. Listen carefully for any hissing sounds. Use a soapy water solution on all fittings. Bubbles indicate a leak. Fix any leaks before proceeding.
After fixing leaks, open the ball valve slowly. Let your compressor fill both tanks. Continue to monitor for leaks as the pressure builds. Watch your pressure gauges. Ensure they are reading correctly. This cautious approach prevents over-pressurization.
Important Safety Considerations
Working with compressed air systems has inherent risks. Safety must always be your top priority. Even a small leak can become a projectile hazard. Never exceed the maximum pressure rating of your tanks or components. Researching safety guidelines from agencies like OSHA is highly recommended.
Here’s a quick safety checklist for your peace of mind:
- Always unplug the compressor before making connections.
- Drain tanks completely before working on them.
- Use only components rated for your system’s pressure.
- Install safety relief valves on all tanks.
- Regularly inspect all hoses and fittings for wear or damage.
- Never over-pressurize your system.
Maintaining Your Dual-Tank System
Just like your single tank, the second tank needs care. Regular draining is essential. Moisture can build up in both tanks. This can lead to rust and corrosion over time. Make it a habit to drain both tanks after each use.
Periodically check your fittings for tightness. Inspect hoses and pipes for any signs of wear or cracking. Keeping your system in good shape ensures it lasts longer and operates safely. A well-maintained system means fewer headaches down the road.
Conclusion
You’ve learned that adding a second tank is a practical and achievable upgrade for your air compressor. This setup significantly boosts your air reserve, giving you longer runtimes for your tools and reducing those frustrating waits. By carefully following the steps and prioritizing safety with the right components, you can expand your compressor’s capacity effectively. Now you’re ready to enjoy more continuous airflow and tackle those bigger projects with confidence. Go ahead and plan your upgrade today!
Frequently Asked Questions
Can I use any old tank as a second air receiver?
You should only use tanks specifically designed as air receiver tanks. Ensure the tank is rated for the same or higher pressure as your compressor. Using an unrated tank is extremely dangerous and can lead to catastrophic failure.
How much more air can I expect with a second tank?
The amount of extra air you get is directly proportional to the volume of the second tank. If your original tank holds 20 gallons and you add another 20-gallon tank, you’ve effectively doubled your air reserve. This means longer tool runtimes.
Do I need to change my compressor’s pressure settings?
Generally, no. Your compressor’s cut-off pressure should remain the same. The second tank simply stores more air at that pressure. Always ensure your new tank and fittings can handle your compressor’s maximum operating pressure.
What if my new tank already has a pressure gauge and relief valve?
That’s great! If your second tank comes with a functional pressure gauge and a safety relief valve, you may not need to install new ones. Just ensure they are properly rated and functioning correctly before use.
Is it okay to connect the second tank directly to the compressor pump outlet?
It’s highly recommended to connect the second tank to the outlet of the primary tank, not directly to the pump. This allows the compressor to fill the primary tank first and then push air into the secondary tank. Connecting directly to the pump can lead to issues and potential damage.