Adjust Air Compressor Tank Pressure: A Simple Guide
Adjusting your air compressor's tank pressure is a straightforward process. You can easily change the pressure by turning the regulator knob. This knob controls the pressure going to your tool, not the pressure stored in the tank. For the tank's maximum pressure, you’ll rely on the pressure relief valve.
Understanding your air compressor's settings is key to efficient operation. Too much pressure can damage your tools and be unsafe. Too little pressure means your tools won't perform as expected. Knowing how to fine-tune your compressor ensures you get the job done right and safely.
- Turn the regulator knob to adjust tool pressure.
- The relief valve protects the tank from overpressure.
- Match pressure to your tool's requirements.
- Always ensure safety first.
Let's walk through exactly how to make these adjustments so you can get your compressor set up perfectly for your needs.
Setting Your Air Compressor Tank Pressure Just Right
Getting your air compressor’s tank pressure set correctly is essential for both safety and performance. You’ve got two main pressure points to think about: the pressure inside the tank itself, and the pressure that actually goes out to your tools. The intro mentioned adjusting the tool pressure with the regulator, and that’s absolutely right. But what about that tank pressure? Let’s dive into how that works and why it matters.
Understanding Your Compressor’s Pressure Controls
Your air compressor has a few key components that manage pressure. The regulator is your primary tool for controlling the output to your air tools. You turn its knob to dial in the specific PSI (pounds per square inch) your tool needs. We found that most common air tools require between 70-100 PSI, but always check your tool’s manual for the exact recommendation. Using too much pressure can damage your tool, leading to costly repairs. Not enough pressure means your tool simply won’t work efficiently, if at all.
The Role of the Pressure Relief Valve
Now, about the tank pressure. This is the air stored inside the big metal tank. You don’t “adjust” this pressure directly with a knob. Instead, it’s managed by a safety device called the pressure relief valve. Think of it like a safety fuse. If the compressor’s main switch fails or the pressure switch malfunctions, this valve will automatically release excess air when the tank reaches its maximum safe operating pressure. This prevents a dangerous over-pressurization event. Many experts say this valve is your last line of defense for tank safety (OSHA guidelines often reference these safety mechanisms).
How to Check and Monitor Tank Pressure
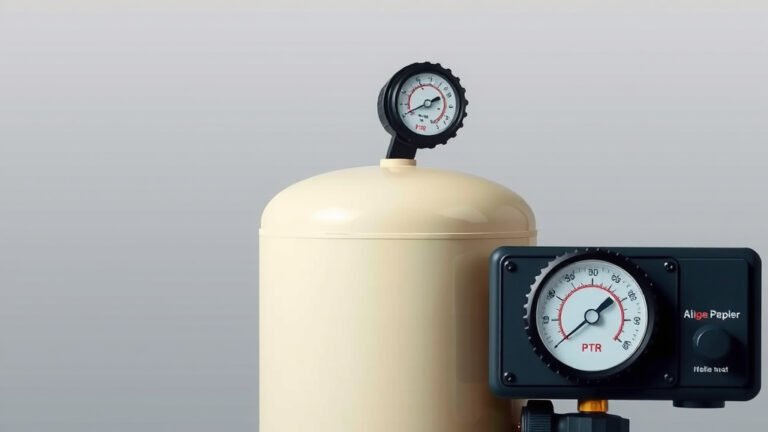
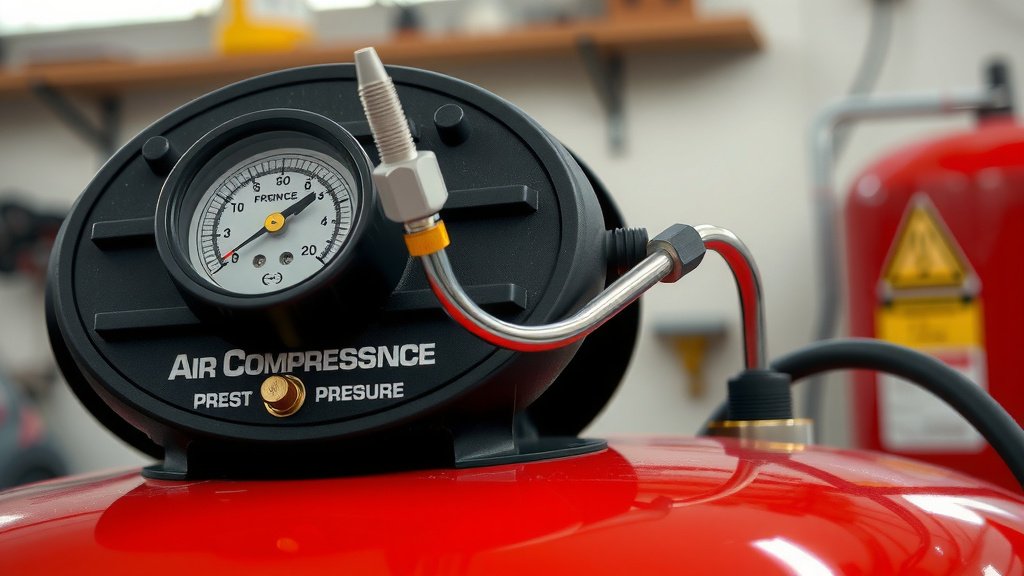
You can easily see the pressure inside your tank thanks to the tank pressure gauge. It’s usually a circular dial with a needle, typically located near the compressor’s motor or on the tank itself. This gauge tells you how much air is currently stored. When you use air, this pressure will drop. The compressor’s pressure switch is what tells the motor to kick on and build pressure back up when it gets too low, and to shut off when it reaches the preset “cut-out” pressure.
Understanding Cut-In and Cut-Out Pressures
Most compressors have two main pressure settings determined by the pressure switch:
- Cut-in pressure: This is the PSI at which the compressor motor starts up to refill the tank.
- Cut-out pressure: This is the PSI at which the motor shuts off once the tank is full.
Safely Adjusting Your Air Compressor’s Output Pressure
While the tank pressure is mostly automatic, you have direct control over the pressure delivered to your tools. This is where the regulator comes into play. It’s important to set this correctly for each task.
Locating and Understanding the Regulator
The regulator is typically found on the control panel, often near the tank pressure gauge and the quick-connect fitting where you attach your air hose. It usually has a knob that you can push in or pull out, and then turn. You’ll notice it has its own gauge that shows the regulated output pressure, separate from the tank pressure gauge.
The Step-by-Step Process for Setting Tool Pressure
Here’s how you adjust the output pressure for your tools:
- Ensure the tank has sufficient pressure. Before you start, make sure your compressor has built up adequate pressure in the tank. You don’t want to be adjusting the regulator when the tank is nearly empty.
- Pull the regulator knob. Most regulators have a knob that you need to pull outwards to unlock it before you can adjust the pressure.
- Turn to adjust. Turn the knob clockwise to increase the output pressure or counter-clockwise to decrease it. You’ll see the regulated pressure gauge change as you turn the knob.
- Consult your tool’s requirements. This is a critical step. Look up the recommended PSI for the specific air tool you are using. A nail gun might need 90 PSI, while a detail sander might need only 40 PSI.
- Set the pressure. Adjust the regulator until its gauge shows the correct pressure for your tool.
- Push the knob in. Once the pressure is set, push the regulator knob back in to lock it in place. This prevents accidental changes.
- Test your tool. Briefly engage your tool to ensure it operates as expected. If it feels weak or sluggish, you may need to increase the pressure slightly. If it sounds strained or is too powerful, decrease it.
What If You Can’t Adjust the Pressure?
Sometimes, you might find that the regulator knob is stuck or won’t turn. We found that this often happens due to dirt or debris that has built up inside the regulator mechanism. In many cases, gently tapping the knob or cycling it back and forth firmly (but not with excessive force) can dislodge minor obstructions. If that doesn’t work, the regulator might need to be disassembled and cleaned, or potentially replaced. Always disconnect the air supply before attempting any maintenance on the regulator.
Safety Checks and Best Practices
Safety is always the top priority when working with pressurized air. A few simple checks can prevent a lot of trouble.
Regular Safety Valve Testing
Even though the pressure relief valve is automatic, it’s a good idea to test it periodically. Manufacturers often recommend testing it every few months. To do this, pull the ring on the valve for a few seconds while the tank is pressurized. You should hear air hiss out. This ensures the valve isn’t seized up. Many safety experts, including those at the Consumer Product Safety Commission, strongly advise performing this simple test regularly.
Maintaining Your Compressor’s Pressure Switch
While you typically don’t adjust the pressure switch settings, it’s important that it functions correctly. If your compressor is constantly running, or if it’s not building enough pressure, the pressure switch might be malfunctioning. If you notice these issues, it’s best to consult your owner’s manual or seek professional service. An improperly functioning pressure switch can be a safety hazard.
The Importance of the Right Air Hose and Fittings
Don’t forget that your air hose and fittings also have pressure ratings. Using a hose or connectors that are rated for lower pressures than your compressor’s tank can create a weak point. Always ensure your entire air system, from the tank to the tool, is rated for the pressures you’ll be working with.
Quick Safety Checklist
Before you power up and start adjusting:
- Always wear safety glasses.
- Ensure the area around the compressor is well-ventilated.
- Confirm your tool’s PSI requirements.
- Check that your regulator knob is locked after setting pressure.
- Never stand directly in front of the pressure relief valve when it might activate.
Conclusion
You’ve learned how to manage your air compressor’s pressure effectively. Remember, the regulator knob is your go-to for tool pressure, ensuring optimal performance and preventing damage. The pressure relief valve acts as your safety net for tank pressure, so always keep it in good working order. By understanding these components and following safe practices, you’ll get the most out of your air compressor.
Your next step? Double-check the PSI requirements for your most-used air tool and set your regulator accordingly. You’re now equipped to tackle your projects with confidence and safety!
Frequently Asked Questions
Can I adjust the air compressor tank pressure directly?
No, you cannot directly adjust the maximum tank pressure. The tank pressure is controlled by the compressor’s built-in pressure switch and protected by the pressure relief valve. You adjust the pressure going to your tools using the regulator.
What happens if I use too much pressure for my air tool?
Using too much pressure can damage your air tool, potentially leading to leaks, component failure, or even complete breakage. It can also be a safety hazard, so always match the tool’s recommended PSI.
How do I know if my pressure relief valve is working correctly?
You should test your pressure relief valve periodically. While the tank is pressurized, pull the ring. If air hisses out, it’s likely functioning. If no air comes out, it may be stuck and require service.
My regulator knob is stuck. What should I do?
A stuck regulator knob can often be freed by gently tapping it or working it back and forth firmly. If this doesn’t help, debris might be obstructing the mechanism, and it may need cleaning or replacement. Always disconnect power first.
How often should I check my air compressor’s pressure settings?
You should check and adjust your regulator setting every time you switch to a different air tool, as each tool has its own PSI requirement. Regular safety valve testing (every few months) is also recommended for peace of mind.