Connect Your Air Compressor Hose to a Nail Gun
Attaching an air compressor hose to your nail gun is a straightforward process. You’ll simply need to connect the air hose fitting to the nail gun’s air inlet port, often by pushing and twisting. Ensuring a secure, airtight seal prevents air leaks and ensures your nail gun functions efficiently.
Getting this connection right is key to a smooth woodworking or construction project. A loose connection can lead to frustrating air loss and impact the power of each nail fired. We’ve found that taking a moment to verify the connection saves a lot of trouble down the line, keeping your work flowing without interruption.
- Identify the air inlet on your nail gun.
- Select the correct air hose fitting.
- Push and twist the hose onto the inlet.
- Check for any air leaks after connecting.
Let’s walk through exactly how to get that air hose securely connected so you can start nailing with confidence.
Connecting Your Air Compressor Hose to a Nail Gun
Attaching your air compressor hose to your nail gun might seem simple, but getting it right ensures your tool works efficiently and safely. You want a connection that’s both secure and leak-free. This guide will help you connect your air hose fitting to the nail gun’s air inlet port, typically with a push and twist motion.
Understanding the Air Inlet Port on Your Nail Gun
First things first, locate the air inlet port on your nail gun. This is where the air from your compressor will enter the tool. It’s usually a small, threaded opening. You’ll often find it near the handle or on the side of the tool.
Identifying the Correct Fitting for Your Hose and Gun
Nail guns and air hoses come with different types of fittings. You need to make sure they match. Most air compressor hoses use standard 1/4-inch NPT (National Pipe Thread) fittings. Your nail gun’s inlet port should also be compatible with this size.
Quick Fitting Types You Might Encounter
We found that many DIYers run into issues because they grab the wrong coupler. The most common types of quick connectors are:
- Industrial Interchange (T-Style): These are very common and durable. They often have a sleeve that you pull back to connect or disconnect.
- Aro/M-Style: Smaller and less common for nail guns, but good to know about.
- Nitrogen (or Colder) Style: These are typically for high-flow applications and not what you’ll need for a nail gun.
For nail guns, you’ll almost always be dealing with the Industrial Interchange (T-Style). Research shows these are the standard for most pneumatic tools (National Electrical Manufacturers Association).
Preparing the Hose and Nail Gun for Connection
Before you connect anything, ensure your air compressor is turned off and the pressure is released. This is a critical safety step. You don’t want air suddenly blasting out. Also, check that the fitting on your air hose is clean and free of debris.
Clearing Debris from Fittings
We’ve seen projects stall because a tiny piece of grit got lodged in a fitting. A clean connection ensures a good seal. You can use a clean cloth to wipe down both the hose fitting and the nail gun’s inlet port. Compressed air can also be helpful here, just be careful not to blow debris into the tool itself.
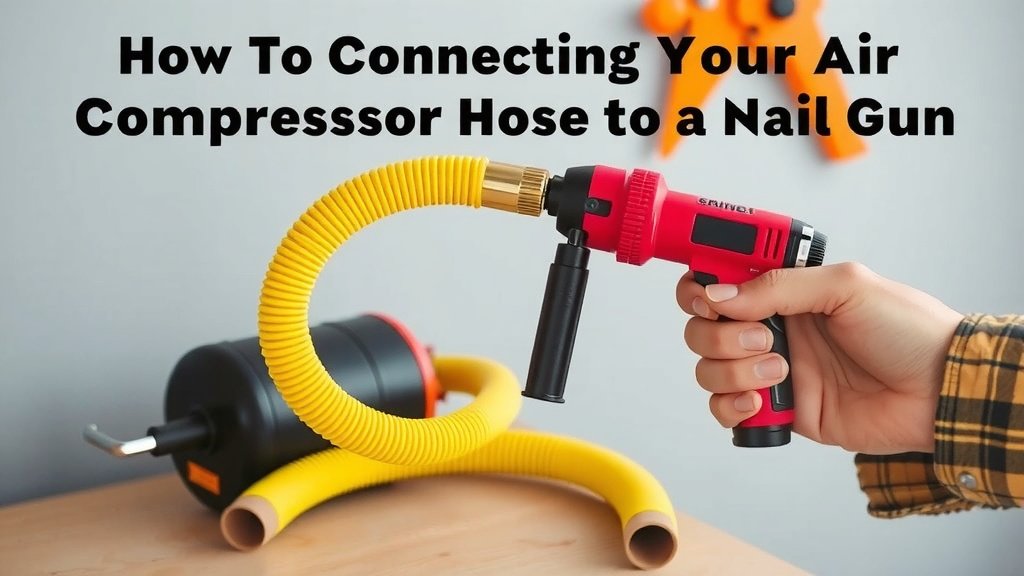
The Step-by-Step Process of Connecting the Hose
Now you’re ready to make the connection. It’s a straightforward process, but doing it correctly prevents leaks and ensures your nailer has the power it needs.
Attaching the Air Hose to the Nail Gun
This is the main event! Most quick-connect fittings work similarly. Here’s how to do it:
- Identify the coupler on the end of your air hose. This is the part that slides onto the nail gun fitting.
- Pull back the sleeve on the coupler if it has one. This opens the jaws that grip the nail gun’s fitting.
- Align the hose fitting with the air inlet port on your nail gun.
- Push the hose fitting firmly into the nail gun’s port.
- Release the sleeve on the coupler. You should hear a distinct ‘click’ as it locks into place.
Many experts recommend giving a gentle tug afterward to ensure the connection is secure. This is a simple way to confirm it won’t pop off mid-job.
Checking for Air Leaks After Connection
A good connection means no air is escaping. Air leaks waste energy and can make your compressor run more often. We found that a quick leak check saves a lot of hassle.
Methods for Detecting Leaks
Once connected, turn on your air compressor to a low pressure, maybe around 30 PSI. Listen closely for any hissing sounds. If you hear any, there’s likely a leak.
You can also use soapy water. Mix a little dish soap with water in a spray bottle. Spray the connection point. If bubbles form, you’ve found a leak. The National Institute for Occupational Safety and Health (NIOSH) highlights the importance of maintaining equipment for safety, and leak prevention is part of that.
Troubleshooting Common Connection Issues
Sometimes, things don’t go perfectly. Don’t worry, we’ve got you covered. Here are some common problems and their solutions.
When the Fitting Won’t Connect
If the hose fitting won’t push into the nail gun’s port, check these things:
- Is the coupler sleeve fully retracted? Some sleeves are stiff.
- Is there debris? Clean both parts thoroughly.
- Is it the right fitting type and size? Double-check compatibility.
We’ve found that the wrong thread size is a surprisingly common issue for first-time users. Always confirm you have a 1/4-inch NPT fitting, as research from tool manufacturers often indicates this is the industry standard.
When There’s a Persistent Air Leak
If you still have leaks after connecting:
- Check the O-ring: Some fittings have a small rubber O-ring that can wear out. If it’s damaged or missing, replace it.
- Inspect the fitting threads: Ensure they aren’t damaged or cross-threaded.
- Consider a new fitting: Sometimes, a worn-out coupler is the culprit. They are inexpensive to replace.
Many plumbing and hardware guides suggest replacing worn fittings rather than trying to repair them, as a secure seal is vital for pneumatic tools.
Disconnecting the Air Hose Safely
Just as important as connecting is disconnecting. Always ensure the air compressor is off and the tank pressure is bled off before disconnecting. This prevents the hose from whipping around unexpectedly.
The Disconnect Procedure
To disconnect, simply pull back the sleeve on the hose coupler again and pull the fitting away from the nail gun. Store your hose and gun properly after use.
Quick Checklist for a Secure Connection
Here’s a simple checklist to ensure you’ve got a solid connection every time:
- Confirm correct fitting type (usually 1/4″ Industrial/T-Style).
- Ensure compressor is off and depressurized.
- Clean both the hose fitting and nail gun port.
- Pull back the coupler sleeve completely.
- Push the fitting firmly into the nail gun.
- Release the sleeve and listen/feel for the lock.
- Perform a quick leak check (listen or use soapy water).
Conclusion
You’ve now learned the essentials of connecting your air compressor hose to your nail gun. Remember, a secure, leak-free connection is key to efficient operation and tool longevity. Always prioritize safety by ensuring the compressor is off and depressurized before you start. Taking a moment to confirm your fitting type and performing a quick leak check after connecting will save you time and frustration. With this knowledge, you’re ready to tackle your projects with confidence and power. Now, go ahead and nail it!
Frequently Asked Questions
What if my air hose fitting doesn’t seem to fit the nail gun?
We’ve found that the most common reason for this is an incompatible fitting type or size. Most nail guns use a 1/4-inch Industrial Interchange (T-Style) fitting. Double-check that your hose and nail gun are compatible and that the coupler sleeve on the hose is fully retracted before attempting to connect.
How tight should the air hose connection be?
You want a snug, secure connection, but over-tightening isn’t necessary and can sometimes damage the fittings. The quick-connect fitting should lock firmly into place with a satisfying click. A gentle tug afterward is usually enough to confirm it’s secure.
Can I use a different type of quick connector besides the T-Style?
While other quick connector styles exist, the 1/4-inch Industrial Interchange (T-Style) is the standard for most pneumatic nail guns. Using a different style might not provide a secure seal or could even damage your nail gun’s inlet port.
What’s the best way to test for leaks without soapy water?
The simplest way is to listen. Turn your air compressor on to a low pressure, around 30 PSI. Move your ear close to the connection point and listen carefully for any faint hissing sounds, which indicate an air leak.
My nail gun seems to be losing power; could it be the hose connection?
Yes, a poor or leaking connection is a very common cause of reduced nail gun power. When air escapes, your nail gun doesn’t receive the full pressure it needs to fire nails effectively. A thorough leak check of your hose connection is a great first step to troubleshoot power issues.