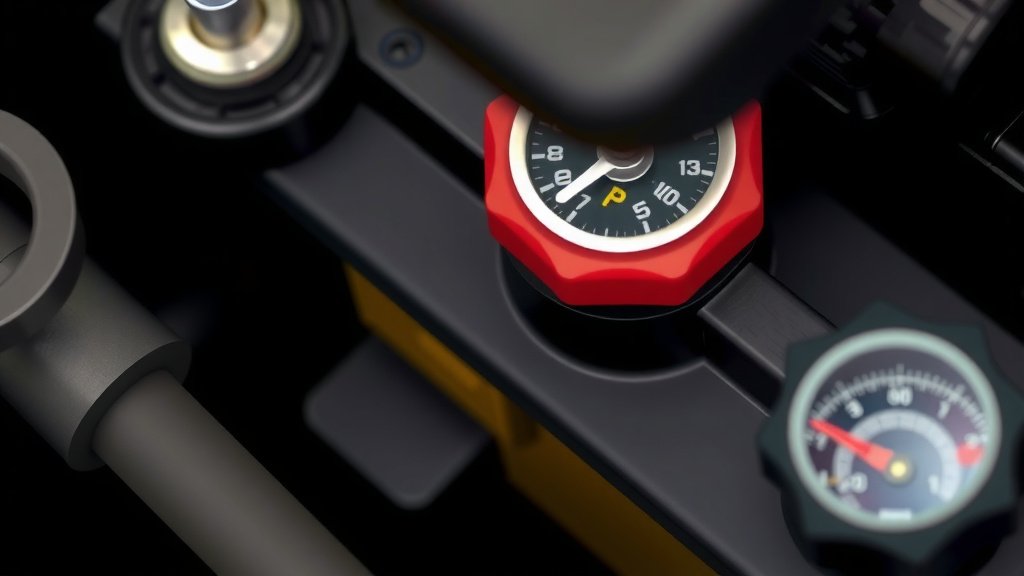
Adjusting Pilot Valve on Air Compressor: A Simple Guide
Adjusting the pilot valve on your air compressor is a straightforward process that can help you fine-tune pressure and performance. You typically adjust the pilot valve by turning a screw or knob until you reach the desired operating pressure. This simple adjustment can make a big difference in how your compressor runs.
Understanding your pilot valve is key to efficient air compressor operation. It controls the main valve’s operation, influencing how your compressor starts and stops. Many DIYers and mechanics find that a little adjustment goes a long way in preventing wear and tear.
- Locate the pilot valve on your compressor.
- Turn the adjustment screw or knob slowly.
- Listen for changes in compressor sound.
- Test the pressure with a gauge.
- Ensure you’re making adjustments while the compressor is off.
Let’s walk through exactly how to get this done step by step to ensure your air compressor is running just right.
Fine-Tuning Your Air Compressor: Adjusting the Pilot Valve
Adjusting the pilot valve on your air compressor is a straightforward process. It helps you achieve the right operating pressure. This simple task can improve your compressor’s performance. It can also help prevent unnecessary wear and tear. Let’s get your compressor running smoothly.
Understanding the Pilot Valve’s Role
Before you start turning screws, it’s good to know what the pilot valve does. Think of it as the gatekeeper for your compressor’s main valve. It uses a small amount of compressed air to control when the larger valve opens and closes. This is how your compressor starts and stops based on pressure.
When the pressure in your tank drops, the pilot valve senses it. It then signals the main valve to open, letting the compressor motor run and build more pressure. When the tank reaches its maximum pressure, the pilot valve signals the main valve to close, stopping the motor. You’re essentially adjusting the trigger points for this cycle.
Gathering What You’ll Need
You won’t need a ton of specialized tools for this. Most often, a simple screwdriver or wrench will do the trick. You might need a pressure gauge if your compressor doesn’t have a reliable built-in one. It’s also a good idea to have your compressor’s manual handy.
Safety first! Always make sure the compressor is unplugged from the power source before you start any adjustments. We’ll go over safety in more detail later. Having the right tools makes the job much easier and quicker.
Locating the Pilot Valve Assembly
The pilot valve is usually part of the pressure switch assembly. This is often mounted near the air tank. Look for a small box with several tubes and wires connected to it. You’ll typically see a knob or a screw on this assembly. This is where your adjustment happens.
Different compressor models can have slightly different designs. If you’re having trouble finding it, consult your owner’s manual. It will show you the exact location and components of your specific model. Some older models might have a separate pilot valve, but most modern ones integrate it into the pressure switch.
The Adjustment Process Step-by-Step
Now for the hands-on part. Remember, slow and steady wins the race here. Small adjustments make a big difference.
Step 1: Ensure Safety Precautions are Met
This is the most important step. Unplug your air compressor from the electrical outlet. You don’t want the motor to start unexpectedly. Also, make sure the tank has no residual pressure. You can usually release pressure by opening a drain valve or by slowly opening a connected air tool.
Step 2: Identify the Adjustment Screw or Knob
Once you’ve located the pressure switch assembly, find the adjustment mechanism. It’s typically a screw or a knob. Sometimes there are two adjustments: one for the cut-in pressure (when it turns on) and one for the cut-out pressure (when it turns off). We’re usually focused on adjusting the cut-out pressure, which is often controlled by the main knob or screw. Many experts suggest that the gap between cut-in and cut-out is important for compressor longevity (Ingersoll Rand).
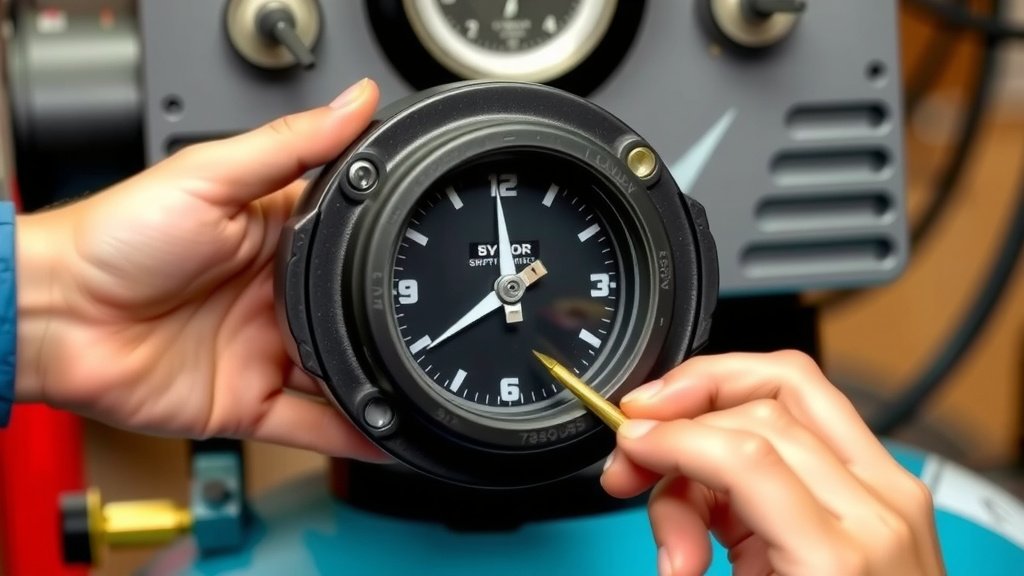
Step 3: Make Small Adjustments
To increase the cut-out pressure (the maximum pressure your compressor reaches), you’ll usually turn the adjustment screw or knob clockwise. To decrease it, turn it counter-clockwise. We found that turning it more than a quarter turn at a time is generally too much. Start with a small turn, like an eighth or a quarter of a rotation.
Step 4: Test the Pressure
After making an adjustment, plug the compressor back in. Let it run until it shuts off. Use your pressure gauge to see what the maximum pressure is. If it’s not quite right, repeat steps 1 through 3. You’re looking for a target pressure that suits your needs.
What’s the right pressure? For most home and workshop use, pressures between 90 and 120 PSI are common. Some specialized tools might require higher pressures. Always check the requirements for your air tools or applications. Operating within the recommended range is key.
Step 5: Fine-Tune the Cut-In Pressure (If Applicable)
Some pressure switches have a separate adjustment for the cut-in pressure. This is the pressure at which the compressor kicks back on. Often, this adjustment is a smaller screw, sometimes labeled “Delta P” or similar. It typically controls the difference between cut-in and cut-out pressure. A smaller difference means the compressor cycles on and off more frequently. A larger difference means longer run times between cycles. We found that a differential of 20-30 PSI is standard for many compressors.
Adjusting this requires a bit more careful observation. You’ll need to listen to when the compressor turns on and off and check your gauge. Make very small turns on this screw as well. Over-adjusting can lead to short cycling or excessively long run times, neither of which is good for your compressor’s motor.
Troubleshooting Common Issues
Sometimes, even after adjustments, things don’t seem right. What can go wrong?
Compressor Won’t Turn Off
If your compressor keeps running past your set pressure, it might be a faulty pressure switch or a leak. Double-check your adjustment. If it still doesn’t cut out, the diaphragm in the switch could be damaged, or there might be a significant air leak somewhere in the system.
Compressor Won’t Turn On
If it’s not reaching the pressure to turn on, check your cut-in adjustment. Ensure it’s set low enough. Also, verify that the pilot valve isn’t stuck open, preventing pressure buildup. A blown fuse or tripped breaker could also be the culprit for a motor that won’t start at all.
Pressure Fluctuations
If the pressure is all over the place, it could indicate a worn-out pressure switch or a problem with the unloader valve. The unloader valve releases pressure from the pump head when the compressor shuts off, preventing hard starts. If it’s leaking, you’ll lose pressure and the compressor may short cycle.
Maintaining Optimal Performance
Regular checks of your pilot valve and pressure switch can save you headaches. Think of it like changing the oil in your car; preventative maintenance is key. We found that checking pressure settings every few months can catch small issues before they become big problems.
Here’s a quick checklist to keep your compressor running at its best:
- Always unplug before adjusting.
- Make small, incremental turns.
- Use a reliable pressure gauge.
- Listen for unusual sounds during operation.
- Refer to your manual for specific settings.
- Check for air leaks periodically.
Understanding Pressure Switch Settings: A Quick Guide
This table shows typical settings and what they mean. Remember, your specific needs might vary.
| Setting | Description | Typical Range (PSI) | Impact of Adjustment |
|---|---|---|---|
| Cut-Out Pressure | Maximum pressure before compressor shuts off. | 90-150 PSI | Higher setting = less frequent cycling. Lower setting = more frequent cycling. |
| Cut-In Pressure | Minimum pressure before compressor turns on. | 70-130 PSI | Lower setting = compressor starts sooner. Higher setting = compressor runs longer before starting. |
| Differential Pressure | The difference between cut-in and cut-out pressure. | 20-30 PSI (Common) | Smaller difference = more frequent starts/stops. Larger difference = longer run times. |
Many sources, like those from industrial equipment suppliers, suggest that a consistent differential pressure is vital for the lifespan of the motor and pump. It prevents excessive wear caused by too-frequent starts and stops.
Conclusion
You’ve now got a solid understanding of how to adjust your air compressor’s pilot valve. This straightforward process, when done carefully, can lead to better performance and a longer lifespan for your equipment. Remember to always prioritize safety by unplugging the unit and making small, incremental adjustments. By fine-tuning your cut-in and cut-out pressures, you’re ensuring your compressor works efficiently for your specific needs.
The next time your compressor seems a bit off, don’t hesitate to revisit these steps. Your proactive approach to maintenance will pay off. You’re now equipped to handle this common adjustment yourself, saving time and potentially money on service calls. Keep that air flowing!
Frequently Asked Questions
How do I know if my pilot valve needs adjustment?
You might need to adjust your pilot valve if your compressor is cycling on and off too frequently, or if it’s not reaching adequate pressure for your tools. Fluctuating pressure readings are also a good indicator that an adjustment might be necessary.
Can I adjust the pilot valve while the compressor is running?
Never adjust the pilot valve while the compressor is running. Always unplug the unit from the power source and ensure any residual pressure is released before you begin making adjustments. This is critical for your safety and to prevent damage to the compressor.
What is the ideal gap (differential) between cut-in and cut-out pressure?
For most home and workshop compressors, a differential pressure between 20 and 30 PSI is considered standard and healthy. This range helps prevent the motor from overworking by cycling too often, while also ensuring you have consistent air pressure.
What happens if I turn the adjustment screw too far?
Turning the adjustment screw too far can cause issues like the compressor not shutting off at its set pressure, or conversely, not turning on when needed. It can also lead to an excessively small or large differential, which can shorten the life of your motor and pump.
Where can I find the pilot valve on my specific air compressor model?
The pilot valve is almost always integrated into the pressure switch assembly, typically located near the air tank. Consult your air compressor’s owner’s manual; it will have diagrams and specific instructions for locating and identifying all components on your model.