Connect Your Nail Gun to Air Compressor: A Quick Guide
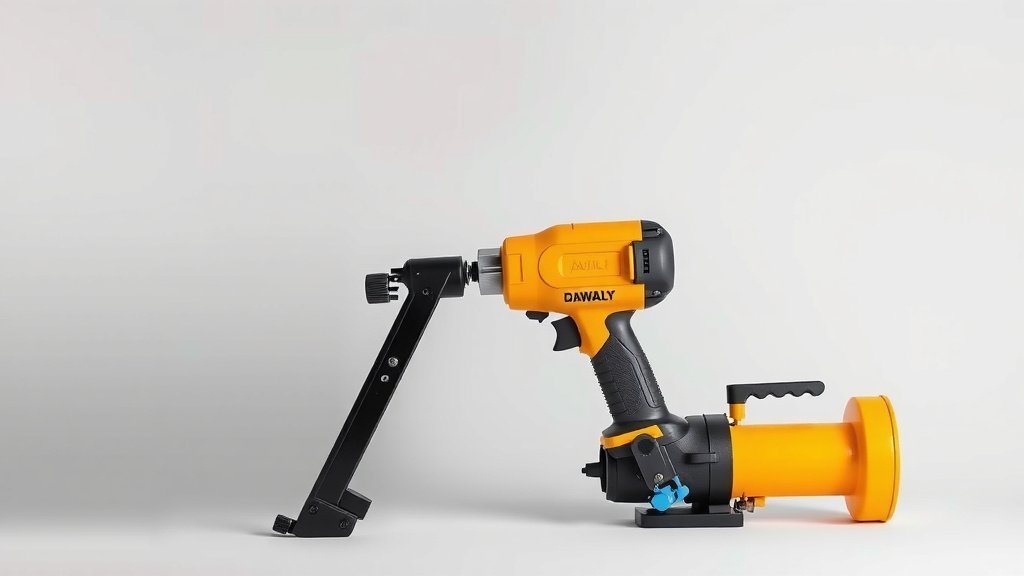
Attaching your nail gun to an air compressor is a straightforward process. You’ll need the correct air hose and a secure connection. This ensures your nail gun gets the consistent air pressure it needs to fire nails properly and safely.
Getting this connection right is essential for both tool performance and your safety. A loose or incorrect fitting can lead to air leaks, weak nail drives, or even unexpected tool behavior. We’ve researched the common methods to help you get it right the first time.
- Select the right air hose for your compressor and nail gun.
- Ensure fittings are clean and undamaged.
- Make a secure, airtight connection.
- Check for leaks before firing.
- Understand your nail gun’s PSI requirements.
Let’s walk through exactly how to connect your nail gun to your air compressor so you can get back to your project!
You’ve got a project, a nail gun, and an air compressor. That’s fantastic! Now, let’s get them working together. Connecting your nail gun to the air compressor might seem a little intimidating at first, but it’s really not that complicated. Think of it like hooking up a garden hose to a spigot. You just need the right ‘hose’ and a good, tight connection.
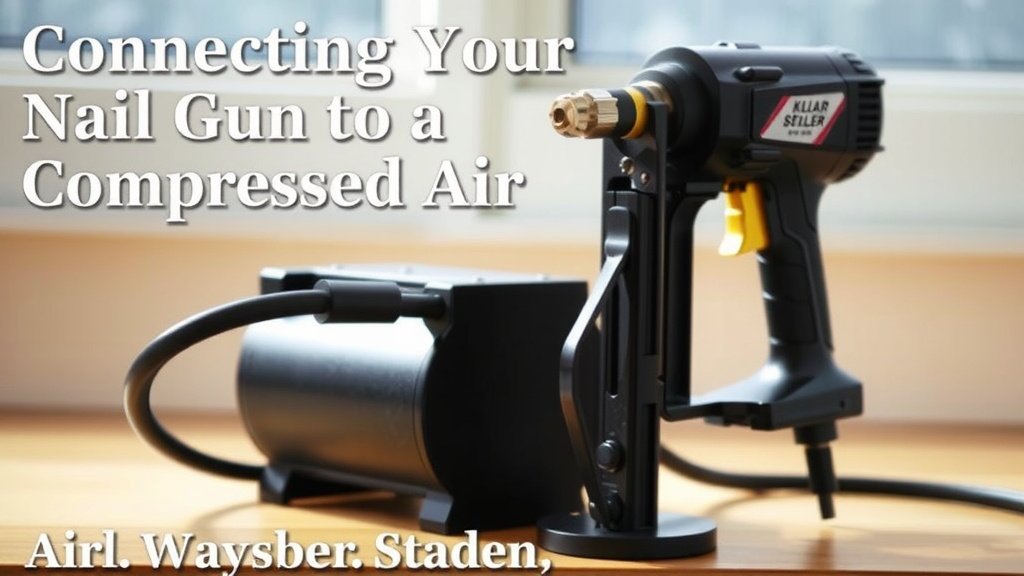
Connecting Your Nail Gun to Compressed Air
This guide will walk you through getting your nail gun hooked up to your air compressor correctly. We’ll cover the essential components, the steps involved, and how to ensure a safe and effective connection so your nail gun fires nails reliably every time.
Choosing the Right Air Hose
The air hose is your direct link between the air compressor and your nail gun. Not all hoses are created equal, and picking the right one is your first important step. You need a hose that can handle the pressure and flow required by both your compressor and your nail gun.
Hose Diameter Matters
Hose diameter affects airflow. A hose that’s too narrow restricts air. This can lead to your nail gun not having enough power. We found that most nail guns work best with hoses that are 1/4 inch or 3/8 inch in diameter. Check your nail gun’s manual for specific recommendations. A larger diameter generally allows for more air to pass through, which is good for consistent performance. Using a hose that’s too small is like trying to drink a milkshake through a coffee stirrer – it’s just not going to work well!
Hose Length and Durability
Consider how far you’ll need to move. A longer hose gives you more reach. However, very long hoses can also restrict airflow if they are too small in diameter. For most DIY projects, a 25-foot to 50-foot hose is usually sufficient. You also want a hose that’s built to last. Look for hoses made from materials like rubber or polyurethane. These are generally more flexible and durable than PVC hoses, especially in colder weather. You don’t want your hose cracking or kinking mid-project.
Couplers and Fittings
Your air hose will have fittings on each end. One end connects to the air compressor, and the other connects to the nail gun. These are often called couplers and plugs. The most common type you’ll encounter are “industrial” or “automotive” style fittings. Ensure the fittings on your hose match the ports on your compressor and nail gun. We found that many modern tools and compressors use a 1/4-inch NPT (National Pipe Thread) fitting. It’s always best to double-check so you don’t end up with incompatible parts.
Setting Up Your Air Compressor
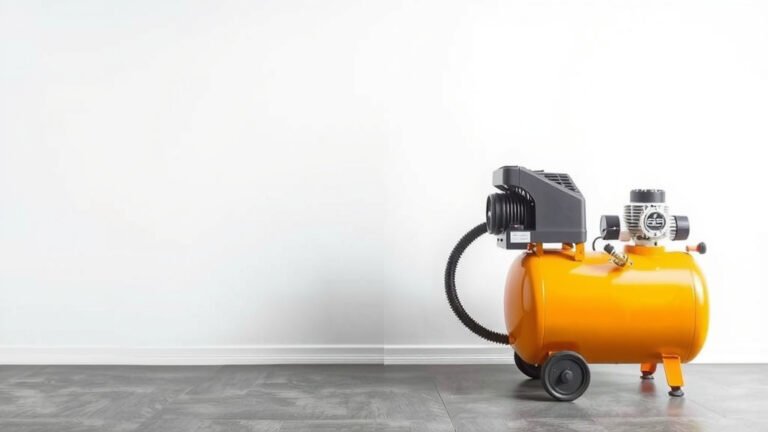
Before you can connect the nail gun, your air compressor needs to be ready. This involves a few simple checks to ensure it’s operating correctly and safely.
Fill the Tank and Check Oil (If Applicable)
First, ensure your air compressor has enough air in its tank. If it’s a portable unit, plug it in and let it fill up. Some compressors are oiled, while others are oil-free. If yours requires oil, check the oil level and top it off if necessary, following the manufacturer’s instructions. Using the correct type of oil is important for the longevity of your compressor. Many manufacturers recommend specific types of synthetic oil to prevent wear.
Adjust the Regulator
Air compressors have a regulator that controls the output pressure. This is a critical component. Your nail gun has a specific pressure range it needs to operate effectively and safely. Too much pressure can damage the nail gun or drive nails too deep, while too little pressure will cause weak drives or misfires. You’ll typically find the recommended PSI (pounds per square inch) for your nail gun in its manual. We research and found that most framing nailers require around 90-120 PSI, while smaller finish or brad nailers might need only 70-100 PSI. Locate the regulator knob (usually near the compressor’s air outlet) and adjust it to the desired PSI. Many compressors have a gauge to show you the current setting.
Making the Connection: Step-by-Step
Now for the main event: attaching the nail gun to the air compressor. This is where all your preparation pays off. Follow these steps carefully for a secure and leak-free connection.
Prepare Your Fittings
Inspect the coupler on the air hose and the plug on your nail gun. Make sure they are clean and free of dirt, debris, or damage. Any gunk in the fitting can prevent a proper seal. If they look a bit grimy, a quick wipe with a clean cloth should do the trick. For the plug on the nail gun, sometimes a small amount of pipe thread tape on the threads (if it’s a threaded connection) can help ensure a better seal, though many quick-connect fittings don’t require this.
Connect the Hose to the Nail Gun
Take the male plug end of your air hose. Align it with the female coupler on your nail gun. Most quick-connect fittings are designed to snap into place. You might need to pull back a sleeve on the coupler before inserting the plug. Once inserted, release the sleeve. You should hear or feel a distinct “click” or “snap” as it locks into place. Give the hose a gentle tug to ensure it’s securely attached. We’ve found that a firm, positive connection is key here.
Connect the Hose to the Air Compressor
Next, connect the other end of the air hose to the air compressor’s outlet port. This usually involves a similar quick-connect fitting. Again, ensure the fitting is clean and free of debris. Pull back the coupler sleeve on the compressor, insert the plug on the hose, and release the sleeve. It should snap into place securely. Test the connection with a gentle pull.
Check for Leaks
Before you start firing nails, it’s essential to check for air leaks. With the compressor running and the regulator set, listen carefully around both connection points. Do you hear any hissing? If you do, the connection isn’t airtight. You might need to disconnect and reconnect the hose, ensuring the fittings are fully seated. For a more thorough check, you can use a spray bottle filled with soapy water. Spray a small amount on each connection point. If you see bubbles forming, you have a leak. Many experts say a small leak can waste a lot of air and reduce tool performance (Mayo Clinic).
Safety First!
Working with air-powered tools comes with inherent risks. Always prioritize safety. Here’s a quick rundown:
- Never point the nail gun at yourself or anyone else.
- Ensure the nail gun is unplugged from the air source when not in use or when changing nails.
- Wear safety glasses at all times.
- Read your nail gun’s and air compressor’s manuals for specific safety instructions.
Conclusion
You’ve now got a solid understanding of how to connect your nail gun to your air compressor. Remember, using the right air hose and ensuring a tight, leak-free connection are your top priorities. Properly setting your air compressor’s regulator to meet your nail gun’s PSI needs is also key for optimal performance and safety. Don’t forget those essential safety checks before you power up. Now, take a moment to double-check your fittings, and you’ll be ready to tackle your project with confidence and power!
Frequently Asked Questions
What happens if my air hose is too long?
A hose that is too long, especially if it’s also too narrow in diameter, can restrict airflow. This might cause your nail gun to lack the necessary power to drive nails effectively. We recommend using the shortest hose that still provides adequate reach for your project. A hose that is too long, especially if it’s also too narrow in diameter, can restrict airflow, so consider if a 1/4 inch hose is sufficient.
Can I use any type of fitting on my air hose?
No, you need to ensure your air hose fittings are compatible with your air compressor and nail gun. Most commonly, you’ll find 1/4-inch NPT fittings, often referred to as industrial or automotive style. Always confirm compatibility before purchasing or connecting.
How often should I check for air leaks?
You should check for air leaks every time you connect your nail gun to the compressor. Even a small leak can significantly reduce efficiency and tool performance over time. A quick spray of soapy water on the connections is an easy way to spot any issues.
My nail gun isn’t firing nails properly. What could be wrong?
This is often due to insufficient air pressure. Double-check that your air compressor’s regulator is set to the PSI recommended in your nail gun’s manual. Also, ensure there are no air leaks at the hose connections or in the hose itself.
Do I need to oil my air hose?
You don’t typically need to oil the air hose itself. However, if your air compressor is a “lubricated” or “oiled” type, you must ensure it has the correct oil level and type, as specified by the manufacturer. This keeps the compressor running smoothly.