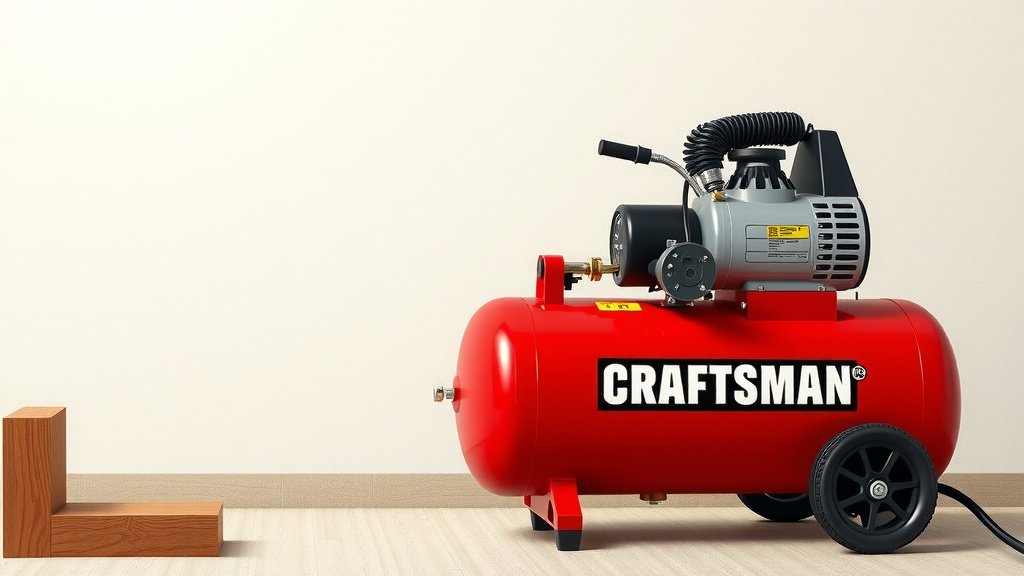
Craftsman 6 Gallon Air Compressor: Your How-To Guide
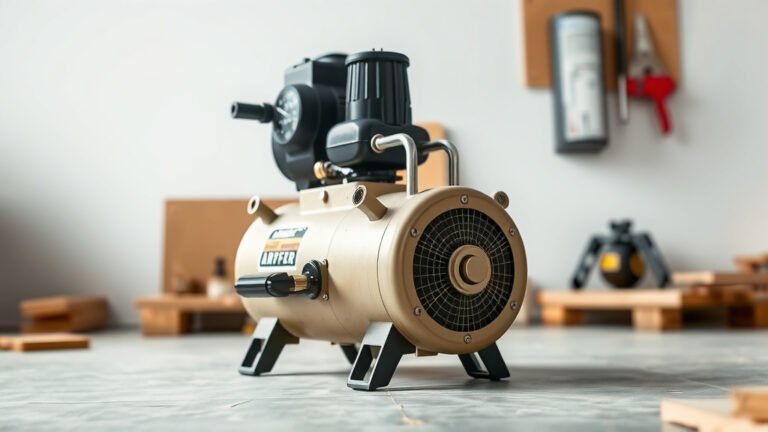
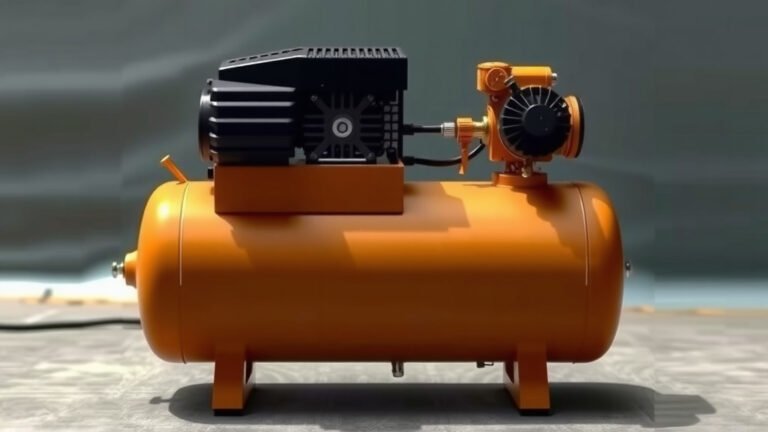
Learning how to use your Craftsman 6-gallon air compressor is simpler than you might think. You’ll want to ensure it’s properly connected and turned on to get the most out of its power for your projects. It’s designed to be user-friendly, even for beginners.
This handy tool can tackle many jobs, from inflating tires to powering pneumatic tools. Understanding its basic functions means you can tackle tasks around the house or garage with greater efficiency. We’ve found that proper setup is key to a smooth operating experience.
- Connect the air hose securely.
- Ensure the power cord is safely plugged in.
- Check the pressure gauge before use.
- Adjust the regulator for your specific tool.
Let’s walk through exactly how to get your Craftsman 6-gallon air compressor up and running for your next project.
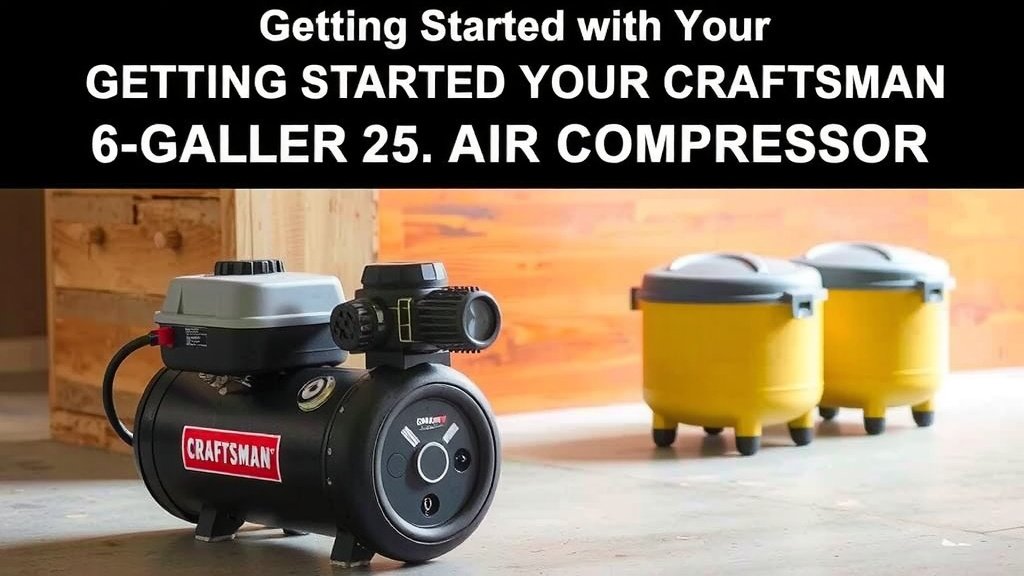
Getting Started with Your Craftsman 6-Gallon Air Compressor
You’ve got your Craftsman 6-gallon air compressor, and you’re ready to get to work! It’s a fantastic tool for many home projects. We found that understanding its setup is the first step to success. It’s designed to be pretty straightforward, even if you’ve never used one before. Let’s make sure you get it powered up safely and efficiently.
Unboxing and Initial Inspection
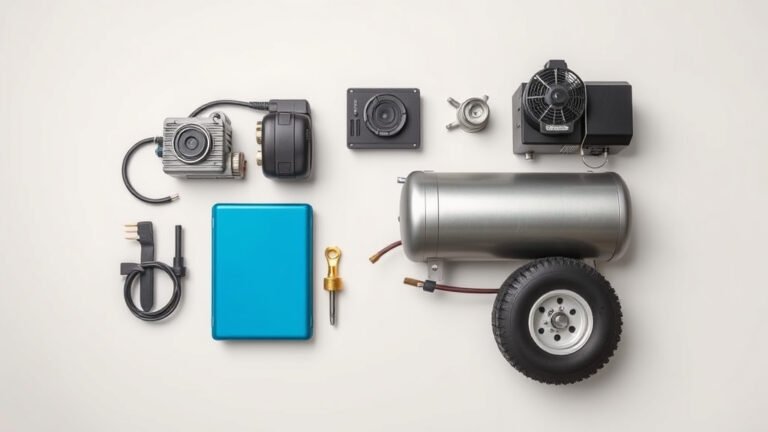
First things first, take everything out of the box. You’ll want to check that all the parts are there. Most units come with the compressor, a power cord, and the manual. Give it a quick look-over for any dings or damage from shipping. It’s wise to keep the box for a little while, just in case you need to return it. We found that a quick visual check prevents future headaches.
Connecting the Air Hose and Tools
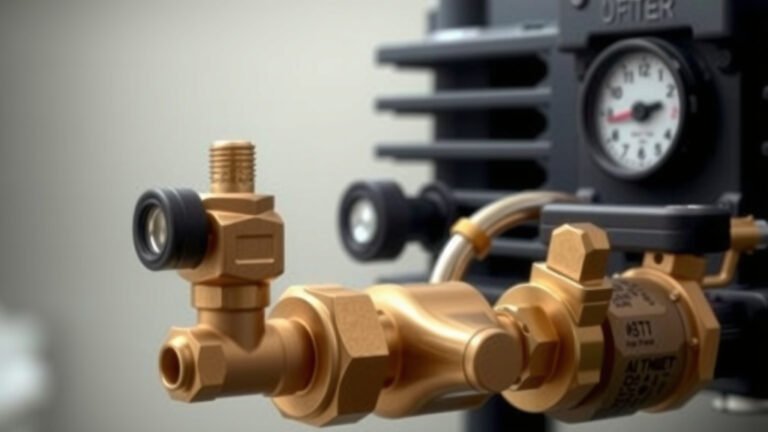
This is where the magic happens. Your air compressor needs an air hose to deliver that compressed air. You’ll find a fitting on the compressor where the hose attaches. Make sure it’s a tight and secure connection. A loose hose can lead to air leaks, which wastes power and can be annoying. Your specific tool, whether it’s a nail gun or an inflator, will have its own connector that attaches to the other end of the hose.
Choosing the Right Air Hose
Not all air hoses are created equal. For a 6-gallon compressor, a standard 1/4-inch NPT fitting is common. The length you need depends on your workspace. Too short, and you’ll be dragging the compressor around. Too long, and you might lose some air pressure. We found that a 25-foot hose is a good starting point for most garage projects.
Attaching Your Pneumatic Tool
Each pneumatic tool has a coupler that connects to the hose. You might have a quick-connect fitting on your hose. You simply push the tool’s male end into the coupler, and it should click into place. Some older setups might require a wrench, but quick connects are far more common now. Always ensure the tool is securely attached before turning on the air supply.
Powering Up Your Craftsman Compressor
Now that your hose is connected, it’s time to think about power. These compressors need electricity to run their motor and pump. Plugging it in correctly is vital for safety and performance. We researched the best practices for electrical connections with these tools.
Understanding the Power Requirements
Your Craftsman 6-gallon compressor typically runs on standard household current. Double-check the power cord and your outlet. Most use a 120-volt outlet. It’s a good idea to plug it into a dedicated circuit if possible. This prevents tripping breakers if you’re running other appliances. Many guidelines suggest avoiding long extension cords, as they can reduce power. If you must use one, make sure it’s heavy-duty and rated for your compressor’s amperage draw (Many experts recommend checking the compressor’s manual for specific cord length recommendations).
Plugging In and Turning On
Locate the power switch on your compressor. It’s usually a prominent button or dial. Make sure the switch is in the “off” position before plugging in the power cord. Once plugged in, you can flip the switch to “on.” You should hear the motor start up. The compressor will begin filling its tank with air. It will automatically shut off once it reaches the cut-off pressure.
Monitoring the Pressure Gauge
Your compressor has at least one gauge. One shows the tank pressure – how much air is stored. The other is the regulator gauge, which shows the pressure going to your tool. Watch the tank pressure gauge as the compressor fills. It will stop around the factory-set cut-off pressure. This is a good indicator that the compressor is working correctly. We found that knowing your tank pressure is key to managing air supply.
Adjusting for Your Specific Task
This is perhaps the most critical step for using your compressor effectively. Different tools require different air pressures to operate correctly. You don’t want too much, and you certainly don’t want too little. Setting the right pressure is all about precision.
The Role of the Regulator
The regulator is your best friend for controlling air pressure. It’s usually a knob located near where the air hose connects. You can turn this knob to set the desired output pressure. Many tools will have this information printed on them or in their manual. For example, inflating a bicycle tire needs much less pressure than running a nail gun.
Setting the Regulator Properly
To adjust the regulator, you’ll typically turn the knob. Some regulators pull out to unlock before turning and then push back in to lock. Others turn directly. You’ll see the regulator gauge change as you turn the knob. Set it to the pressure recommended for your tool. For instance, manybrad nailers run around 90 PSI. Tire inflators might need 30-40 PSI. Over-pressurizing can damage your tool and is a common mistake. Under-pressurizing means your tool won’t perform as intended.
Common Pressure Settings Checklist
Here’s a quick guide. Always check your tool’s manual for the exact PSI. We compiled these based on general usage:
- Tire Inflation (Cars): 30-40 PSI
- Tire Inflation (Bikes): 50-80 PSI (check tire sidewall)
- Brad Nailer: 70-100 PSI
- Stapler: 70-100 PSI
- Impact Wrench: 90-120 PSI
- Blow Gun: 30-50 PSI
Using a Pressure Gauge (Optional but Recommended)
While your compressor has gauges, some people prefer to use a separate tire pressure gauge or a gauge built into their inflator. This is especially helpful for tasks like tire inflation. It allows you to confirm the pressure directly at the point of inflation. We found this adds an extra layer of accuracy for critical jobs.
Post-Use and Maintenance Tips
Don’t just unplug and walk away! A little bit of care after you’re done goes a long way. Proper shutdown ensures longevity and consistent performance.
Draining the Air Tank
Water is the enemy of your air compressor’s tank. Moisture from the air condenses inside. You need to drain this water regularly. Look for a small valve at the bottom of the tank, often called a drain cock. Open it up slowly. You’ll hear the air hiss out, and water will drain with it. Do this after every use. Many experts recommend draining the tank until it’s empty (Mayo Clinic advises regular draining to prevent rust).
Storing Your Compressor
Once drained, you can unplug the compressor. Coil the power cord neatly. Make sure the air hose is disconnected. Store it in a dry place. Avoid damp basements or garages if possible. Keep it away from extreme heat or cold. A clean, dry storage spot is ideal for keeping it in good condition.
Conclusion
You’ve now got a clear roadmap for using your Craftsman 6-gallon air compressor. We’ve walked through everything from a quick unboxing to safely powering it up and adjusting the pressure. Remember, a secure hose connection and the right PSI setting are key for efficient operation. Don’t forget that simple post-use step of draining the tank to prevent rust. Ready to put your compressor to work? Your next project is just a few steps away!
Frequently Asked Questions
How do I know if my Craftsman air compressor is building pressure?
You’ll know your Craftsman compressor is building pressure by watching the tank pressure gauge. This gauge is typically located on the front of the unit. As the motor runs, you’ll see the needle on this gauge slowly rise, indicating that air is being stored in the tank.
Can I use a regular household extension cord with my compressor?
It’s generally recommended to avoid long or standard household extension cords. If you must use one, ensure it’s a heavy-duty cord rated for your compressor’s amperage draw. Using the wrong cord can reduce power and even be a fire hazard.
What happens if I over-pressurize my pneumatic tool?
Over-pressurizing your tool is a common mistake that can lead to damage. Your tool may malfunction, experience leaks, or break entirely. Always check the tool’s manual for the recommended PSI and use the compressor’s regulator to match it.
How often should I drain the water from the air tank?
You should drain the water from your air tank after every use. Moisture naturally condenses inside the tank as it compresses air. Regular draining prevents rust and corrosion, ensuring your compressor lasts longer and performs reliably.
Where can I find the recommended PSI for my specific tool?
The best place to find the recommended PSI for your specific pneumatic tool is in the tool’s user manual. This information is often printed directly on the tool itself as well, usually near the air inlet.