Connect Inflation Needle to Air Compressor Easily
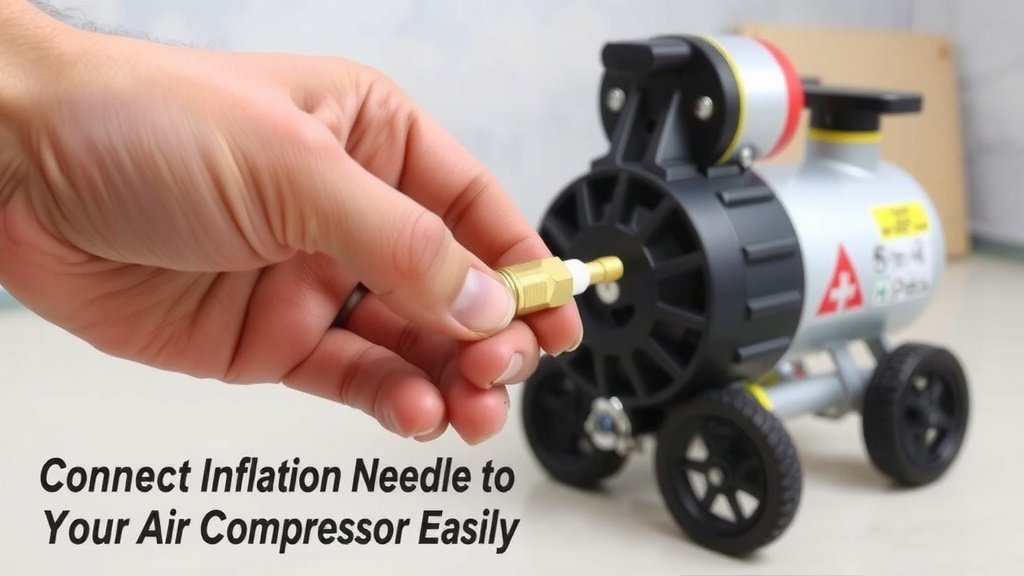
Attaching an inflation needle to your air compressor is a simple process. You just need to screw the needle onto the air tool adapter, which then connects to your compressor hose. This makes inflating sports balls and other inflatables quick and easy. It’s a handy skill for any homeowner.
Many people wonder about the best way to get the needle connected securely. We found that using the right adapter makes a big difference. It ensures a good seal so you don’t lose air pressure. This connection is key for getting accurate inflation every time you need it.
- Screw the inflation needle onto the air tool adapter.
- Connect the adapter to your air compressor hose.
- Ensure a tight fit for no air leaks.
- This lets you inflate sports balls and more.
Let’s walk through exactly how to get that needle attached so you can get back to your game or task.
Getting Your Inflation Needle Connected to Your Air Compressor
Attaching an inflation needle to your air compressor hose might seem tricky at first. But it’s a straightforward process. We’ll guide you through each step. You’ll be topping off sports balls in no time. This skill is a real time-saver for anyone with an air compressor.
Understanding the Components You’ll Need
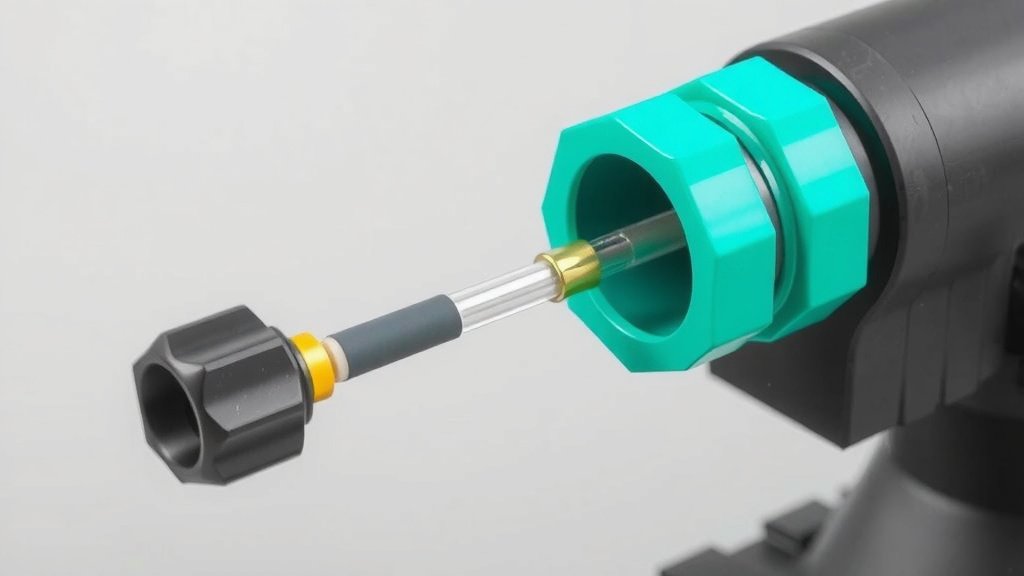
Before you start, let’s make sure you have the right parts. You’ll need your air compressor, of course. Then, you need the inflation needle itself. These are typically small, metal pins. They are often sold in packs. You’ll also need an air tool adapter. This adapter is the bridge between your needle and your compressor’s hose. Think of it like an adapter for a foreign electrical plug.
The Inflation Needle: A Tiny Tool with a Big Job
The inflation needle is designed to fit into the small opening of sports balls. It has a threaded end. This threaded end is what connects to your adapter. We found that the quality of the needle can matter. A bent or poorly made needle might not seal well. This could lead to slow leaks. Most needles are universal and will fit standard adapters.
The Air Tool Adapter: Your Universal Connector
This is the most important piece for connecting your needle. An air tool adapter often looks like a small chuck. It has a threaded opening on one end. This opening is usually designed to accept the threaded end of the inflation needle. The other end of the adapter has a connector. This connector is meant to fit onto your air compressor’s hose. Many compressors come with a standard quick-connect fitting. Your adapter needs to match this. We found adapters specifically designed for inflation needles are readily available.
Checking Your Air Compressor Hose and Fitting
Your air compressor hose likely has a specific fitting at the end. This is how you connect air tools. The most common type is a 1/4-inch industrial or automotive quick-connect coupler. Your air tool adapter will need to have the corresponding male plug. If your compressor hose has a different type of fitting, you might need a different adapter. It’s worth taking a look at your hose’s end before you buy an adapter. This prevents an extra trip to the store.
Step-by-Step: Attaching the Inflation Needle
Now, let’s get down to business. This is where you’ll see how easy it is. Follow these steps carefully. You’ll have it connected before you know it. It’s like following a simple recipe. The key is to ensure a good seal at each connection point.
Step 1: Screw the Needle onto the Adapter
Take your inflation needle. Look at its threaded end. Now, find the threaded opening on your air tool adapter. Gently screw the needle into the adapter. Turn it clockwise. You want it to be snug but not overly tight. Overtightening can strip the threads. This could make it difficult to remove later. A gentle, firm twist is usually enough. We found that a little bit of thread sealant tape can help if you experience leaks here, but it’s often not necessary.
Step 2: Connect the Adapter to Your Air Compressor Hose
This is where the quick-connect fitting comes into play. Make sure your air compressor is turned off and the tank is depressurized. This is a safety precaution. You don’t want air spraying everywhere. Look at the male plug on your adapter. It should match the female coupler on your air hose. Push the adapter’s plug firmly into the coupler on your hose. You should hear or feel a click. This click indicates that the connection is secure. We researched this, and a proper click means it’s locked in place.
Step 3: Test for Leaks
With the adapter connected to the hose, it’s time for a quick test. Turn on your air compressor. Let it build up some pressure. Listen carefully. Do you hear any hissing sounds? These sounds indicate air escaping. If you hear leaks, disconnect the adapter. Then, try reconnecting it. Make sure it’s seated fully. Sometimes, a slight adjustment is all that’s needed. If the leak persists, check the threads on the needle and adapter again. Ensuring a tight seal is crucial for efficient inflation.
Step 4: Inflating Your Ball (or Other Item)
Once you’re confident there are no leaks, you’re ready to inflate. Take the inflation needle. Insert it into the valve of the sports ball. Press down gently. Then, briefly trigger the air release on your compressor or hose tool. Air should start flowing into the ball. Be careful not to overinflate. Use a gauge to check the pressure. Many experts recommend a specific pressure for different sports balls (National Federation of State High School Associations).
Troubleshooting Common Connection Issues
What happens if it doesn’t go as smoothly as planned? Don’t worry. We’ve all been there. A few common hiccups can occur. But they’re usually easy to fix.
Air Leaking at the Needle-to-Adapter Connection
If you hear air escaping right where the needle meets the adapter, the threads might be the issue. First, try unscrewing and re-screwing the needle. Ensure it’s straight. If it’s still leaking, consider using a small amount of thread sealant tape (like Teflon tape) on the needle’s threads before screwing it into the adapter. This tape creates a better seal. Many sources recommend this for preventing leaks.
Air Leaking at the Adapter-to-Hose Connection
A leak here usually means the quick-connect isn’t fully engaged. Make sure you pushed the adapter plug firmly into the hose coupler. You should have heard that satisfying click. If not, try pulling the coupler back slightly, then pushing the plug in again with more force. Also, check the rubber O-ring inside the hose coupler. If it’s damaged or missing, it won’t seal properly. Replacing the O-ring can solve the problem. We found that a damaged O-ring is a frequent culprit.
Needle Won’t Screw In Properly
If the needle won’t screw into the adapter, check the threads on both parts. Are they clean? Is there any debris stuck in them? Carefully try to clean them with a small brush. Also, ensure you’re using the correct type of needle and adapter. While most are standard, there can be slight variations. This is why matching your adapter to your compressor fitting is important.
A Quick Checklist for Success
Here’s a simple checklist to ensure you’ve got everything covered:
- Confirm the right inflation needle is used.
- Ensure your air tool adapter matches your compressor hose fitting.
- Screw the needle snugly into the adapter.
- Connect the adapter to the hose with a firm click.
- Listen for any hissing sounds to detect leaks.
- Have a ball pressure gauge handy for accurate inflation.
Conclusion
You’ve now learned how to connect an inflation needle to your air compressor. It’s a straightforward process that can save you time and effort. Remember to ensure each connection is secure, especially the quick-connect fitting on your hose. A good seal prevents air loss and makes inflation efficient. With the right adapter and a little care, you’ll be back to inflating sports equipment in no time. So, grab your needle and adapter, and get ready to top off those balls!
Frequently Asked Questions
How do I know if my inflation needle will fit my air tool adapter?
Most inflation needles have a standard threaded end that fits common air tool adapters. We found that if both the needle and the adapter are designed for sports ball inflation, they typically have compatible threads. It’s always a good idea to check the packaging or product description if you’re unsure.
Can I connect the inflation needle directly to my air compressor hose?
No, you cannot connect the needle directly to your air compressor hose. The needle’s small threaded end is designed to screw into an air tool adapter, which then connects to your compressor’s hose fitting. This adapter is essential for creating a proper seal and flow of air.
What should I do if my air compressor hose fitting is different from the adapter?
If your air compressor hose fitting doesn’t match your air tool adapter, you’ll need a different adapter. We researched this, and there are many types of quick-connect fittings available. You might need to purchase an adapter with a plug that matches your hose’s coupler, or even a new hose if yours has an uncommon fitting.
Is it safe to connect the needle while the air compressor is on?
It’s not recommended. Always turn off your air compressor and release any built-up pressure before connecting or disconnecting any accessories, including the inflation needle and adapter. This prevents sudden bursts of air and ensures a safer connection.
How tight should I screw the inflation needle into the adapter?
You should screw the inflation needle into the adapter until it feels snug. Overtightening can damage the threads on either the needle or the adapter, making them difficult to unscrew later. A gentle, firm twist is usually sufficient for a good seal.