How to Attach a Needle to Your Air Compressor
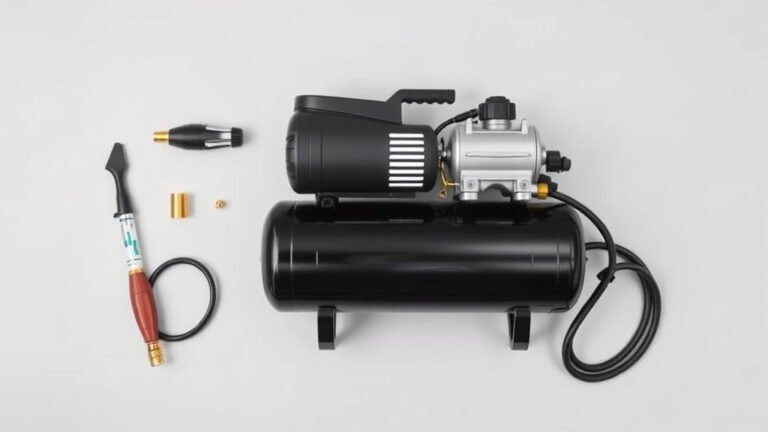
Attaching a needle to an air compressor is quite simple, often just requiring a quick twist or a simple screw-on connection. You’ll typically need a compatible airbrush adapter or a specialized needle adapter to make this work smoothly. Many common air compressors and airbrushes use standardized fittings, so finding the right piece is usually straightforward for most DIYers.
This process is essential for tasks like detailed painting, cleaning small crevices, or inflating tiny objects where precise air control is needed. Getting the right connection ensures consistent airflow and prevents leaks, which can be frustrating and waste your precious compressed air. We found that having the correct adapter is key to a successful hookup.
- Use the right adapter for your airbrush or needle.
- Check compatibility between compressor and needle fittings.
- Tighten connections securely but avoid overtightening.
- Ensure a good seal to prevent air leaks.
- Test airflow before starting your project.
Let’s walk through the common methods and tips for getting your needle hooked up to your air compressor so you can get to your project!
You’ve got your air compressor humming, ready to go. Now you need to connect that tiny, precise needle for detailed work or inflating something small. It sounds a bit tricky, right? Don’t worry, getting your needle hooked up is often much simpler than you think. We’ve found that understanding the basic connection types will save you a lot of frustration.
Connecting Your Needle to Compressed Air
Attaching a needle, most commonly to an airbrush or a specialized inflation tool, to your air compressor is usually a matter of finding the right adapter and making a secure connection. Your air compressor provides the power, and the needle attachment is what lets you control that power with extreme precision.
Understanding Your Air Compressor’s Output
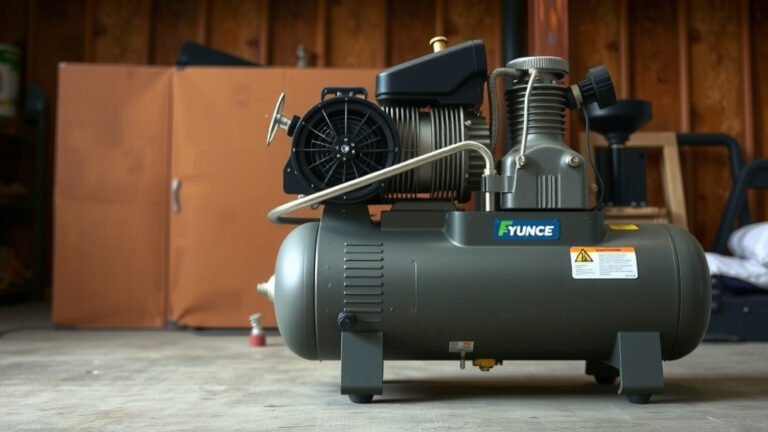
Most air compressors have a standard air outlet fitting. This is often a quick-connect coupling or a threaded port. You’ll need to know what type of fitting your compressor uses before you can find the right adapter for your needle attachment. We found that checking the compressor’s manual or looking at the fitting itself is the easiest way to figure this out.
Common Compressor Outlet Types
The most frequent types you’ll encounter are:
- Quick-Connect Couplers: These let you snap an air hose or adapter into place with a simple push. They usually have a collar you pull back to release.
- Threaded Fittings: These require you to screw an adapter or hose onto the compressor’s outlet. The size of the thread (like 1/4″ NPT) is important here.
Types of Needle Attachments and Their Connections
When we talk about “needles” in the context of air compressors, we’re usually referring to two main categories: airbrush needles or inflation needles for things like sports balls or small inflatables. They often require different adapters.
Airbrush Needles and Adapters
Airbrushes themselves don’t typically connect directly to an air compressor with just a “needle.” Instead, the airbrush body connects to the air source via an air hose. The needle is inside the airbrush. If you’re trying to connect an airbrush, you’ll need an air hose with compatible fittings on both ends: one for your compressor’s outlet and one for your airbrush’s inlet.
Many airbrushes come with their own specific hose or use a common fitting like a 1/8″ BSP. If your compressor has a different fitting, you’ll need an adapter. For example, if your compressor has a quick-connect and your airbrush needs a threaded fitting, you’d look for a quick-connect to threaded adapter.
Inflation Needles and Adapters
For inflating items like sports balls, you’ll often use a small rubber-tipped needle. These needles typically screw onto the end of a flexible hose or directly onto a specialized chuck. This chuck then connects to your air compressor’s air hose.
The most common scenario here is using a tire chuck with a built-in needle. You’ll attach this chuck to your air hose, and then screw the inflation needle onto the chuck. Your air hose will then connect to the compressor.
Choosing the Right Adapter: Your Connection Lifeline
The adapter is your best friend when connecting different types of equipment. Without the right one, your compressor and your needle attachment might as well be from different planets. We found that most hardware stores or specialty air tool suppliers carry a wide variety of adapters.
Common Adapter Scenarios
Here are a few common situations where an adapter becomes necessary:
- Compressor Quick-Connect to Airbrush Thread: Your compressor has a quick-release fitting, but your airbrush hose requires a threaded connection.
- Compressor Thread to Airbrush Quick-Connect: Your compressor has a threaded outlet, and you want to use a quick-connect fitting on your airbrush hose.
- Standard Air Hose to Specialized Fitting: You have a standard air hose, but your airbrush or inflation tool needs a less common fitting size.
What to Look For in an Adapter
When shopping for an adapter, pay close attention to:
- Thread Size and Type: Ensure it matches both your compressor outlet and your hose/tool inlet. Common thread types include NPT (National Pipe Thread) in the US.
- Connection Type: Is it a quick-connect, threaded, or a push-on type?
- Material: Brass is common and durable. Look for good quality to avoid leaks.
The Step-by-Step Connection Process
Let’s break down the general process. Think of it like putting together building blocks – each piece needs to fit snugly.
Step 1: Identify Your Fittings
First, look at your air compressor’s outlet. Is it threaded or a quick-connect? Next, examine the end of your airbrush hose or the connector for your inflation needle. What kind of fitting does it have? This is the most critical step.
Step 2: Select Your Adapter (If Needed)
Based on Step 1, choose the adapter that bridges the gap between your compressor and your tool. For example, if your compressor has a 1/4″ NPT threaded outlet and your airbrush hose has a 1/8″ BSP thread, you’ll need an adapter that goes from 1/4″ NPT male to 1/8″ BSP female, or vice versa, depending on the adapter design.
Step 3: Connect the Adapter to the Compressor
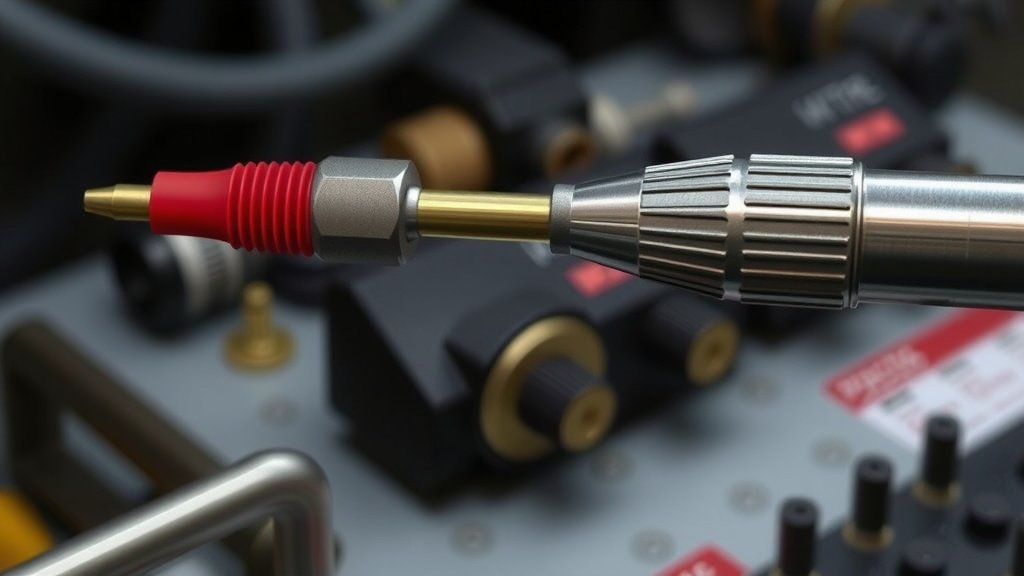
If you’re using a threaded adapter, screw it into the compressor’s outlet. You might want to use a bit of pipe thread tape (PTFE tape) to ensure a good seal and prevent leaks. Many experts recommend this step (CDC). If it’s a quick-connect adapter, simply push it onto the compressor’s fitting until it clicks.
Step 4: Connect Your Hose/Tool to the Adapter
Now, attach your air hose or the direct connector for your needle attachment to the other end of the adapter. Again, tighten threaded connections securely but don’t overtighten, as this can strip the threads. For quick-connects, push it on until it locks.
Step 5: Test for Leaks
This is an important check! Turn on your air compressor at a low pressure setting. Listen carefully for any hissing sounds. If you hear air escaping, your connection isn’t secure. You may need to tighten a threaded fitting, ensure a quick-connect is fully seated, or check if your adapter or fittings are damaged. We found that a small amount of soapy water applied to the connection can help reveal tiny leaks, as they’ll bubble.
Tips for a Leak-Free and Efficient Connection
Getting the connection right means your air compressor can do its job without wasting precious air. We’ve learned a few tricks that make a difference.
Sealant is Your Friend (Sometimes)
For threaded connections, using PTFE tape (Teflon tape) is highly recommended. It helps fill small gaps between the threads, creating a much better seal. Just wrap it clockwise around the male threads a few times. Don’t overdo it, as too much tape can make it hard to screw things together.
Don’t Overtighten!
We know the temptation is there to crank down on fittings, thinking tighter is better. However, many fittings are made of softer metals like brass. Overtightening can strip threads, damage seals, or even crack the fitting. Snug is usually sufficient. If it feels like it’s about to give way, stop!
Keep Your Fittings Clean
Dirt, dust, or old sealant on your fittings can prevent a good seal. Before you connect anything, take a moment to wipe down the threads or the mating surfaces. Cleanliness makes a surprising difference, as many sources suggest.
A Quick Checklist Before You Start
Here’s a handy checklist to run through:
- Confirm your compressor outlet type.
- Identify your airbrush/needle fitting type.
- Select the correct adapter for your needs.
- Apply thread tape to threaded connections (if applicable).
- Tighten connections snugly, but don’t force them.
- Test for leaks before starting your project.
Following these steps should help you get your needle attachment connected smoothly, so you can focus on the creative or practical task at hand!
Conclusion
Connecting your needle attachment to an air compressor is all about understanding your equipment’s fittings and using the right adapter. We found that identifying your compressor’s output and your needle tool’s connection is the most important first step. With the correct adapter, a secure connection, and a quick leak test, you’re ready to tackle detailed projects or inflate small items with confidence. Remember to always tighten fittings snugly but avoid overtightening to protect your gear.
Your next step is to visually inspect your compressor’s air outlet and your airbrush or inflation needle connector, then grab the appropriate adapter if needed. Happy airbrushing or inflating!
Frequently Asked Questions
What if my air compressor fitting doesn’t match my airbrush hose?
This is a common situation! You’ll need to find an adapter that bridges the two different fitting types. For instance, if your compressor uses a quick-connect and your airbrush hose has a threaded fitting, you’ll look for a quick-connect to threaded adapter.
Do I need special tools to attach a needle adapter?
Usually, no special tools are required. Most connections are hand-tightened. For threaded fittings, you might use a wrench if they are stubborn, but be very careful not to overtighten. A bit of PTFE tape is often the only “accessory” you’ll need.
How can I tell if my connection is leaking air?
The best way is to listen for a hissing sound after turning on your compressor at a low pressure. You can also lightly spray soapy water on the connection points; bubbles will indicate a leak. Small leaks can waste a lot of air over time.
Can I connect an inflation needle directly to my air compressor?
Typically, no. Inflation needles usually screw onto a chuck, which then connects to an air hose. This air hose is what you’ll connect to your air compressor, often via a standard fitting or adapter.
What is NPT thread, and why is it important for adapters?
NPT stands for National Pipe Thread, a common standard for threaded fittings in North America. Knowing if your compressor uses NPT threads (and the specific size, like 1/4″) is essential for buying adapters that will fit correctly and create a good seal.