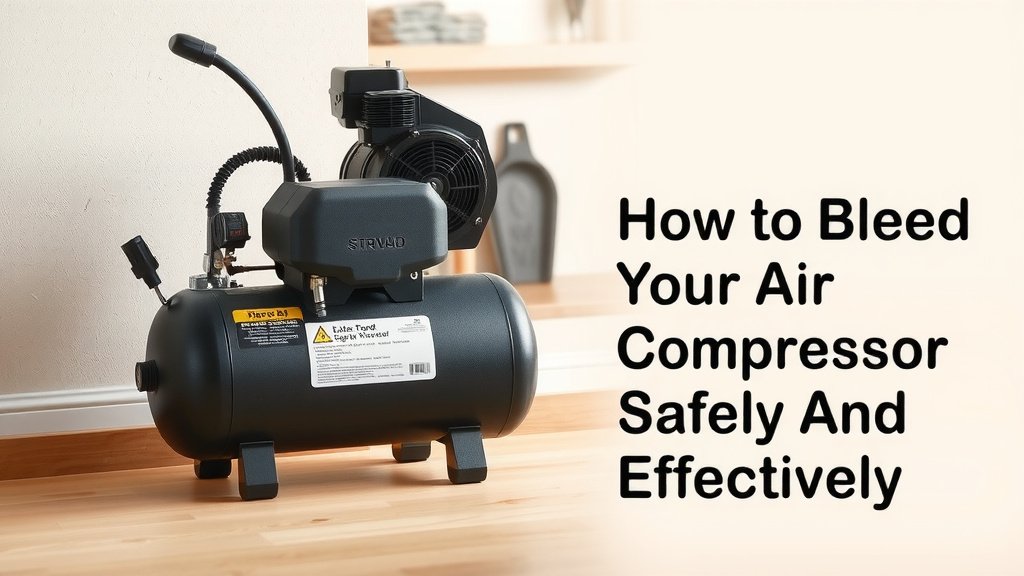
How to Bleed Your Air Compressor Safely and Effectively
Bleeding your air compressor is a simple process that helps maintain its performance and prevent rust. You should bleed your air compressor regularly, ideally after each use, to remove moisture and trapped air from the tank. This quick maintenance task ensures your compressor runs efficiently.
Keeping your air compressor in good shape is super important. By releasing compressed air and moisture, you help protect the internal components from damage and corrosion. This simple step can add years to your compressor’s life and keep it ready when you need it most.
- Bleeding removes moisture and trapped air.
- It helps prevent rust and internal damage.
- Do it after each use for best results.
- This simple task boosts compressor lifespan.
Ready to get that moisture out? Let’s walk through exactly how to bleed your air compressor, step by step.
Steps to Properly Drain Your Air Compressor
Keeping your air compressor working well is all about a little regular care. One of the most important tasks you can do is to bleed the air out of the tank. This process removes built-up moisture and stale air. It’s a simple step that makes a big difference in your compressor’s performance and lifespan.
Why Bleeding Your Air Compressor Matters
Think of your air compressor like your car engine. Regular maintenance keeps it running smoothly. Bleeding the tank is a key part of that maintenance. It’s not just about getting rid of air; it’s primarily about getting rid of the water vapor that gets compressed along with the air.
Preventing Rust and Corrosion
When air is compressed, it heats up. As it cools inside the tank, moisture condenses. This water sits at the bottom of the tank. Over time, this standing water can lead to rust and corrosion inside your compressor tank. Rust particles can then get into your tools, potentially damaging them. Many guidelines point to regular draining as the best way to prevent this tank degradation (Compressed Air Best Practices).
Ensuring Optimal Performance
A tank full of moisture and stale air isn’t just bad for the compressor; it can also affect how well your tools work. Moisture can cause tools to malfunction or reduce their effectiveness. By bleeding the tank, you ensure you’re getting clean, dry air every time. This leads to more consistent tool performance.
Extending Compressor Lifespan
Internal rust and damage from moisture can shorten your air compressor’s life. Addressing the moisture issue regularly through bleeding helps protect the internal components. This preventative action can save you from costly repairs or premature replacement.
How to Bleed Air From Your Compressor: A Step-by-Step Guide
Ready to get that moisture out? It’s a straightforward process. You’ll need a few minutes and a clear space around your compressor. Make sure you have your safety glasses on!
Step 1: Safety First!
Before you do anything, ensure the compressor is turned off and unplugged from the power source. This is non-negotiable for your safety. You don’t want the compressor to accidentally start while you’re working on it. It’s also a good idea to wear safety glasses to protect your eyes from any sudden bursts of air or debris.
Step 2: Locate the Drain Valve
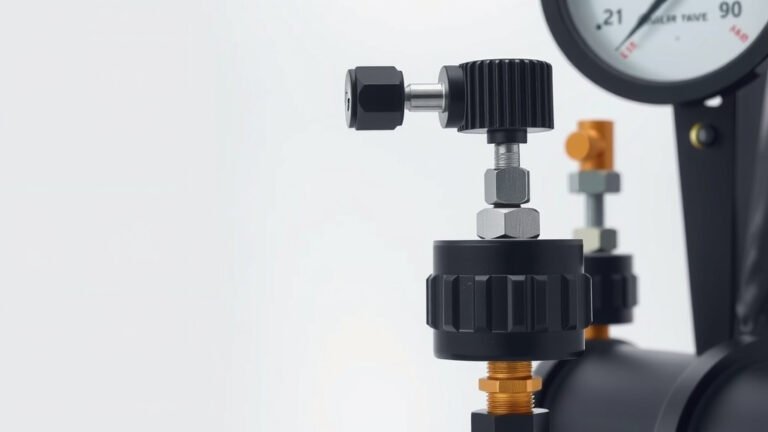
The drain valve is usually located at the very bottom of the air tank. It looks like a small faucet or knob. Some compressors have a simple ball valve that you turn, while others might have a petcock-style drain that you pull out and turn. Check your compressor’s manual if you’re unsure where to find it.
Step 3: Prepare for Drainage
Place a bucket or a suitable container under the drain valve. This will catch the water and any debris that comes out. You might be surprised how much water can accumulate. It’s a good idea to have a rag handy for any drips.
Step 4: Slowly Open the Drain Valve
This is the main event! Slowly turn the drain valve counter-clockwise. You should hear air starting to escape. Don’t open it too quickly, as a sudden rush of air can be startling and might spray water further than you expect. If it’s a ball valve, a quarter or half turn is usually enough to start. For petcock valves, you’ll typically pull it out slightly and then turn it.
What to Expect When Opening the Valve
Initially, you’ll likely hear a hissing sound as the compressed air is released. You might also see some water spray out. This is perfectly normal. The goal is to let the air and moisture escape until the hissing stops and only a little bit of moisture or no moisture comes out. This ensures you’ve effectively drained the tank.
Step 5: Close the Drain Valve
Once the air and moisture have been released, and you’re only seeing or hearing minimal signs of discharge, it’s time to close the valve. Turn it clockwise until it’s snug. Be careful not to overtighten it, as this can damage the valve. You want it closed securely so no air leaks out during operation.
Step 6: Check for Leaks
After closing the valve, you can plug the compressor back in and let it build pressure. Listen carefully around the drain valve for any hissing sounds. If you hear any, the valve might not be fully closed or might be damaged. You may need to tighten it slightly or consider replacing the valve if the leak persists.
How Often Should You Bleed Your Air Compressor?
The general recommendation from many manufacturers and industry experts is to bleed your air compressor after each use. This is especially true if you live in a humid climate or if your compressor has been working hard. Making it a habit ensures you’re always starting with a dry tank. If you don’t use your compressor frequently, aim to bleed it at least once a month to remove any accumulated moisture.

Tips for Easier Drainage
Sometimes, the drain valve can be tricky to reach or hard to turn. Here are a few tips that can make the process smoother:
- Use a Drain Hose: Many compressors can be fitted with a small hose that attaches to the drain valve. This hose can then be directed into a bucket, making the drainage process cleaner and easier to manage, especially if the valve is in a tight spot.
- Consider an Automatic Drain: For frequently used compressors, an automatic drain valve can be a worthwhile investment. These valves open and close automatically at set intervals or when pressure drops, eliminating the need for manual draining.
- Keep the Area Clear: Always ensure the area around the drain valve is clear of obstructions. This makes it easier to attach a hose or place a bucket correctly.
Troubleshooting Common Drainage Issues
What if the valve won’t open, or it keeps leaking?
Stuck Drain Valve
If your drain valve is stuck, it might be due to rust or debris. Try gently tapping around the valve with the handle of a screwdriver or a rubber mallet. You can also try applying a penetrating lubricant, letting it sit for a while, and then attempting to turn it again. If it still won’t budge, you may need to have it professionally serviced or replaced.
Leaking Drain Valve
A persistent leak usually means the valve isn’t sealing properly. This could be due to a worn-out gasket, a damaged valve seat, or simply not being closed tightly enough. Check that no debris is preventing a good seal. If the valve appears damaged, it’s time to replace it.
Here’s a quick checklist to ensure you’ve got the process down:
- Turn off and unplug the compressor.
- Locate the drain valve at the tank bottom.
- Place a bucket underneath.
- Slowly open the valve to release air and moisture.
- Close the valve securely when done.
- Check for leaks after repressurizing.
Conclusion
You’ve learned that bleeding your air compressor is a simple yet vital maintenance step. Regularly removing moisture and trapped air from your tank helps prevent rust and ensures your tools receive clean, dry air. This not only protects your compressor’s internal components but also guarantees optimal performance for all your projects. Make it a habit after each use, and your air compressor will serve you reliably for years to come.
Ready to put this knowledge into action? The next time you finish using your compressor, take those few extra minutes to perform the drain. Your equipment will thank you!
Frequently Asked Questions
Can I bleed my air compressor while it’s still pressurized?
It’s best to let the pressure release naturally as you open the valve. While some air will escape, opening the valve on a fully pressurized tank might cause a sudden, forceful spray. Always ensure the compressor is turned off and unplugged before you begin draining.
What if water keeps coming out even after a while?
If you’re draining a lot of water for an extended period, it might indicate excessive condensation. This could be due to frequent, long usage cycles or high humidity. Continue draining until the water flow significantly slows or stops, and consider if your compressor is properly sized for your tasks.
Is it okay to leave the drain valve slightly open overnight?
Leaving the drain valve slightly open is not recommended as it can lead to continuous air loss, reducing the tank’s pressure. It’s best to fully close the valve after draining to maintain pressure and prevent leaks.
Can I use an air compressor with moisture in the tank?
You can, but it’s not ideal. Moisture can lead to rust inside the tank and damage your air tools over time. Regularly bleeding your compressor ensures you’re using clean, dry air for better tool performance and longevity.
What’s the difference between a ball valve and a petcock drain?
A ball valve typically has a lever you turn a quarter or half turn to open and close. A petcock valve is often a smaller knob you pull out slightly and then turn. Both serve the same purpose of releasing air and moisture from the tank.