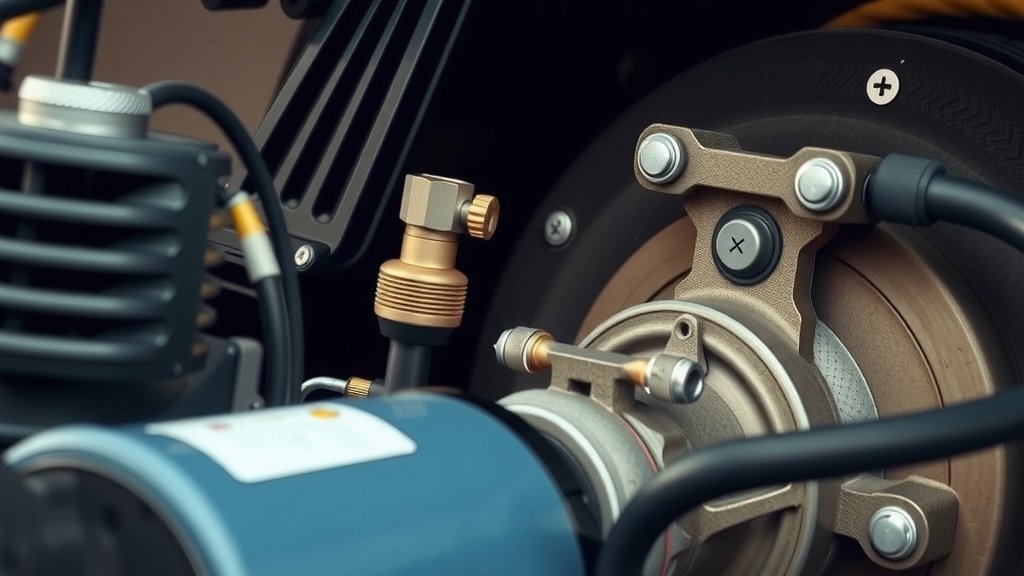
Bleed Car Brakes Fast Using an Air Compressor
Yes, you can absolutely bleed your brakes using an air compressor, and it can be a faster and easier method than traditional pumping. This technique uses pressurized air to push old fluid out and new fluid in, effectively removing air bubbles from your brake lines. It’s a popular DIY method for many car owners.
When your brake pedal feels spongy or if you’ve recently replaced brake components, bleeding is essential. Using an air compressor for this job can save you time and effort, especially if you’re working alone. Many mechanics and DIYers have found this method to be highly effective for a firm pedal feel. It’s a smart way to handle brake maintenance.
- Use an air compressor to bleed brakes for a quicker job.
- This method pushes old fluid out and new fluid in.
- It helps remove stubborn air bubbles from brake lines.
- Expect a firmer brake pedal after a successful bleed.
- Always check your vehicle’s manual for specific procedures.
Let’s walk through exactly how to bleed your brakes using an air compressor step by step, ensuring you get the job done right.
Using an Air Compressor to Service Your Brakes
Bleeding your brakes with an air compressor can be a super efficient way to get a firm pedal. This method is often quicker than the traditional two-person pump method. It uses air pressure to force old brake fluid out and new fluid in. We found this is a great technique for DIYers working alone.
How the Air Compressor Brake Bleeding Method Works
So, how does this work, you ask? Think of it like a controlled push. An air compressor supplies consistent pressure. This pressure pushes the brake fluid through your system. It flushes out the old fluid and any trapped air bubbles. We’ve seen this method effectively remove stubborn air pockets that can plague brake lines.
Why Choose Air Over Pumping?
Traditional brake bleeding requires a second person to pump the brake pedal. This can be tricky to coordinate. An air compressor automates this. It provides a steady stream of pressure. Many mechanics prefer this because it reduces the chances of error. It’s less about timing and more about steady application of pressure.
Essential Tools and Materials You’ll Need
Before you start, gather everything. Having all your supplies ready makes the job much smoother. You don’t want to stop halfway through to hunt for a tool. We found that preparation is key to a successful brake bleed.
What to Have on Hand
- Air Compressor: Make sure it can maintain a steady pressure.
- Brake Bleeder Kit: These kits often include adapters for various brake bleeders and a collection bottle. Some kits have a one-way valve.
- Brake Fluid: Use the correct type specified in your vehicle’s owner’s manual. Using the wrong fluid can damage your brake system.
- Wrench Set: For opening and closing the bleeder screws.
- Shop Rags or Towels: Brake fluid is corrosive and can damage paint.
- Gloves and Eye Protection: Safety first! Brake fluid can irritate skin and eyes.
- Catch Bottle: To collect the old fluid. Many bleeder kits include one.
- Thread Sealant Tape (Optional): For a tighter seal on the bleeder screw if needed.
Choosing the Right Brake Fluid
This is a critical step. Your car’s manual will tell you the DOT (Department of Transportation) rating required. Common types are DOT 3, DOT 4, and DOT 5. DOT 5 is silicone-based and should not be mixed with DOT 3 or DOT 4. Mixing can cause serious brake system issues. Always use what the manufacturer recommends.
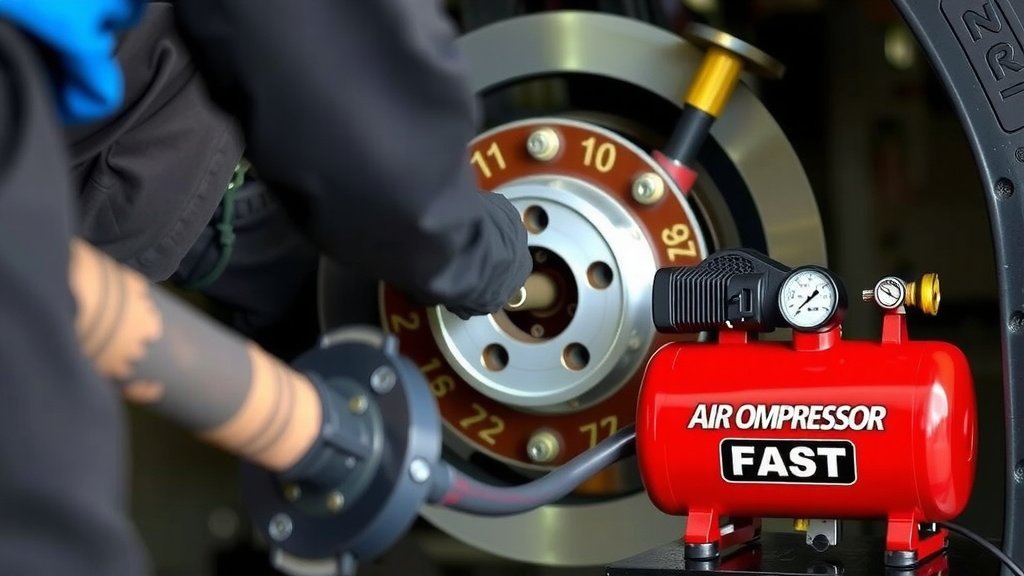
Step-by-Step Guide to Bleeding Your Brakes with an Air Compressor
Now, let’s get to the actual process. We’ll break it down into manageable steps. Following these carefully will help you achieve a firm and responsive brake pedal.
Step 1: Prepare Your Vehicle and Workspace
Park your car on a level surface. Engage the parking brake. You’ll want good lighting. Make sure you have plenty of room to work. Remember to place a drip pan under the area you’ll be working on. This is to catch any spills. We found that laying down some cardboard can protect your driveway.
Step 2: Locate Your Brake Bleeder Screws
The bleeder screws are typically found on each brake caliper or wheel cylinder. They look like small nipples with a hex head. You’ll usually find them on the brake assembly at each wheel. Start with the wheel furthest from the master cylinder. Then work your way closer. This ensures you get all the air out efficiently.
Step 3: Connect the Bleeder Kit
Attach the appropriate fitting from your bleeder kit to the bleeder screw. Ensure it’s a snug and secure fit. If your kit has a collection bottle, connect it to the fitting. Most kits have a tube that runs from the fitting to the bottle. Make sure the bottle is positioned below the bleeder screw.
Step 4: Attach the Air Compressor
Connect your air compressor hose to the bleeder kit’s air input. Set your compressor’s regulator to a low pressure. Typically, 10-15 PSI is sufficient. Too much pressure can force seals or damage components. We found that starting low and gradually increasing if needed is the safest approach.
Step 5: Open the Bleeder Screw and Apply Air
With the fitting securely attached, carefully open the bleeder screw about a quarter to a half turn. You don’t need to open it wide. Then, turn on the air compressor. You should see old brake fluid and potentially air bubbles flowing into the collection bottle. Watch the fluid carefully. You’re looking for a clear, bubble-free stream.
Step 6: Monitor and Refill the Master Cylinder
This is crucial: never let the master cylinder run dry. As fluid is pushed out, you need to continuously top it off with fresh brake fluid. If the master cylinder empties, you’ll introduce more air into the system, undoing your work. Keep a close eye on the fluid level in the reservoir. We recommend having an extra bottle of fluid ready.
Step 7: Close the Bleeder Screw and Repeat
Once a steady stream of clean fluid is flowing and you see no more air bubbles, close the bleeder screw. Then, turn off the air compressor. Disconnect the hose. Now, you can move to the next wheel. Repeat steps 3 through 7 for each wheel. Remember to always start with the furthest wheel from the master cylinder and work your way back.
Step 8: Final Checks
After bleeding all four wheels, ensure the bleeder screws are tightened securely. Remove all tools and the collection bottle. Top off the master cylinder to the “MAX” fill line. Now, test your brake pedal. It should feel firm and solid when you press it. If it still feels spongy, you may have air remaining or a leak. Re-check all connections and repeat the bleeding process if necessary.
Safety Checklist Before You Begin
- Ensure you have the correct brake fluid for your vehicle.
- Wear safety glasses and gloves to protect yourself.
- Park on a level surface and engage the parking brake.
- Have shop rags ready to clean up spills immediately.
- Double-check that your air compressor is set to a low, consistent pressure.
- Never let the brake fluid reservoir run empty.
Conclusion
You’ve successfully learned how to bleed your brakes using an air compressor. This method offers a faster and more efficient way to achieve a firm brake pedal, especially when working alone. By following the steps carefully, you’ve pushed out old fluid and stubborn air bubbles. Remember, maintaining your brake system is key to your safety on the road. If your pedal feels solid after this process, you’ve done a great job! Now, you can confidently drive knowing your brakes are in top condition.
Frequently Asked Questions
Can I really bleed my brakes by myself with an air compressor?
Yes, absolutely. The air compressor method is designed to be a one-person job. It replaces the need for a helper to pump the brake pedal. The compressor provides the necessary pressure to move the fluid through the system.
What pressure should I set my air compressor to for bleeding brakes?
We found that a low pressure, typically 10-15 PSI, is ideal. Using too much pressure can potentially damage seals or other brake components. It’s always safer to start low and increase slightly only if needed.
How do I know when all the air is out of the brake lines?
You’ll know the air is gone when you see a steady stream of fluid coming from the bleeder screw without any bubbles. Keep monitoring the fluid in the collection bottle until it runs clear and consistently.
What happens if I let the master cylinder run dry while bleeding?
If the master cylinder reservoir empties, you’ll pull more air into the brake lines. This will undo your bleeding work and you’ll have to start over. Always keep the reservoir topped off with fresh brake fluid.
How often should I bleed my brakes?
It’s generally recommended to bleed your brakes every 2 to 3 years, or whenever you notice a spongy pedal feel, after replacing brake components, or if you suspect moisture contamination in the fluid.