Build Your Own Air Compressor: A DIY Guide
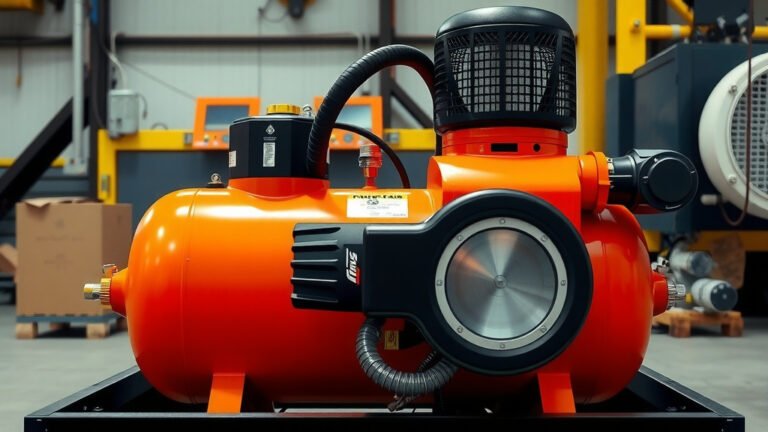
Yes, you can absolutely build a homemade air compressor. With a few common parts and some basic tools, you can create a functional compressor for your DIY projects. It’s a fantastic way to save money and learn a bit about how things work. We’ll show you the easiest way to get started with your own air compressor build.
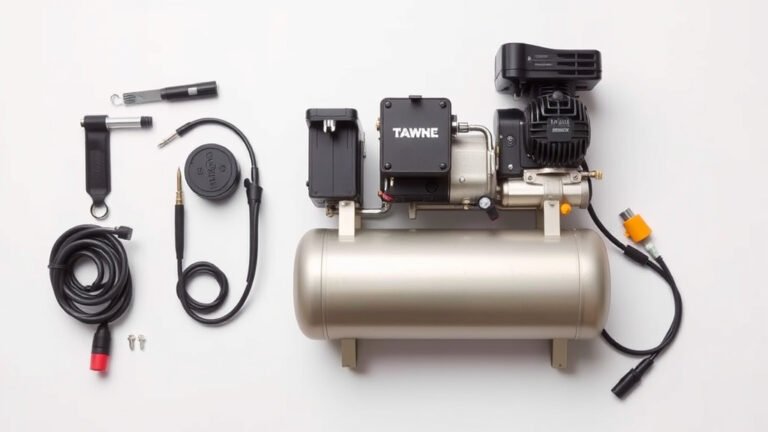
Building your own compressor gives you a real sense of accomplishment. It’s not just about saving cash; it’s about understanding the mechanics. Many people find this project rewarding, and the result is a useful tool for tasks like inflating tires or powering air tools. You’ll need to gather specific components like a motor, tank, and regulator.
- Gather your materials: motor, tank, regulator, and fittings.
- Assemble the components securely.
- Test for leaks and proper function.
- Safety first: always wear eye protection.
- Enjoy your new DIY air compressor!
Ready to get your hands dirty? Let’s walk through exactly how to build your very own homemade air compressor step by step.
Constructing Your Own DIY Air Compressor
Building your own air compressor might sound like a big project, but we found it’s surprisingly achievable. You can create a functional unit with common parts. It’s a great way to understand how pneumatic tools work. Plus, you’ll have a custom compressor for your garage. Let’s get started on the build process.
Essential Components for Your Air Compressor Project
Before you start assembling, gathering the right parts is key. You’ll need a few main items to get your compressor up and running. Think of these as the building blocks of your pneumatic powerhouse.
The Heart of the System: Motor and Compressor Pump
The motor powers the entire operation. It drives the compressor pump, which is what actually compresses the air. You can often salvage a suitable motor from an old appliance. Look for something with enough horsepower for your needs. Many DIY builders use refrigerator compressors or small shop-vac motors.
Choosing the Right Motor
We found that motors ranging from 1/2 to 1 horsepower are common for smaller projects. The key is ensuring it has enough torque. Check the motor’s specifications for its power output. Don’t forget to consider the voltage and amperage requirements for your electrical setup. Safety first when dealing with electricity!
Selecting Your Compressor Pump
The compressor pump is where the magic happens. It sucks in air and squeezes it. You can buy dedicated small compressor pumps online. Alternatively, you might find one attached to an old, broken air compressor. If you’re using a refrigerator compressor, it’s designed for continuous, low-volume output. This is perfect for tasks like inflating tires.
The Air Storage Tank: Holding Your Compressed Air
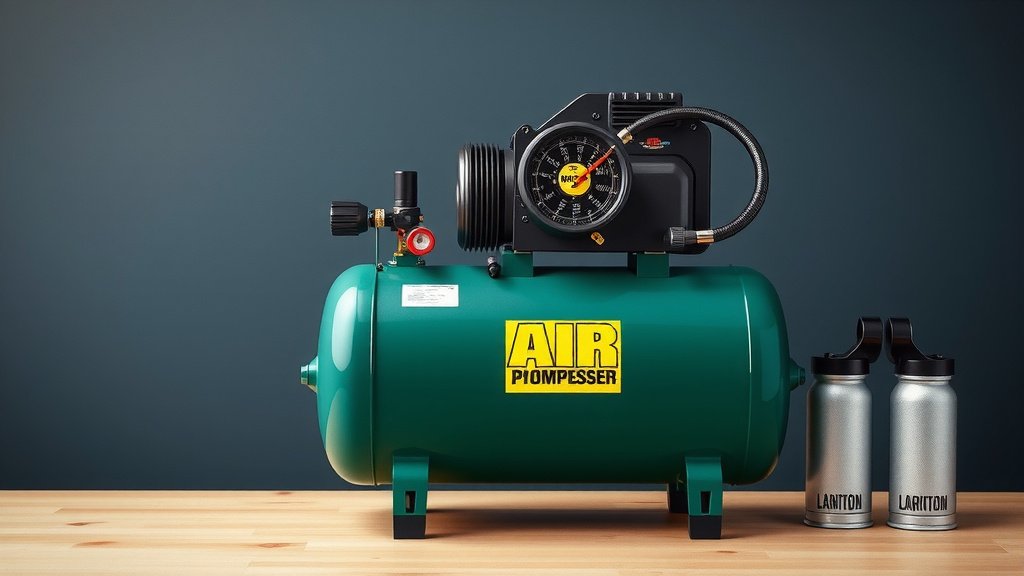
Once the air is compressed, it needs a place to go. That’s where the storage tank comes in. This tank will hold the pressurized air until you need it.
Tank Size Considerations
The size of your tank depends on how you plan to use the compressor. For small tasks like airing up bike tires, a smaller tank is fine. If you want to run tools that need a consistent air supply, you’ll want a larger tank. Many people repurpose old propane tanks or fire extinguishers for this. Just make sure they can handle pressure safely.
Tank Safety Modifications
It’s crucial to ensure your tank is rated for pressure. Many experts recommend using tanks specifically designed for air compressors. If you’re repurposing, thorough inspection is a must. You’ll need to add fittings for air intake, output, and a safety relief valve. We found that a 5-gallon tank is a good starting point for many DIYers.
Controlling the Pressure: Regulator and Gauge
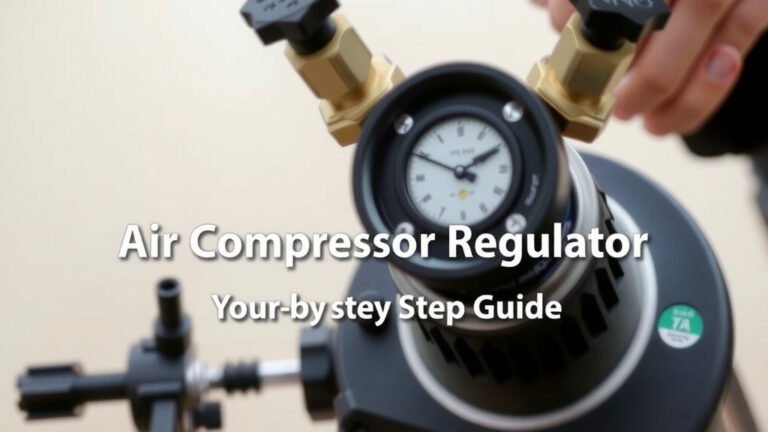
You don’t want uncontrolled air pressure. A regulator allows you to set the desired output pressure. A pressure gauge lets you monitor it.
The Role of the Regulator
The regulator acts like a faucet for air pressure. It takes the high pressure from the tank and reduces it to a usable level. This is essential for protecting your tools and ensuring consistent performance. Many DIY builders find regulators from old compressors work well.
Understanding the Pressure Gauge
A pressure gauge is your visual confirmation. It tells you how much air is stored in the tank and what pressure the regulator is set to. This lets you know when the compressor needs to run again. We found that a gauge with a range up to 150 PSI is typically sufficient.
Fittings, Hoses, and Miscellaneous Parts
You’ll need various fittings to connect everything. This includes air hoses, check valves, and possibly a drain valve for the tank. These small pieces are vital for a leak-free system.
Connecting Everything Together
Thread sealant tape, also known as plumber’s tape, is your best friend here. Use it on all threaded connections. This prevents leaks and ensures your compressor performs efficiently. A good air hose will connect your regulator to your tools or inflation chuck.
Step-by-Step Assembly Guide for Your DIY Air Compressor
Now that you have your parts, let’s put it all together. We’ll guide you through the assembly process.
Mounting the Motor and Pump
First, securely mount your motor and compressor pump. You might need a sturdy base plate. Ensure they are aligned properly. This prevents vibration and wear. A solid foundation is key for longevity.
Connecting the Pump to the Tank
Next, connect the outlet of your compressor pump to the air tank. You’ll need a fitting for this. A check valve is crucial here. It allows air into the tank but prevents it from flowing back out when the pump stops. Many sources suggest placing this valve very close to the tank inlet.
Installing the Regulator, Gauge, and Safety Valve
Now, install your pressure regulator, gauge, and safety relief valve onto the tank. The regulator and gauge usually go on the main output port. The safety relief valve is a critical safety feature. It will automatically release excess pressure if something goes wrong. We found that setting the relief valve slightly higher than your regulator is standard practice.
Plumbing and Final Connections
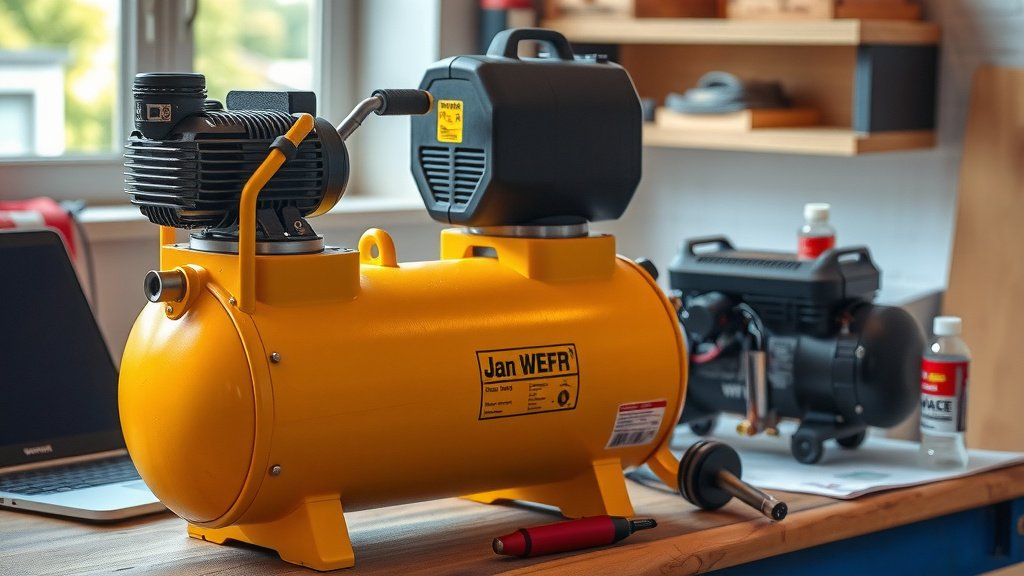
Connect your air output hose from the regulator. Ensure all connections are tight. Double-check your work for any loose fittings. A quick visual inspection can save you a lot of headaches later.
Testing and Initial Use of Your Homemade Compressor
With assembly complete, it’s time for the moment of truth. Testing ensures everything works as it should and is safe.
Performing a Leak Test
Before powering up the motor, it’s wise to do a preliminary leak test. You can do this by slightly pressurizing the tank with an external source, like another compressor or even a bike pump, if you have a suitable adapter. Listen for any hissing sounds.
First Run and Pressure Checks
Once you’re confident there are no major leaks, power up your motor. Let the compressor run. Watch the pressure gauge. Does it climb as expected? Does the regulator maintain your set pressure? We found that running it for a few minutes during the first test is usually enough.
Safety Checklist Before Each Use
Always run through a quick safety check before each time you use your compressor:
- Verify the pressure gauge is working.
- Ensure the safety relief valve is clear and functional.
- Check that all hose connections are secure.
- Confirm the regulator is set correctly for your task.
- Inspect the tank for any signs of rust or damage.
- Make sure the power cord is in good condition.
Conclusion
You’ve learned how to build your own air compressor, transforming common parts into a useful tool for your garage. Remember, careful assembly and thorough testing are key to a safe and effective build. Taking on this project yourself provides a great understanding of how compressors work. You’ve got the knowledge to create a functional compressor for inflating tires or powering small air tools. Now, it’s time to gather your materials and start building!
Frequently Asked Questions
What kind of motor should I look for?
For smaller DIY projects, motors between 1/2 to 1 horsepower are generally suitable. Ensure the motor has enough torque for the pump you choose. Always check its voltage and amperage requirements to match your electrical setup.
Can I repurpose parts from old appliances?
Yes, you often can. Many builders successfully use refrigerator compressors or motors from old shop vacuums. Just make sure the salvaged parts are in good working condition and appropriate for continuous operation if needed.
What’s the best type of tank to use?
You can repurpose items like propane tanks or fire extinguishers, but it’s vital they are rated for pressure and thoroughly inspected. Tanks specifically designed for air compressors are often the safest choice. A 5-gallon tank is a common starting point for many DIYers.
How do I ensure my compressor is safe to use?
Safety is paramount. Always install a pressure relief valve that’s set slightly higher than your regulator. Regularly check for leaks and inspect your tank for any signs of damage or rust. Always wear eye protection during assembly and use.
How much pressure can a homemade compressor typically produce?
The maximum pressure depends heavily on your motor, pump, and tank size. Many homemade units can effectively produce between 90-120 PSI, which is sufficient for basic tasks like tire inflation and powering some smaller air tools. Always use a regulator to control the output pressure.