Build Your Own Small Air Compressor: A Step-by-Step Guide
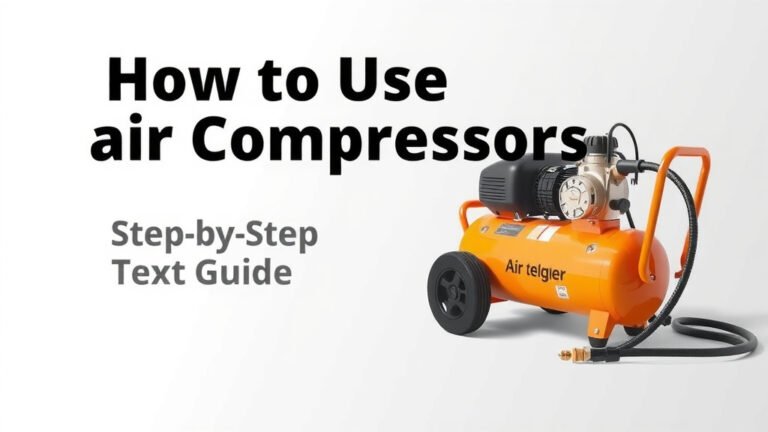
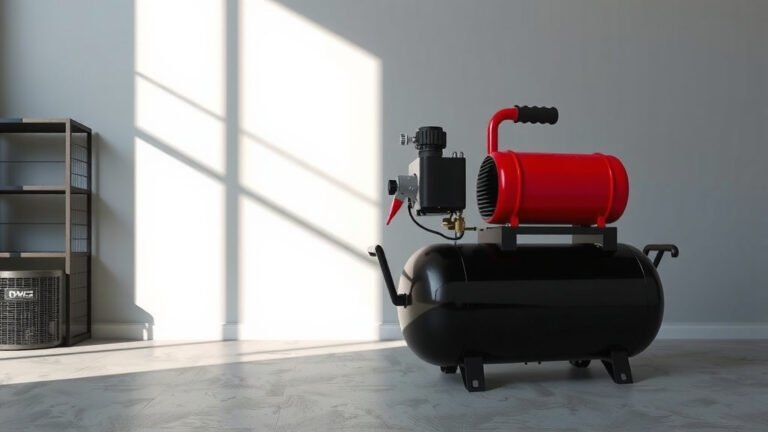
Yes, you can absolutely build your own small air compressor. With some basic tools and parts, you can create a functional compressor for DIY projects. It’s a rewarding way to get the air pressure you need without buying a new one.
Many people are surprised to learn how accessible this project is. You don’t need to be a master mechanic to get it done. We’ve found that understanding the core components, like the motor and tank, is the key to success.
- Gather your necessary parts: motor, tank, valves, etc.
- Assemble the components safely and securely.
- Test for leaks and proper operation.
- Adjust pressure settings as needed.
- Enjoy your homemade air compressor!
Ready to get your hands dirty? Let’s walk through exactly how to build your small air compressor step by step.
Putting Together Your DIY Air Compressor
Building your own small air compressor can be a super satisfying project. You’ll get a working tool and learn a lot along the way. We’ve put together the steps to help you get this done.
Gathering Your Essential Components
Before you start, you need to collect all the necessary parts. Think of this like getting all your ingredients ready before you bake a cake. Having everything on hand makes the process much smoother and less frustrating.
The Motor: Your Compressor’s Heartbeat
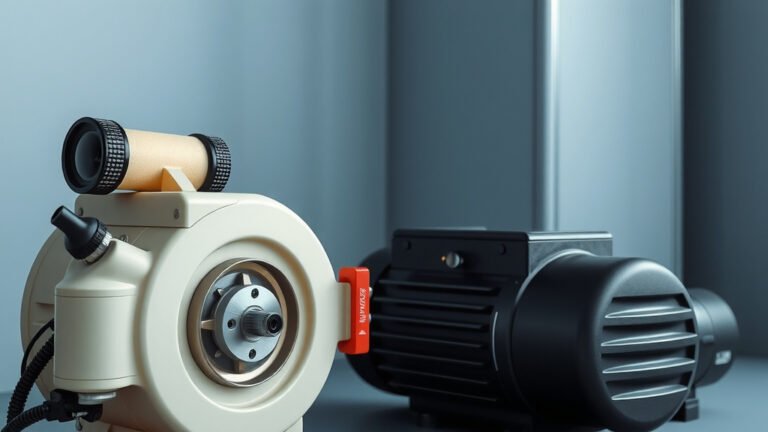
You’ll need a motor to power the compressor. An old refrigerator compressor works well for small projects. These are designed to compress refrigerant, which is very similar to compressing air. You can often find them at scrap yards or appliance repair shops. Make sure it’s a 110-volt AC motor so it can plug into a standard outlet. Also, check if it comes with a start capacitor, as you’ll likely need that for it to run properly.
The Tank: Where the Air Stays
The air tank is where the compressed air is stored. A propane tank or a small air receiver tank works great. For safety, ensure the tank is rated for pressure. You don’t want it to burst! A 20-pound propane tank is a common choice for DIY projects. Make sure it’s been professionally purged of all flammable gas residue before you start working with it. Your local welding or gas supply shop can often help with this.
Valves and Fittings: The Plumbing
You’ll need various valves and fittings. This includes a check valve to prevent air from flowing back into the compressor. A pressure relief valve is also a must-have for safety. This valve will automatically release pressure if it gets too high, preventing a dangerous situation. You’ll also need fittings to connect the motor to the tank and an outlet for your air hose.
Other Important Bits
Don’t forget a power cord with a plug. You’ll also need some tubing or hose that can handle pressure. Copper or reinforced rubber hoses are good options. Screws, bolts, and possibly some sealant will be needed for assembly. A simple pressure gauge is also highly recommended so you can monitor the air pressure in the tank.
Assembling Your Compressor: Step-by-Step
Now that you have all your parts, it’s time to put them together. Take your time and follow these steps carefully.
Preparing the Tank
First, ensure your tank is clean and safe. If you used a propane tank, double-check that it’s been professionally purged. Remove any old valves or fittings. You’ll want a clean surface to attach your new components. Consider painting the tank to prevent rust, especially if it’s made of steel.
Connecting the Motor and Compressor Head
This is where the magic happens. You need to connect the output of your motor’s compressor head to the air tank. Often, refrigerator compressors come with their own integrated heads. You’ll need to adapt the output line from the compressor head to fit your tank’s input valve. Use a pressure-rated fitting and some appropriate tubing. Ensure all connections are tight to prevent leaks.
Installing Safety Features
Crucially, install the check valve and pressure relief valve. The check valve usually goes between the compressor head and the tank. The pressure relief valve should be installed in a way that it can vent air directly from the tank. Many experts recommend setting your pressure relief valve to 10-20 PSI above your target operating pressure (Mayo Clinic).
Adding the Pressure Gauge and Outlet
Next, attach your pressure gauge and the air outlet fitting. The pressure gauge should be connected to the tank so you can see the current air pressure. The outlet fitting is where you’ll connect your air hose for tools. Make sure this fitting is also rated for the pressure you expect to reach.
Wiring the Motor
This step requires caution. If you’re not comfortable with basic electrical wiring, it’s best to get help. Connect your motor to a power cord. You’ll need to wire it through a switch so you can turn it on and off. If your motor requires a start capacitor, ensure it’s connected correctly according to the motor’s diagram. Always use a grounded plug for safety.
Testing and Troubleshooting Your New Compressor
Once everything is connected, it’s time for the moment of truth: testing!
The Leak Test
Before you fully power up, do a preliminary leak check. You can do this by pressurizing the tank slightly with a separate air source if you have one, or by just listening very carefully when you first start the motor. Even a small hiss can mean a leak. If you find any, tighten the fittings or reapply sealant.
First Run and Pressure Check
Turn on the motor. Listen for any unusual noises. Observe the pressure gauge as the tank fills. It should slowly climb. Let it build pressure up to your desired level, but don’t exceed the safe working pressure of your tank or motor. Most small DIY compressors operate between 40-90 PSI.
Setting the Cut-Off Pressure (If Applicable)
Some setups allow you to set an automatic shut-off pressure. If your motor or a connected pressure switch can do this, set it to stop the motor once your desired pressure is reached. This prevents over-pressurization and saves energy. If not, you’ll need to manually turn off the motor when it hits your target PSI.
Safety First, Always!
We can’t stress this enough: safety is paramount. Compressed air can be dangerous if not handled properly. Always use the pressure relief valve. Never point the air outlet at yourself or others. Store your compressor in a well-ventilated area, away from heat sources. Regular checks for leaks and wear are a good practice.
Here’s a quick checklist to keep you on track:- All parts are pressure-rated.
- Safety valves are installed and functional.
- Electrical wiring is secure and grounded.
- All air line connections are leak-free.
- Motor runs smoothly without strange noises.
- Pressure gauge is accurate and readable.
Conclusion
You’ve learned that building your own small air compressor is an achievable DIY project. By carefully selecting your motor, tank, and essential fittings, and by assembling them with safety as your top priority, you can create a functional tool. Remember to always prioritize safety valves and secure electrical work. Take the next step and start gathering your materials – your new homemade air compressor is within reach!
Frequently Asked Questions
What kind of motor is best for a DIY air compressor?
An old refrigerator compressor is often a great choice for small DIY air compressors. They are designed for compression and usually run on standard 110-volt AC power. Make sure it has a start capacitor if required for proper operation.
Is it safe to use a propane tank for an air compressor?
Yes, but only if the tank has been professionally purged of all flammable gas residue. Ensure the tank is rated for pressure and always install a safety pressure relief valve to prevent over-pressurization.
How do I ensure my compressor is safe to operate?
Safety is key. Always install a functional pressure relief valve and a check valve. Double-check all electrical wiring is secure and grounded, and verify that all air line connections are leak-free before powering it on.
What pressure range should I aim for with a DIY compressor?
Most small DIY air compressors typically operate effectively in the 40-90 PSI range. This is suitable for many common DIY tasks like inflating tires or powering small air tools.
What should I do if I hear hissing sounds during testing?
A hissing sound usually indicates an air leak. Carefully inspect all your fittings and connections. Tighten any loose connections or reapply sealant where necessary to ensure an airtight seal.