Build an Air Compressor From Scratch: Step-by-Step Guide
Yes, you can absolutely build your own air compressor from scratch! It’s a rewarding project for DIY enthusiasts. You’ll need some basic tools and parts, but it’s totally doable with a bit of patience.
Creating your own air compressor means you get to customize it. You can tailor it to your specific needs for auto repair, DIY projects, or even just inflating tires. It’s a smart way to save money too, compared to buying a new one.
- Gather your materials: You’ll need a motor, a pump, a tank, and some fittings.
- Assembly is key: Connect the motor to the pump and then to the tank.
- Safety first: Always double-check your connections and pressure relief.
- Testing is important: Make sure everything works before relying on it.
Ready to get your hands dirty? Let’s walk through exactly how to build an air compressor step by step.
Constructing Your Own Air Compressor From Parts
Building an air compressor yourself is a fantastic DIY project. You get a tool tailored to your needs. Plus, you can save a good chunk of money. This guide will walk you through the process, step by step. We’ll cover the main components and how they fit together. Get ready to assemble a powerful tool for your workshop!
Gathering Your Air Compressor Components
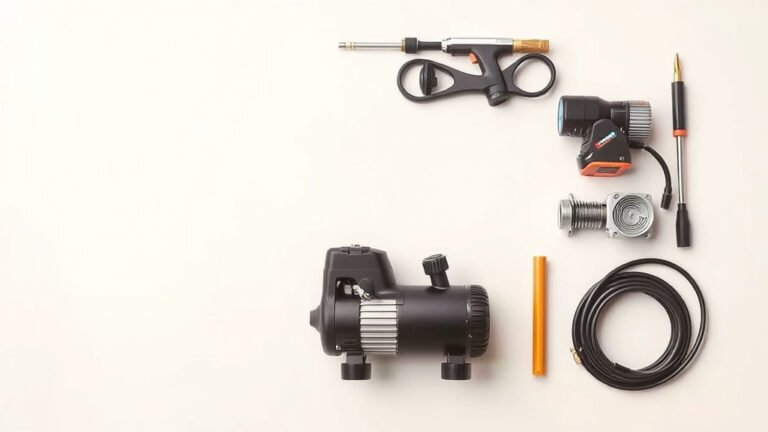
Before you start building, you need the right parts. Think of it like gathering ingredients for a recipe. Each piece plays a vital role. We’ve researched the essential items you’ll need.
The Heart of the System: Motor and Pump
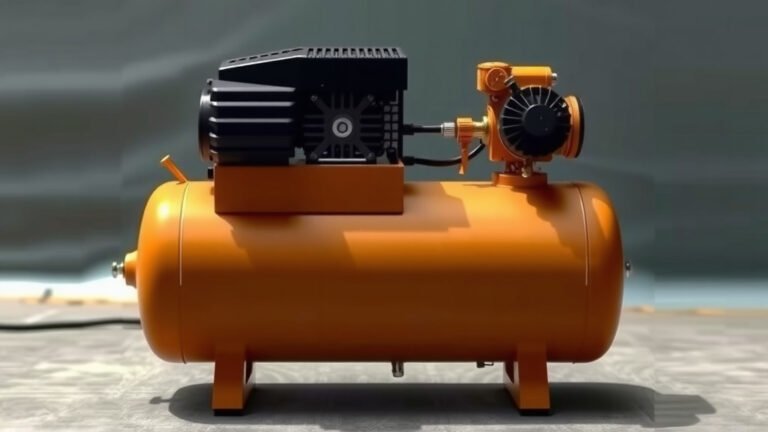
You’ll need a motor and an air pump. These work together to compress air. The motor provides the power. The pump draws in air and squeezes it. Many DIYers use a repurposed refrigerator compressor. These are often quiet and efficient. You can also buy new electric motors and specialized air pumps. Make sure the motor’s horsepower matches the pump’s requirements. A mismatch can lead to poor performance or damage. Understanding the difference between a 1-cylinder vs 2-cylinder air compressor can help you choose the right motor and pump.
Storing the Compressed Air: The Tank
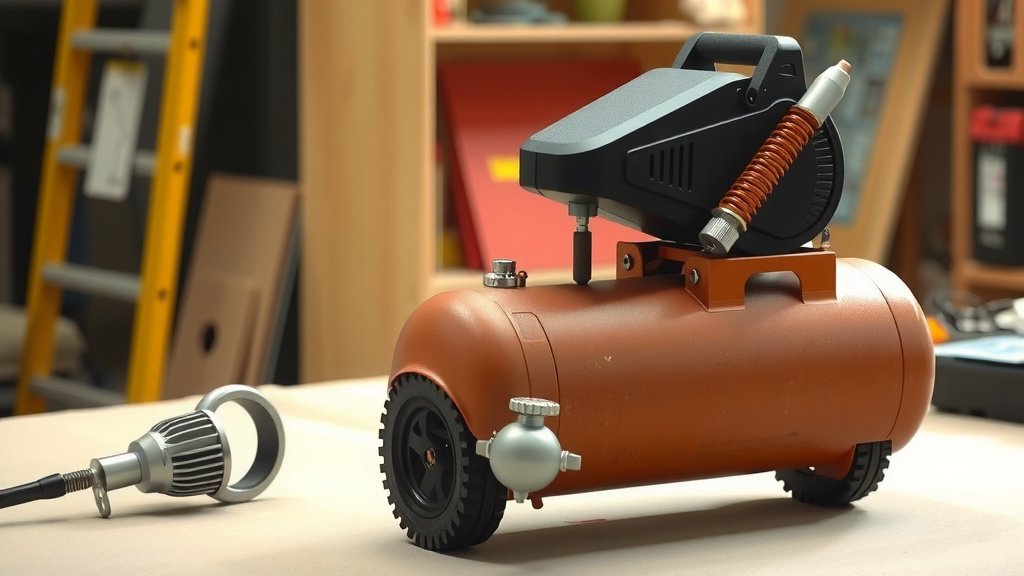
The air tank stores the compressed air. It’s like a reservoir for your air supply. You can often find old propane tanks or water heater tanks. These need to be safely cleaned and modified. Ensure the tank can handle the pressure your pump will generate. Look for tanks with a pressure rating well above your target operating pressure. Safety is key here; a tank failure can be dangerous (CDC).
Connecting Everything: Fittings and Hoses
You’ll need various fittings and hoses. These connect the motor, pump, and tank. They also allow you to attach air tools. Standard plumbing fittings often work. You’ll need check valves to prevent air from flowing backward. A pressure gauge is also essential. It lets you monitor the air pressure in the tank. Schrader valves are useful for inflating tires. Choosing the right air compressor hose size is crucial for optimal performance.
Safety First: Essential Safety Features
Safety is non-negotiable. You must include a pressure relief valve. This valve automatically releases air if pressure gets too high. It prevents dangerous over-pressurization. A drain valve at the bottom of the tank is also important. It allows you to release moisture that can build up. Condensation can cause rust over time. Regularly draining the tank prolongs its life.
Step-by-Step Assembly Guide
Now comes the fun part: putting it all together! Follow these steps carefully. Double-check each connection. This ensures a safe and functional air compressor.
Mounting the Motor and Pump
First, securely mount your motor and pump. You can use a sturdy piece of wood or metal as a base. Ensure they are aligned properly. The drive shaft of the motor needs to connect smoothly to the pump. Some setups use a belt and pulley system. Others directly couple the motor to the pump. A strong, stable mount prevents vibrations.
Connecting the Pump to the Tank
Next, connect the air pump’s output to the air tank. Use a strong hose and appropriate fittings. Install a check valve right after the pump. This stops air from pushing back into the pump when it stops. Ensure all connections are airtight. Leaks here will make your compressor work harder.
Installing Safety and Control Components
Now, add your safety features. Install the pressure relief valve on the tank. Make sure it’s set to a safe maximum pressure. Connect the pressure gauge to the tank. Also, install the drain valve at the lowest point of the tank. These components are critical for safe operation.
Wiring the Motor
Wiring the motor requires care. If you’re using a standard electric motor, follow its wiring diagram. Ensure the power source is appropriate for the motor’s voltage and amperage. If you’re unsure about electrical work, consult a qualified electrician. Incorrect wiring can damage the motor or be a fire hazard.
Final Connections and Testing
Connect any output hoses and fittings to the tank. Double-check every connection for tightness. Once everything is connected, it’s time for a test run. Turn on the motor and let it fill the tank. Listen for any unusual noises. Watch the pressure gauge. Ensure the pressure relief valve doesn’t activate unless it’s supposed to. Check for leaks using soapy water on the connections. You should see bubbles where air is escaping.
Essential Considerations for Your DIY Compressor
Building your own compressor involves some important points to consider. Thinking about these upfront will save you trouble later.
Choosing the Right Motor Size
The motor’s power affects how quickly the tank fills. A larger motor means faster inflation. However, it also uses more electricity. For most home garage tasks, a 1-2 horsepower motor is often sufficient (Popular Mechanics). Match this to your pump’s needs. Overpowering can damage a weaker pump.
Tank Volume and Pressure Ratings
A larger tank holds more air. This means longer run times for air tools. It also means the compressor runs less often. Consider the CFM (cubic feet per minute) rating of your pump. This tells you how much air it can deliver. Match the tank size to your expected usage. Always respect the tank’s maximum pressure rating. Going beyond this is extremely dangerous.
Lubrication and Maintenance
Some air pumps require oil for lubrication. Others are oil-free. If your pump needs oil, use the type recommended by the manufacturer. Regular maintenance is key. Drain the tank often. Check for leaks. Keep electrical connections clean and secure. A well-maintained compressor will last much longer.
Noise Levels
Some compressors can be quite noisy. Refrigerator compressors are often quieter than larger industrial ones. You can also add sound-dampening materials around the unit. Building your own lets you control this aspect. Consider where you’ll be using it.
Troubleshooting Common Issues
What if it doesn’t fill up? Check for air leaks first. Ensure the motor is running at the correct speed. Is the pump working? If it’s not building pressure, the internal valves might be faulty. If it leaks air constantly from the pressure relief valve, you might have a faulty check valve or the tank is over-pressurized.
Key Components Checklist
To make sure you have everything, here’s a quick checklist:
- Electric Motor (appropriate horsepower)
- Air Pump (compatible with motor)
- Air Tank (rated for desired pressure)
- Pressure Relief Valve
- Pressure Gauge
- Check Valve
- Drain Valve
- Hoses and Fittings (various sizes)
- Mounting Hardware
- Electrical Wiring and Plug
Conclusion
You’ve learned how to build your own air compressor from scratch. It’s a project that offers customizability and cost savings. Remember to gather all your parts, focus on secure assembly, and always prioritize safety. Testing thoroughly before use is your final step. With careful planning and execution, you’ll have a powerful tool ready for your workshop. Now, take that checklist and start gathering your components!
Frequently Asked Questions
What type of motor is best for a DIY air compressor?
For many DIY projects, a 1-2 horsepower electric motor is a good starting point. You can often repurpose motors from old appliances like refrigerators, which tend to be quiet. Just ensure its power matches your chosen air pump.
How do I ensure my air tank is safe to use?
Always select a tank with a pressure rating significantly higher than your compressor’s operating pressure. Inspect it for rust or damage, and ensure it’s properly cleaned before modification. A pressure relief valve is a non-negotiable safety feature.
What are the most critical safety components to install?
The two most important safety components are the pressure relief valve and a check valve. The relief valve prevents dangerous over-pressurization. The check valve ensures air only flows in one direction, protecting your pump.
How can I make my DIY air compressor quieter?
Using a quieter pump, like a refrigerator compressor, can help reduce noise. You can also experiment with adding sound-dampening materials around the unit, ensuring they don’t obstruct ventilation.
What should I do if my compressor isn’t building pressure?
Start by checking for air leaks at all connections using soapy water. Ensure your motor is running correctly and the pump is functioning. If pressure still isn’t building, the pump’s internal valves might need attention.