Build Your Own Air Compressor System: A Step-by-Step Guide
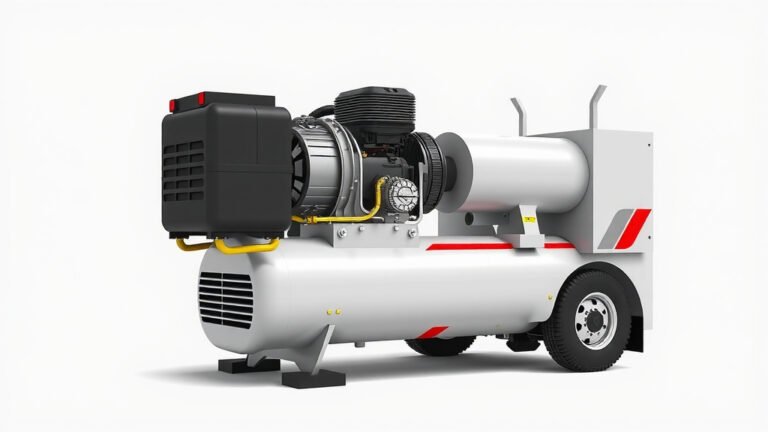
Building your own air compressor system is a rewarding DIY project that can save you money and give you custom power. You can absolutely build a functional air compressor system yourself by carefully selecting the right parts and following safety guidelines. It requires some mechanical know-how, but with the right plan, you can achieve a reliable and powerful setup.
Many people wonder if they can truly build an air compressor from scratch. The truth is, with readily available components and a clear understanding of how each part works, you can assemble a system tailored to your specific needs. You’ll want to consider factors like tank size, pump capacity, and the type of motor to ensure your DIY air compressor performs as expected.
- Gather all necessary parts first.
- Understand the role of each component.
- Prioritize safety throughout the build process.
- Test your system thoroughly before regular use.
- Customize to fit your specific air pressure needs.
Let’s walk through exactly how to build your own air compressor system step by step, ensuring you have a clear picture of the process from start to finish.
Putting Together Your Own Air Compressor System
Building your own air compressor system can be a fantastic project. You get exactly what you need. Plus, you can save a good amount of money. Let’s break down the process into manageable steps. We’ll focus on getting the right parts and putting them together safely.
Choosing the Right Components for Your Build
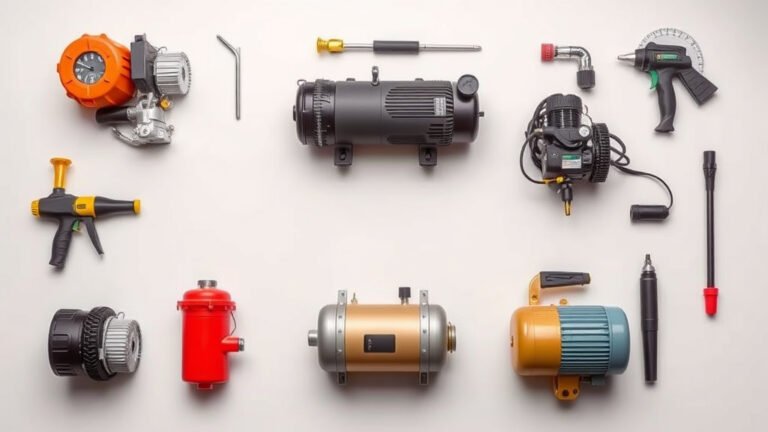
Selecting the correct parts is the heart of your DIY project. Think of it like picking ingredients for a recipe. Each component has a job. Getting them right means your compressor will work well.
The Air Tank: Your Air Reservoir
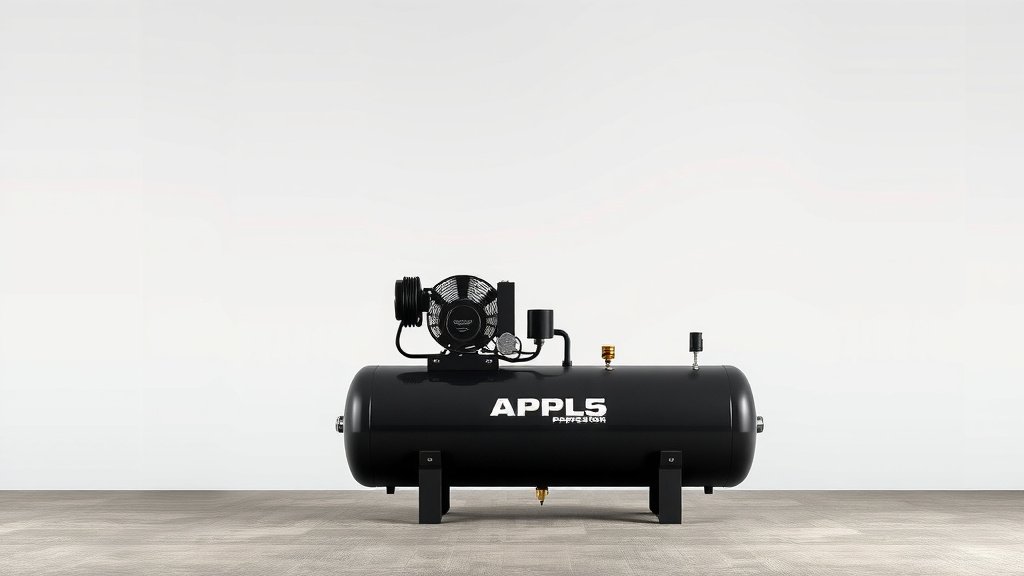
The air tank stores the compressed air. Its size determines how long you can run tools without the compressor cycling on. For light-duty use like inflating tires or powering brad nailers, a smaller tank (5-10 gallons) might be enough. If you plan to use impact wrenches or spray paint, you’ll need a larger tank (20-60 gallons or more). Always ensure the tank is rated for the pressure you intend to use. Safety is key here; a properly rated tank is non-negotiable.
The Air Compressor Pump: The Engine of Your System
The pump is what compresses the air. You’ll see different types: single-stage and two-stage. Single-stage pumps are simpler and cheaper. They’re good for lower pressure needs. Two-stage pumps compress air twice. This creates higher pressures and is better for demanding tools. Consider the CFM (cubic feet per minute) rating. This tells you how much air the pump can deliver. Match this to the CFM requirements of the tools you’ll use.
The Electric Motor: Powering the Pump
Your motor needs enough horsepower (HP) to drive the pump effectively. A common range is 1.5 to 5 HP. More HP means more power. Make sure the motor’s voltage and amperage match your home’s electrical supply. You don’t want to trip breakers constantly. Look for a motor that has an overload protector for added safety.
Pressure Switch and Regulator: Controlling the Air
The pressure switch is like the thermostat for your compressor. It turns the motor on when pressure drops and off when it reaches the set level. You’ll need to set your desired cut-in and cut-out pressures. The regulator allows you to control the output pressure. This is vital for using different tools that have specific pressure needs. You can’t run a delicate paint sprayer at the same pressure as an impact gun.
Safety Features: Essential for Peace of Mind
Safety features are not optional; they are absolutely essential. You’ll need a safety relief valve. This is a spring-loaded valve that releases excess pressure if the pressure switch fails. An air filter is also important. It keeps dirt and debris out of the pump and your air lines. A check valve prevents air from flowing back into the tank from the lines.
Steps to Assemble Your Air Compressor System
Once you have all your parts, it’s time to start assembling. Take your time and double-check each connection. Rushing can lead to mistakes, and mistakes can be dangerous.
Mounting the Components
You’ll need a sturdy base for your compressor. Many DIYers use a heavy-duty steel frame or a repurposed metal platform. Securely mount the air tank first. Then, attach the pump and motor. Ensure they are aligned properly, especially if they use a belt drive. A solid foundation prevents vibration and movement during operation.
Connecting the Plumbing and Electrical
This is where things get technical. You’ll connect the pump’s outlet to the air tank using appropriate fittings and high-pressure hose or pipe. Install the pressure switch, safety valve, and check valve in the correct locations. Many experts recommend using brass or copper fittings for durability. For electrical connections, if you’re not comfortable with wiring, it’s best to consult a qualified electrician. Safety first is the rule here!
Installing the Filter and Regulator
After the main tank and plumbing are set, install your air intake filter on the pump. This keeps the pump breathing clean air. Mount the regulator and any necessary gauges after the tank. You’ll typically find a main outlet port on the tank or manifold where you’ll connect your regulator. This allows you to fine-tune the air pressure for your tools.
Testing and Safety Checks
Before you run your compressor under load, thorough testing is critical. This step prevents damage to your new system and ensures it’s safe to use.
Initial Pressure Test
Turn the system on briefly. Listen for any unusual noises or air leaks. Let the compressor build pressure to its cut-out setting. Observe the pressure gauge. Does it match what you set on the switch? Check that the motor shuts off. Then, manually bleed some air to see if it comes back on at the correct cut-in pressure. This confirms your pressure switch is working correctly.
Safety Valve Check
Manually test your safety relief valve. You can usually do this by pulling a small ring or lever on the valve. You should hear air release. This ensures it will function in an emergency. If it doesn’t release air, do not use the compressor. Replace the valve immediately.
Leak Detection
While the tank is pressurized, spray soapy water on all fittings and connections. Look for bubbles forming. Bubbles indicate a leak. Tighten connections as needed. Even small leaks can waste a lot of air and reduce your compressor’s efficiency.
Understanding CFM and PSI for Your Tools
Knowing the air requirements of your tools is key to a successful DIY compressor. CFM stands for cubic feet per minute. PSI stands for pounds per square inch. These are the two main specs you need to match.
Many power tools list their CFM requirement. This is the volume of air the tool needs to operate correctly. Your compressor’s pump must be able to supply at least this much CFM. It’s generally good practice to have a compressor that can supply about 1.5 times the CFM needed by your most demanding tool.
PSI is the pressure at which the tool operates. Most common tools run between 70-100 PSI. Your air compressor system needs to be able to reach and maintain this pressure. Your regulator will be set to deliver the correct PSI to the tool.
We found that comparing tool needs against pump specs is the best way to avoid disappointment. For example, a small framing nailer might only need 2-3 CFM at 90 PSI. A die grinder or sander can easily need 10-20 CFM or more at 90 PSI.
Here’s a quick guide to typical tool air needs:
| Tool Type | Typical CFM Requirement (at 90 PSI) | Typical PSI Requirement |
|---|---|---|
| Brad Nailer / Stapler | 0.5 – 2 CFM | 70 – 100 PSI |
| Impact Wrench | 4 – 6 CFM | 90 – 120 PSI |
| Paint Sprayer (HVLP) | 8 – 15 CFM | 30 – 50 PSI |
| Air Sander / Grinder | 10 – 20 CFM | 90 – 120 PSI |
| Air Hammer | 5 – 8 CFM | 90 – 120 PSI |
Maintenance for Your Custom Air Compressor
Once your system is built and running, a little regular maintenance will keep it in top shape. This is how you ensure it lasts and performs reliably.
- Drain the air tank regularly. Water condensation builds up.
- Check the air intake filter. Clean or replace it as needed.
- Inspect hoses and fittings for wear or damage.
- Ensure oil levels are correct if you have an oil-lubricated pump.
- Periodically check the pressure switch and regulator settings.
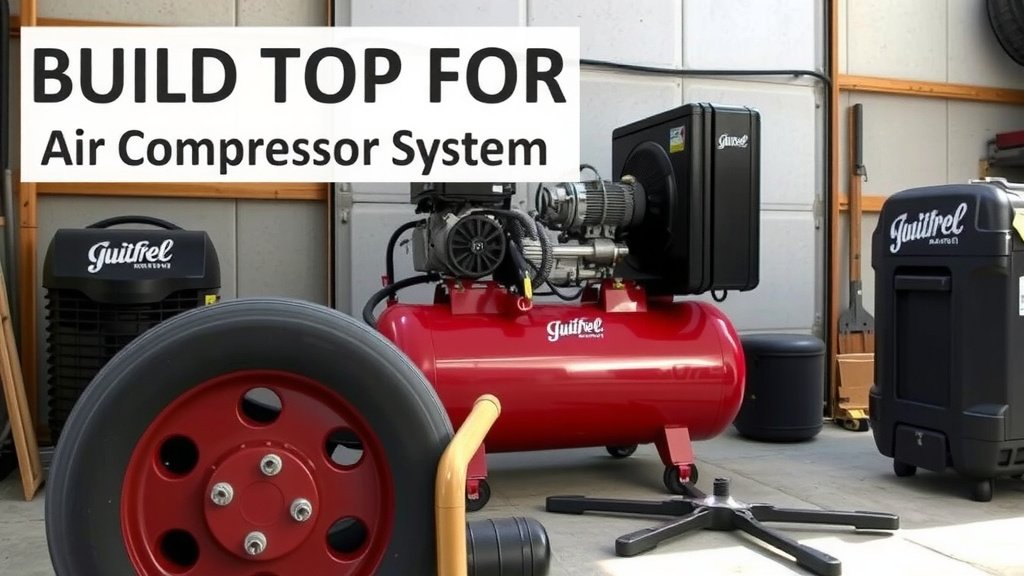
Keeping up with these simple tasks will make your custom air compressor a dependable workhorse for years to come. You’ve built it, so you know it inside and out!
Conclusion
You’ve successfully navigated the steps to build your own air compressor system! Remember, careful component selection, secure assembly, and thorough testing are your keys to success. This DIY project puts you in control of your tool’s power and can save you money. Now that your system is ready, make sure you perform regular maintenance. This will ensure your custom compressor remains a reliable part of your workshop for years to come. Start by planning your next project, knowing your new air compressor can handle it!
Frequently Asked Questions
What’s the biggest mistake beginners make when building an air compressor?
A common mistake is underestimating the CFM needs of their tools. This leads to a compressor that can’t keep up, causing tools to perform poorly or stop working. Always match your pump’s CFM output to at least 1.5 times your most demanding tool’s requirement.
Do I need special tools to build an air compressor?
You’ll need basic hand tools like wrenches, screwdrivers, and a pipe wrench. You might also need a drill and possibly a soldering iron or crimper for electrical connections. Having a good set of safety glasses and gloves is also essential.
Can I use a repurposed tank, like an old propane tank?
It’s generally not recommended to repurpose tanks not specifically designed for compressed air. Air compressor tanks are built and tested to withstand specific pressures safely. Using an unrated tank can be extremely dangerous and could lead to catastrophic failure.
How much pressure can a DIY air compressor safely generate?
A well-built DIY system can safely generate pressures from around 100 PSI up to 175 PSI or more, depending on the pump and tank rating. Always ensure your tank, fittings, and safety relief valve are rated for the maximum pressure your system can achieve.
Is it cheaper to build or buy an air compressor?
For basic, smaller compressors, buying might be comparable in price. However, for custom setups or larger, more powerful compressors, building yourself often results in significant cost savings. You also get exactly the specifications you need when you build it.