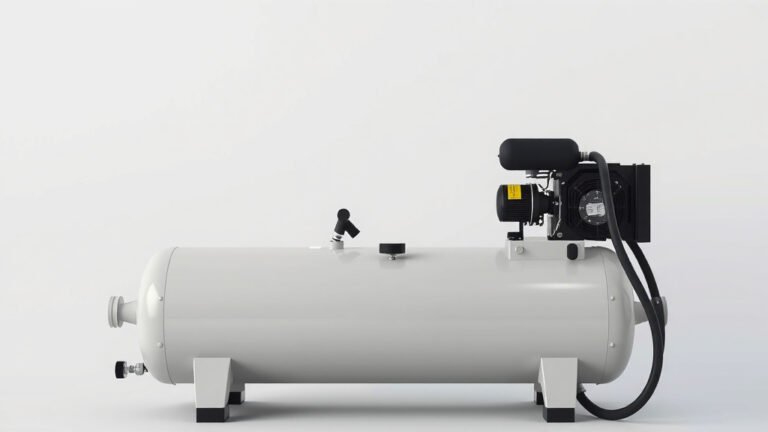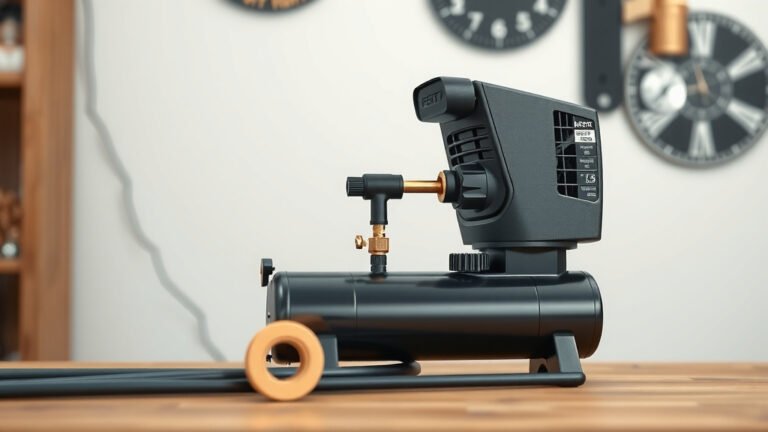
How to Change Your Air Compressor Belt Step-by-Step
Changing the belt on your air compressor is a straightforward maintenance task you can do yourself. You’ll need a few basic tools, and following the right steps ensures your compressor runs smoothly. It’s a key part of keeping your air compressor in good working order.
A worn or broken belt can cause your compressor to overheat or simply stop working. Regularly checking your compressor belt can prevent unexpected downtime. Many DIYers find this process surprisingly simple and rewarding, saving them money and hassle.
- Safety first: always unplug your compressor.
- Gather your tools: likely a wrench or socket set.
- Locate the belt guard and remove it.
- Loosen the motor mounting bolts to create slack.
- Remove the old belt and install the new one.
- Adjust motor position for proper belt tension.
- Reinstall the belt guard and plug it back in.
Let’s walk through exactly how to get that old belt off and a fresh one on, step by step.
Servicing Your Air Compressor: A Belt Replacement Guide
Changing the belt on your air compressor is a preventative maintenance task that keeps your machine running. A worn belt can lead to overheating or a complete breakdown. You can tackle this yourself with common tools. This guide will walk you through it.
Why Your Air Compressor Belt Needs Attention
Your air compressor belt is like the power cord for your engine. It transfers the motor’s power to the pump. This action creates the compressed air you need for your projects. Over time, these belts can crack, fray, or break. This wear and tear reduces efficiency. It can also cause the compressor to work harder than it needs to.
Signs of a Failing Belt
You might notice a few things if your belt is nearing the end of its life. A squealing noise when the compressor starts is a common indicator. This is often due to slippage. You might also see visible cracks or frayed edges on the belt itself. If the belt looks shiny or glazed, it has likely lost its grip. A belt that appears loose and sags excessively is another warning sign. It’s a good idea to check it periodically.
The Consequences of Neglect
Ignoring a worn belt can lead to bigger problems. If the belt breaks completely, your compressor will stop producing air. This can happen at the worst possible moment. A slipping belt can cause the motor and pump to overheat. This puts unnecessary strain on these components. Overheating can shorten the lifespan of your air compressor. It might also lead to costly repairs or replacements. Regular checks prevent these headaches.
Preparing for the Belt Change
Before you get your hands dirty, a little preparation goes a long way. Gathering your tools and ensuring a safe workspace is key. This makes the process smooth and efficient.
Essential Tools and Supplies
You won’t need a specialized tool kit for this job. Most likely, you’ll need a wrench or a socket set. Check the size of the bolts on your compressor’s motor mount. You may also need a new belt. Make sure you have the correct replacement belt for your specific air compressor model. The owner’s manual is your best friend here. It will list the exact belt type or part number. Some people like to have a rag handy for cleaning up any dust or debris.
Safety First: Power Down Completely
This step is absolutely non-negotiable. Always unplug your air compressor from the power outlet before you start. Never assume it’s off. Ensure the power switch is also in the “off” position. You want to make sure there is no electrical current flowing to the unit. This prevents accidental startups and serious injury. Safety is always the top priority.
The Belt Replacement Process
Now that you’re prepared, let’s get down to business. This part involves accessing the belt, removing the old one, and installing the new one.
Accessing the Belt Guard
Most air compressors have a protective cover, called a belt guard, that shields the belt and pulleys. You’ll need to remove this to get to the belt. Look for screws or bolts holding the guard in place. They are usually on the outer edges of the guard. Use your wrench or socket set to carefully remove these fasteners. Keep them in a safe place, like a small container or a magnetic tray, so you don’t lose them. Once the screws are out, lift the belt guard away from the compressor.
Creating Slack for Belt Removal
With the belt guard removed, you’ll see the motor and pump pulleys. The belt likely looks tight between them. To get the old belt off, you need to create some slack. The motor is usually mounted on a sliding plate. This plate allows you to adjust the motor’s position. You’ll find bolts that secure the motor to this plate. Loosen these mounting bolts. You don’t need to remove them completely, just loosen them enough to allow the motor to move. You might need to gently push the motor towards the pump pulley to create enough slack to slip the belt off.
Removing the Old Belt
Once you have enough slack, gently work the old belt off one of the pulleys. It’s usually easiest to start with the motor pulley as it might be more accessible. Once it’s off one pulley, you can easily slip it off the other. Take a moment to inspect the pulleys for any damage or debris. Clean them off if necessary with a dry rag.
Installing the New Belt
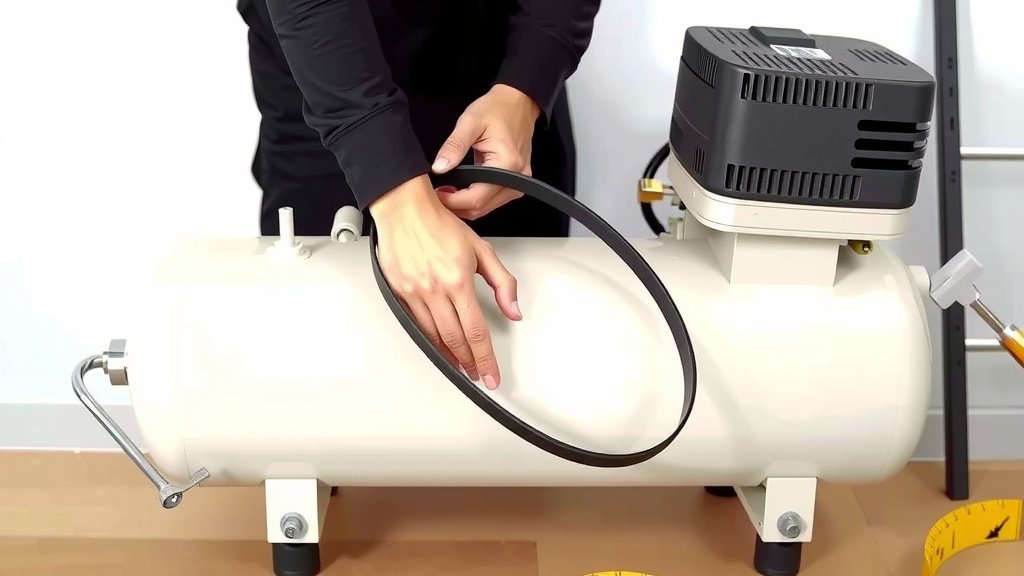
Now, take your new belt. Carefully place it onto the pump pulley first. Then, work it onto the motor pulley. You might need to reposition the motor slightly again to get it on. Once the belt is seated on both pulleys, you can begin to adjust the tension. It should feel snug but not overly tight.
Adjusting for Proper Belt Tension
Proper belt tension is vital for performance and longevity. If the belt is too loose, it will slip and wear out quickly. If it’s too tight, it can strain the motor and pump bearings. Many experts suggest a good rule of thumb is to check for about 1/2 inch of deflection in the longest span of the belt when you push on it with your finger. To achieve this, you’ll need to move the motor back away from the pump. Slowly slide the motor on its mounting plate away from the pump pulley. This will tighten the belt. Once you feel it’s snug with the right amount of give, tighten the motor mounting bolts securely. You want it firm, but not so tight that it feels like a guitar string. Some manufacturers may have specific tension guidelines in their manuals, so check that if you can.
Reassembly and Final Checks
With the new belt installed and tensioned correctly, it’s time to put things back together. Reattach the belt guard to its original position. Use the screws or bolts you removed earlier to secure it. Make sure it’s firmly attached. Double-check that no tools or rags are left inside the compressor housing. Once everything is back in place, you can plug your air compressor back into the outlet. Turn it on and listen for any unusual noises. A properly installed belt should run smoothly and quietly.
A Quick Belt Check Checklist
Here’s a handy checklist to keep your air compressor belt in top shape:
- Unplug the compressor before any work.
- Gather your tools and the correct replacement belt.
- Remove the belt guard carefully.
- Loosen motor bolts to create belt slack.
- Install the new belt and adjust motor for proper tension.
- Reinstall the belt guard and plug in.
Conclusion
You’ve now got the knowledge to confidently change the belt on your air compressor. Remember, this simple maintenance task keeps your equipment running efficiently and prevents unexpected breakdowns. By following the steps to safely unplug, access the belt, create slack, install the new belt, and properly tension it, you’re extending the life of your compressor. Don’t forget to reassemble everything securely and test it out. Consider making this belt check a regular part of your compressor’s upkeep. Schedule your next belt inspection within the next six months to stay ahead of wear and tear.
Frequently Asked Questions
How often should I check my air compressor belt?
It’s a good practice to visually inspect your air compressor belt at least every six months. If you use your compressor very frequently or for demanding tasks, you might want to check it monthly. Look for any signs of cracking, fraying, or excessive wear.
Can I use a belt that’s not the exact model specified in my manual?
While you might be tempted to use a similar-looking belt, it’s best to use the exact replacement specified for your air compressor model. Belts have specific lengths, widths, and profiles that affect their fit and performance. Using the wrong belt can lead to slippage, premature wear, or even damage to the pulleys.
What does it mean if my air compressor squeals?
A squealing sound, especially when the compressor starts up or under load, usually indicates a loose or worn belt that is slipping on the pulleys. This slippage reduces the efficiency of the compressor and can cause overheating. It’s a clear sign you need to check and potentially replace the belt.
Is it okay to overtighten the new belt?
No, overtightening a new belt is harmful. It can put excessive strain on the motor and pump bearings, leading to premature wear or failure of these components. Aim for the recommended tension, typically around 1/2 inch of deflection, to ensure proper operation without causing damage.
Do I need to lubricate the new belt or pulleys?
Generally, new belts and pulleys do not require lubrication. In fact, lubrication can cause the belt to slip and reduce its effectiveness. Ensure both the belt and the pulley grooves are clean and dry before installation for optimal grip and performance.