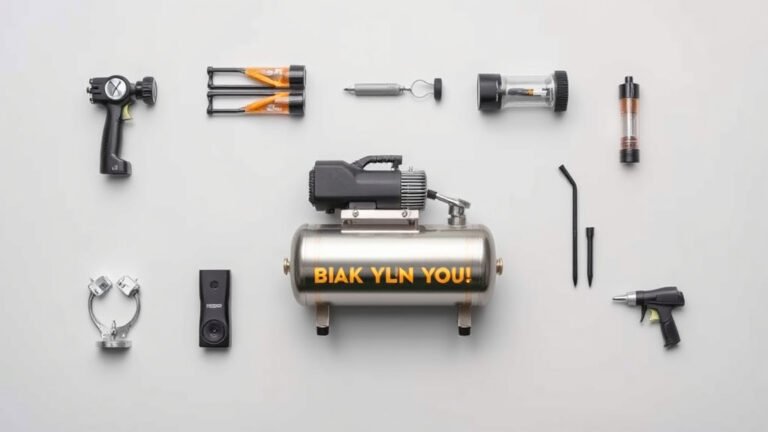
How to Install an Onboard Air Compressor Step-by-Step
Installing an onboard air compressor is a manageable DIY project for most vehicle owners, even those with basic mechanical skills. You can typically complete the installation in a few hours by following a clear set of steps. This setup provides convenient air on demand for tires, air tools, and more.
Adding an air compressor system means you’ll have a constant air source right on your vehicle. This is incredibly handy for things like airing up tires after off-roading or powering air tools when you’re away from your shop. Many enthusiasts find this modification a real game-changer for their adventures and daily use.
- Determine the best compressor type for your needs.
- Choose a suitable mounting location in your vehicle.
- Connect the compressor to your vehicle’s power source.
- Run air lines to your desired outlets.
- Test the system thoroughly.
Ready to get started? Let’s walk through the entire process of installing your onboard air compressor step by step.
Mounting Your Onboard Air Compressor System
Installing an onboard air compressor is a project you can tackle with confidence. It gives you air whenever you need it. Think of it as having your own portable air station. We’ll guide you through the steps to get it set up right.
Choosing the Right Compressor for Your Needs
Before you begin, it’s smart to pick the correct type of compressor. Most DIYers opt for a 12-volt system. These run directly off your vehicle’s battery. Some systems are single-compressor units. Others use dual compressors for faster air-ups. Consider how quickly you need air. This will help you decide which is best for you.
Finding the Ideal Spot for Installation
You need to find a good, secure place for your compressor. It should be out of the way. It also needs to be protected from dirt and water. Many people install them under the hood. Others put them in the trunk or bed of a truck. Research suggests a **well-ventilated area** is key. This keeps the compressor from overheating.
Common Mounting Locations
- Under the hood: Near the battery for easy power access.
- Trunk or cargo area: Offers good protection.
- Truck bed: Convenient for outdoor use.
Wiring Up Your Air Compressor
Proper wiring is essential for safety and performance. You’ll connect the compressor to your vehicle’s power. This usually involves a relay and a fuse. A relay acts like a switch. It handles the high current needed by the compressor. A fuse protects the system from electrical surges.
Connecting to Power
You’ll typically connect the positive wire to your battery. Use a suitably sized fuse holder. The negative wire connects to a good chassis ground. This needs to be a clean, unpainted metal surface. We found that a sturdy connection point is critical.
Using a Relay
A relay is highly recommended for most 12-volt compressors. It prevents you from overloading your vehicle’s factory switches. The relay uses a smaller power source from your ignition. This turns the compressor on only when the vehicle is running. This helps prevent draining your battery.
Running Air Lines and Components
Now it’s time to set up the air delivery system. This involves running air lines to where you want them. You might want an outlet in the cabin or at the rear bumper. You’ll also need to install a tank, if your kit includes one. A tank stores compressed air. It makes filling tires much faster.
Mounting the Air Tank
If you have a tank, secure it firmly. Use strong brackets. Avoid placing it where it can bounce around. A loose tank can become a hazard. Experts often recommend mounting tanks vertically if possible. This can help with water drainage.
Installing the Pressure Switch
Most systems include a pressure switch. This device monitors the air pressure in your tank. When the pressure reaches a set level, it shuts the compressor off. This prevents over-pressurization. You’ll wire this switch into the compressor’s power circuit. You can adjust the cut-in and cut-out points. Many guidelines suggest setting them for optimal performance (ARB). This device monitors the air pressure in your tank, and our guide on how to adjust air pressure switch on your compressor can help you fine-tune its operation.
Connecting Air Outlets and Hoses
You’ll need to connect your air hose to the tank or directly to the compressor. Install a quick-connect fitting at your chosen outlet point. This makes it easy to attach your air hose. Use proper fittings and sealant to prevent leaks. A small leak can mean wasted air and energy.
Testing Your New Air System
Once everything is connected, it’s time for a test run. Turn on your vehicle’s ignition. The compressor should start if wired through an ignition switch. Let it run until the pressure switch cuts it off. Listen for any unusual noises. Check all connections for air leaks. A good way to find leaks is with soapy water. Spray it on fittings and hoses. Bubbles will form where air is escaping.
Important Considerations and Best Practices
Safety should always be your top priority. Double-check all your connections. Make sure they are tight and secure. Use the correct gauge wire for the compressor’s amperage draw. Undersized wires can overheat and cause fires. Many resources suggest using a wiring diagram that comes with your kit.
Wire Gauge and Fusing
The wire size is very important. Using wire that is too small can cause voltage drop. This makes your compressor work harder. It can also lead to overheating. Always consult your compressor’s manual for the recommended wire gauge. The fuse size is also critical. It protects the entire circuit.
Leak Detection
Air leaks are a common issue. They can happen at fittings, hoses, or the tank itself. Regular checks are wise. A small leak might seem minor. But over time, it can significantly impact your system’s efficiency. Finding and fixing them early saves you trouble.
Quick Installation Checklist
- Confirm compressor type and requirements.
- Choose a safe, protected mounting location.
- Securely mount the compressor and any tank.
- Wire the system with proper fusing and relays.
- Connect air lines and outlets, ensuring no leaks.
- Test the system thoroughly for proper operation.
Conclusion
You’ve successfully navigated the steps to install your onboard air compressor. This project brings convenience right to your fingertips, offering air whenever you need it. Remember to always prioritize safety by double-checking your wiring and connections. A well-installed system will serve you reliably for many adventures and tasks ahead. Your next step is to perform that final system test and enjoy your newfound air power!
Frequently Asked Questions How long does installing an onboard air compressor typically take?
For most DIYers with basic tools and mechanical knowledge, installing an onboard air compressor can usually be completed in a few hours. Factors like the complexity of your chosen system and your comfort level with vehicle wiring can affect the exact time.
Do I need a separate air tank, or can I run without one?
While some compact systems can run directly from the compressor, an air tank is highly recommended. It stores compressed air, allowing you to fill tires much faster and providing a buffer of air for tools.
What is the most common mistake people make when wiring their compressor?
A common mistake is using wire that is too small for the compressor’s amperage draw. This can lead to voltage drop, reduced compressor performance, and potentially dangerous overheating. Always use the gauge recommended in your compressor’s manual.
How do I find air leaks in my new system?
The easiest way to find air leaks is by using a soapy water solution. Spray it liberally on all fittings, connections, and hoses after the system is pressurized. Any escaping air will create visible bubbles, pinpointing the leak location.
Can I install an onboard air compressor in any vehicle?
Yes, most onboard air compressor systems designed for 12-volt power can be installed in a wide range of vehicles, including cars, trucks, SUVs, and vans. Just ensure you have adequate space for mounting and access to your vehicle’s electrical system.