How to Use Your AstroAI Air Compressor: A Simple Guide
Using your AstroAI air compressor is straightforward. You’ll typically connect it to your car’s 12V power outlet and then attach the air hose to your tire valve. After setting your desired pressure, the compressor inflates your tire automatically, shutting off when done, making it a convenient tool for emergencies.
Many people wonder about the best way to maintain their car tires. Keeping them properly inflated not only ensures a smoother ride but also helps with fuel efficiency and tire longevity. Your AstroAI compressor makes this task much simpler than a manual pump.
- Connect to car’s power outlet.
- Attach hose to tire valve.
- Set your target tire pressure.
- Let the compressor do the work.
- Disconnect and check pressure.
Ready to get your tires back to perfect pressure? Let’s walk through exactly how to use your AstroAI air compressor, step by step.
Getting Your AstroAI Air Compressor Up and Running
So, you’ve got your AstroAI air compressor, and you’re ready to tackle those tire pressures. That’s a smart move! Properly inflated tires are key for **safety, fuel economy, and a smoother ride**. Let’s get you set up so you can use it like a pro.
Understanding Your AstroAI Compressor: What’s What?
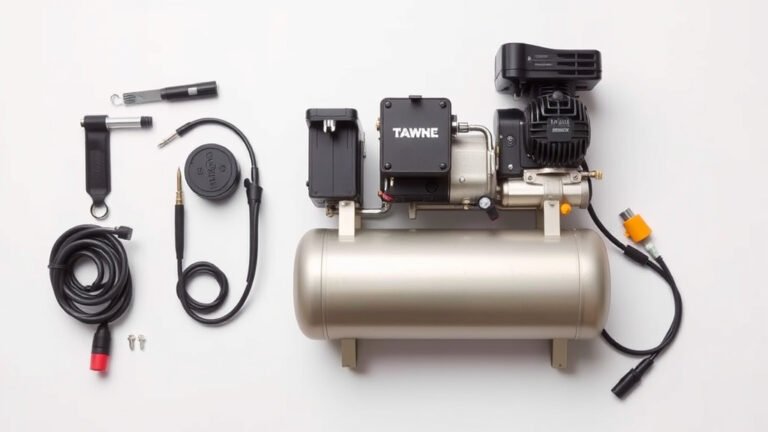
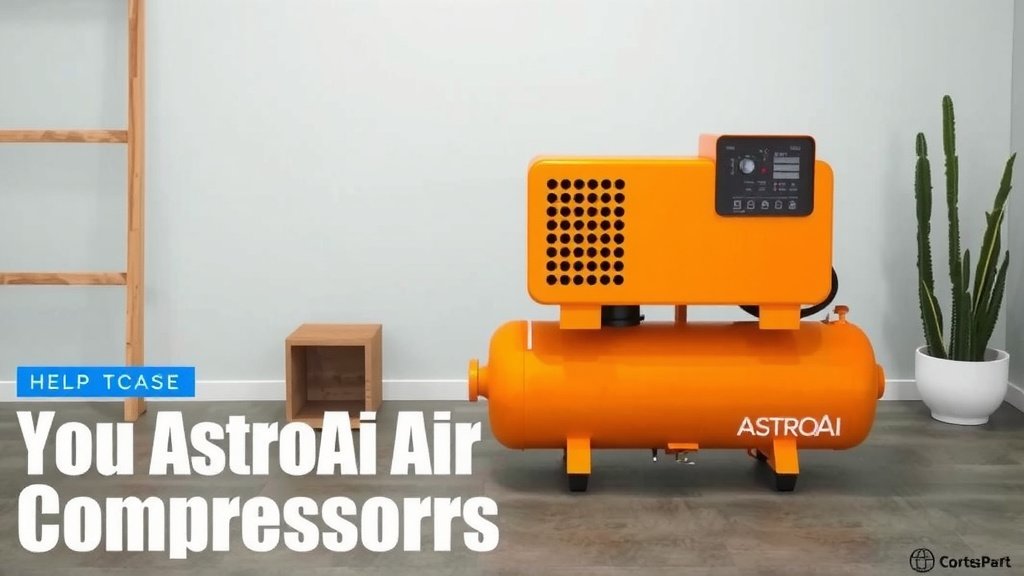
Before we dive into the “how-to,” it’s good to know the main parts. Most AstroAI models come with the compressor unit itself, a power cord, and an air hose with a nozzle. You’ll also find extra adapters for different inflatables. Familiarizing yourself with these parts means less fumbling when you need it most.
The Main Components You’ll Use
- Compressor Unit: This is the heart of the operation, where the magic of air compression happens.
- Power Cord: This plugs into your car’s 12V outlet to power the unit. Make sure it’s long enough to reach your tires comfortably.
- Air Hose: The flexible tube that connects the compressor to your tire valve.
- Nozzle/Chuck: This is the end of the air hose that attaches to your tire valve. Some are screw-on, others are clip-on.
- Accessory Adapters: These are handy for inflating things like bike tires, sports balls, or air mattresses.
Step-by-Step Guide: Inflating Your Tires
Using your AstroAI compressor is designed to be simple. We’ve broken down the process into easy-to-follow steps. You’ll be a tire-pressure expert in no time!
Step 1: Powering Up the Compressor
First things first, you need to connect your compressor to a power source. The easiest way is usually your car’s 12V accessory outlet. You know, the cigarette lighter port? Just plug the compressor’s power cord firmly into that outlet. You might hear a slight click or feel it seat properly. This gives your compressor the juice it needs.
Step 2: Connecting to Your Tire
Now, grab the air hose. You’ll need to attach the nozzle to your tire’s valve stem. Most AstroAI models have a nozzle that you screw onto the valve stem. Once it’s securely attached, give it a gentle twist to make sure it’s snug. This prevents any air from escaping during inflation. If yours is a clip-on type, simply press it down firmly over the valve until it locks in place. You might hear a tiny hiss of air as it seals.
Checking for Leaks
A quick check here is smart. After attaching the nozzle, listen for any persistent hissing sounds. If you hear air escaping, gently wiggle the nozzle or try re-screwing it to get a better seal. A good seal is super important for accurate pressure readings and efficient inflation.
Step 3: Setting Your Target Tire Pressure
This is where you tell the compressor how much air your tire needs. Your AstroAI unit likely has a digital display. You’ll use the buttons on the compressor to set your desired PSI (pounds per square inch). Need to know what PSI to aim for? Check the sticker on your driver’s side door jamb or your car’s owner’s manual. Overinflating or underinflating can cause problems, so getting this right is key.
Understanding Tire Pressure Recommendations
Vehicle manufacturers specify the ideal tire pressure for optimal performance and safety. This information is usually found on a sticker inside the driver’s side doorjamb. You can also find it in your car’s owner’s manual. For example, your car might recommend 32 PSI for the front tires and 30 PSI for the rear tires. It’s a good idea to check this before you start inflating.
Step 4: Letting the Compressor Do Its Job
Once you’ve set the target pressure and confirmed the connection, it’s time to start the compressor. There’s usually a power button or an “on” switch on the unit. Press it, and you’ll hear the compressor start working. Most AstroAI models are designed to automatically shut off once the set pressure is reached. How cool is that? No more guessing or constant checking.
Step 5: Finishing Up and Checking the Pressure
When the compressor stops on its own, that means your tire has reached the target pressure. Turn off the compressor if it doesn’t shut down automatically. Carefully disconnect the air hose from the tire valve. Listen for any immediate air loss. Then, grab a reliable tire pressure gauge (your AstroAI might have one built-in, or use a separate one) and check the actual pressure. It should be very close to the set PSI. If it’s a little off, you can make small adjustments by adding a little more air or releasing a bit.
Disconnecting the Hose Safely
When disconnecting, do so quickly to minimize air loss. If it’s a screw-on type, unscrew it carefully. If it’s a clip-on, release the lever or pull the trigger to detach it. You might feel a slight puff of air as it detaches, which is normal.
A Quick Checklist for Success
Want a super-fast reminder? Keep this handy checklist nearby:
- Plug in the compressor to your car’s 12V outlet.
- Attach the air hose nozzle securely to the tire valve.
- Set your desired tire pressure on the digital display.
- Start the compressor and let it inflate automatically.
- Wait for the compressor to stop on its own.
- Disconnect the hose and check the final tire pressure.
Beyond Tires: Using Your AstroAI for Other Inflatables
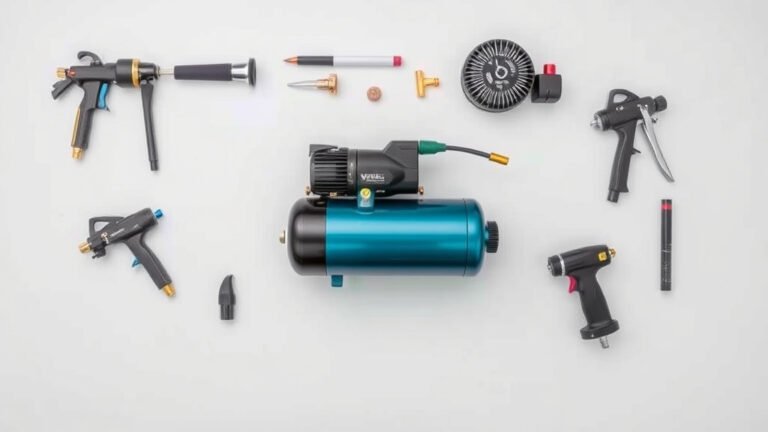
Did you know your AstroAI compressor is more versatile than just car tires? Many models come with adapter nozzles. These are perfect for a variety of other inflatables. Think bike tires, basketballs, soccer balls, pool floats, or even small air mattresses for camping. Just attach the correct adapter to your air hose, connect it to your item, and use the compressor as you would for a tire.
Inflating Bike Tires
If you have a bike with Schrader valves (the same type as most car tires), you can often use the main nozzle directly. For Presta valves (common on road bikes), you might need a small adapter, which often comes with the compressor. Just ensure a good seal before inflating.
Blowing Up Sports Balls
For sports balls like basketballs or soccer balls, you’ll need a needle adapter. These screw onto the air hose nozzle. Insert the needle into the ball’s inflation valve and let the compressor do its thing. Be careful not to overinflate and pop your ball!
Inflating Other Items
Pool toys, air mattresses, and other similar items usually have larger valves. Your AstroAI compressor might include adapters for these too. Simply connect the appropriate adapter and inflate. Many experts suggest inflating these items to about 80-90% of their full capacity to prevent overstretching or bursting (Pool & Hot Tub Alliance).
Tips for Optimal Performance and Longevity
To make sure your AstroAI compressor serves you well for a long time, a few simple practices can help. Regular checks and proper storage are key.
Keep it Clean
After use, wipe down the compressor, especially the air hose and nozzle, with a dry cloth. This removes any dirt or debris that could cause damage or affect performance later. Keep the unit itself free from dust.
Store it Properly
When not in use, store your compressor in a cool, dry place. Many models come with a storage bag, which is ideal for keeping everything organized and protected. Avoid extreme temperatures, as they can degrade the plastic and internal components.
Check the Power Cord and Hose
Before each use, give the power cord and air hose a quick visual inspection. Look for any signs of fraying, cuts, or damage. If you find any, it’s best to replace the unit rather than risk an electrical hazard or a leak.
Conclusion
You’ve now learned how simple it is to use your AstroAI air compressor for your car tires and other inflatables. From powering it up to setting the PSI and disconnecting safely, you’re ready for any situation. Keeping your tires properly inflated with your AstroAI is an easy way to ensure a safer drive and save money on gas. Don’t wait for an emergency; take a few minutes to check your tire pressure regularly and get comfortable with your compressor. Your next step is simple: grab your AstroAI, check your car’s recommended PSI, and inflate your tires today!
Frequently Asked Questions
How do I know the correct tire pressure for my car?
You can find your car’s recommended tire pressure on a sticker located on the driver’s side doorjamb. Your owner’s manual will also list this information. It’s usually expressed in PSI (pounds per square inch).
Can my AstroAI air compressor overinflate my tires?
Most AstroAI air compressors are designed to automatically shut off once they reach the PSI you’ve set on the digital display. This feature prevents overinflation, making it a safe tool to use.
What should I do if the air hose connection is leaking air?
If you hear air hissing after attaching the nozzle, try gently wiggling the hose or re-screwing it onto the valve stem. Ensure it’s securely attached to create a proper seal before inflating.
How often should I check my tire pressure?
It’s a good practice to check your tire pressure at least once a month, and also before long road trips. Tire pressure can change due to temperature fluctuations and natural air loss over time.
Can I use my AstroAI compressor on bicycle tires or sports balls?
Yes, your AstroAI compressor is versatile! It usually comes with adapter nozzles that allow you to inflate items like bicycle tires, basketballs, soccer balls, and even pool floats.