How Long Does an Air Compressor Change Take
Changing an air compressor isn’t an overnight job. You’re likely looking at **a few hours to a full day**. The exact time really depends on the type of compressor and your experience level.
Many factors influence this timeline. Think about whether you’re replacing a small portable unit or a large stationary industrial model. Your DIY skills also play a big part in how quickly you can get back to work.
- Time Estimate: 4 hours to 1 full day.
- Key Factors: Compressor size, type, and your DIY skill.
- Preparation is Key: Gathering parts and tools saves time.
- Safety First: Allow ample time for safe disconnection and reconnection.
Let’s walk through what goes into changing an air compressor and what you can expect time-wise.
How Long Can Changing an Air Compressor Take You?
You’re probably wondering, “How long will this air compressor swap really take?” We’ve found that for most DIYers, you’re looking at a solid chunk of your day. It’s not typically a quick fix like changing a lightbulb. Think more like tackling a moderately challenging home repair project.
For a standard, medium-sized compressor, we often see projects taking anywhere from four hours to a full eight-hour workday. This timeframe accounts for everything from getting your tools ready to cleaning up afterward. It really boils down to a few key things.
Factors That Really Stretch Out the Timeline
What makes one compressor change take longer than another? It’s like comparing a quick trip to the grocery store versus a full-blown renovation. The scale of the job matters a lot. Are you swapping out a small portable unit or a massive industrial tank? That makes a huge difference!
Size and Type of Compressor
A small, wheeled compressor you use for a nail gun is usually straightforward. You might be able to do it in a few hours. A large, stationary unit bolted to the floor with multiple hard-lined air connections? That’s a whole different ballgame. These often require more than one person and specialized tools. We’ve seen these jobs stretch into multiple days.
Your DIY Comfort Level
Let’s be honest, how comfortable are you with tools and electrical work? If you’ve rewired a light fixture before, you’re likely in good shape. If wrestling with pipes and wiring makes you sweat, it’s wise to budget extra time. Rushing can lead to mistakes and potential hazards. You want to be deliberate and careful.
Complexity of the Installation
Is the new compressor going into the exact same spot? That’s the ideal scenario and saves a lot of time. If you need to modify the workspace, run new electrical circuits, or reroute air lines, each of those steps adds hours. Think about accessibility too. Can you easily reach all the bolts and connections?
The Breakdown: What Adds Time to the Job?
So, where does all that time go? It’s not just unscrewing a few bolts. There’s a whole process involved, and each step needs your attention. Understanding these steps helps you better estimate your own timeline.
Preparation is Non-Negotiable
This is where many projects get held up. Did you order the right compressor? Do you have all the necessary adapters, fittings, and sealant tape? What about tools? If you’re missing a specific wrench or an adapter, a quick trip to the hardware store can eat up an hour or two. We found that a well-prepared DIYer can shave hours off their total time just by having everything ready before they start.
A good checklist is your best friend here. Having your new compressor, hoses, fittings, tools, and safety gear all lined up before you even unplug the old one saves immense frustration. It prevents those “oops, I forgot” moments that can stop you in your tracks.
Disconnection of the Old Unit
Before you can remove the old compressor, you need to safely shut it down and relieve all the pressure. This isn’t just flipping a switch. You need to ensure the tank is completely empty. Then comes disconnecting the power, which often involves working with electrical wiring. After that, you’ll disconnect the air lines. This part can be messy if there’s any residual moisture in the system. We recommend having rags handy! Depending on how seized up the fittings are, this could take 30 minutes to a couple of hours.
Moving the Old and New Compressors
Unless you have a super lightweight portable unit, compressors are heavy. You’ll need to safely move the old one out of the way and maneuver the new one into position. This might involve dollies, a hand truck, or even a helping hand from a friend. Don’t underestimate the physical effort required! This step alone can take an hour or more, especially if you’re dealing with tight spaces.
Installation and Connection of the New Compressor
Once the new compressor is in place, the real work begins. You’ll need to connect the electrical supply. Then come the air lines. This is where ensuring a good seal is critical. Leaky connections waste energy and reduce efficiency. Many experts say using the right type of sealant tape and tightening fittings properly is key. This step often takes the longest, especially if you’re dealing with multiple air lines or specialized fittings. We’ve seen this part consume two to five hours.
Testing and Cleanup
After everything is connected, you can’t just power it up and expect perfection. You need to power it on, listen for any unusual noises, and check for air leaks. You might need to make minor adjustments. Once you’re confident it’s running smoothly, you’ll need to clean up your workspace. This includes properly disposing of the old compressor. This final phase can add another hour or two to your total time.
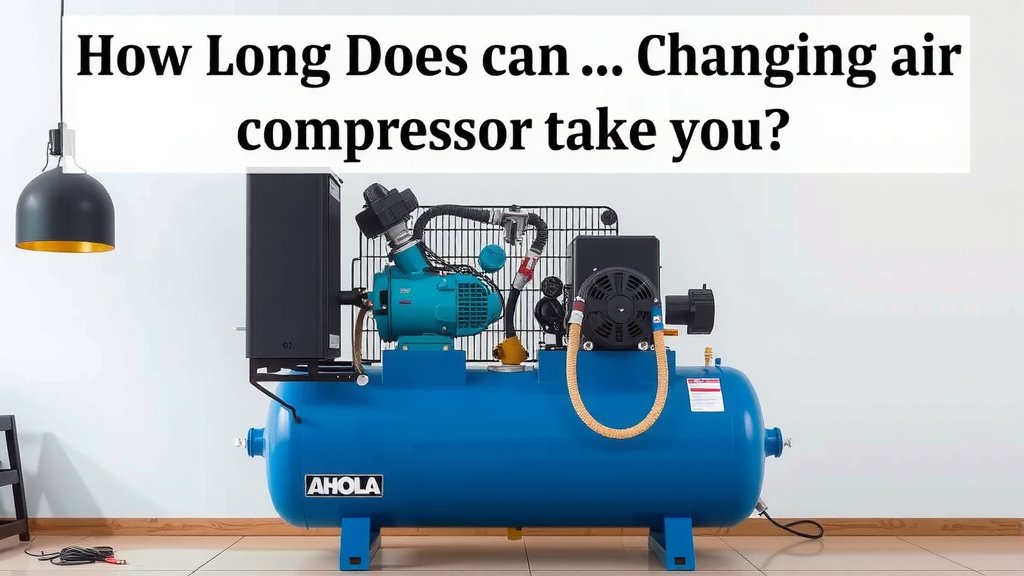
Time Comparison: Different Compressor Types
Not all air compressors are created equal, and neither are the times it takes to replace them. Here’s a general idea of what you might expect based on common types:
| Compressor Type | Typical Replacement Time | Notes |
|---|---|---|
| Portable (Pancake, Hot Dog) | 2-4 Hours | Lightweight, fewer connections. Often plug-and-play. |
| Small Stationary (1-5 HP) | 4-8 Hours | Might be bolted down, more robust electrical. |
| Medium/Large Stationary (5-20 HP) | 8-16 Hours (1-2 Days) | Often requires professional electrical work, multiple hard lines. May need 2+ people. |
| Industrial/Large Scale | 2+ Days | Requires specialized crews, extensive plumbing, and electrical upgrades. |
Pre-Job Checklist to Save Time
To make your compressor change as smooth and quick as possible, follow this simple checklist:
- Confirm Compatibility: Ensure the new compressor fits your space and power supply.
- Gather All Parts: New compressor, fittings, hoses, sealant tape, lubricant (if needed).
- Collect Tools: Wrenches, screwdrivers, wire strippers, voltage tester, safety glasses.
- Have a Helper: Especially for larger units, an extra pair of hands is invaluable.
- Clear the Workspace: Remove obstacles around the old and new compressor locations.
- Review Manuals: Read the installation guides for both the old and new units.
Conclusion
Changing out your air compressor is a project that demands your attention and a realistic time estimate. We’ve found that for most DIYers, a timeframe of four hours to a full day is common. This accounts for the essential steps of preparation, safe disconnection, careful installation, and thorough testing. Remember, the size and type of compressor, along with your own experience, are the biggest variables. Don’t rush the process; prioritizing safety and proper connection will save you headaches and ensure your new compressor runs efficiently. Now that you have a better understanding of the timeline, gather your tools and parts, and get ready to tackle the job!
Frequently Asked Questions
What’s the most time-consuming part of changing an air compressor?
Our research indicates that the installation and connection phase often takes the longest. This involves properly connecting electrical supply and ensuring all air lines have a perfect, leak-free seal. It’s also where using the right sealant tape and tightening fittings correctly makes a big difference.
How much extra time should I budget for unexpected issues?
It’s wise to add at least 2-3 extra hours to your estimate for unexpected challenges. This could include dealing with stubborn fittings, needing a last-minute trip for a specific part, or figuring out a tricky electrical connection.
Does having a helper really save time when changing a compressor?
Absolutely. For anything larger than a portable unit, an extra pair of hands is incredibly helpful. A helper can assist with moving the heavy compressor, holding parts in place, and generally speeding up the process, especially during installation.
Can I really do this in under 4 hours?
For very small, lightweight portable compressors that are essentially plug-and-play with minimal connections, you might finish in 2-4 hours. This assumes you have all your parts and tools ready to go and encounter no complications.
What should I do if I’ve never replaced a compressor before?
If this is your first time, we strongly recommend budgeting for the longer end of the time estimates, perhaps a full day or even more. Take your time, read both manuals thoroughly, and don’t hesitate to call a friend or even a professional if you feel overwhelmed by any step.