Air Compressor Replacement Time: What to Expect
Replacing an air compressor typically takes 1 to 3 hours for a DIYer, but can take less than an hour for a professional. The exact time depends on the type of compressor, your skill level, and any unexpected issues. We’ll help you understand the factors involved.
You might be wondering about the costs involved, or if it’s a job you can tackle yourself. We found that understanding the process and preparation is key to a smooth replacement. Knowing what to expect can save you time and frustration.
- Most DIY replacements take 1-3 hours.
- Pros can often do it in under an hour.
- Key factors include compressor type and your experience.
- Preparation can speed up the process significantly.
Let’s walk through exactly what affects the replacement time and what you can do to prepare.
Understanding Air Compressor Replacement Timeframes
So, you’re wondering how long it’ll take to swap out that old air compressor for a new one. You’re in the right place! We’ve gathered information to give you a clear picture. For most DIYers, the answer is generally **1 to 3 hours**. However, if you’re calling in the pros, they can often get the job done in **less than an hour**.
This timeframe isn’t set in stone, though. Several factors can influence how quickly or slowly the replacement process unfolds. Let’s break down what you can expect and what goes into that time.
Factors Affecting Your Compressor Replacement Duration
When we looked into this, a few key elements stood out as major time influencers. Think of it like preparing a meal; some recipes are quicker than others. Your air compressor replacement is similar. The type of compressor and your own experience level are big players.
Type of Air Compressor Matters
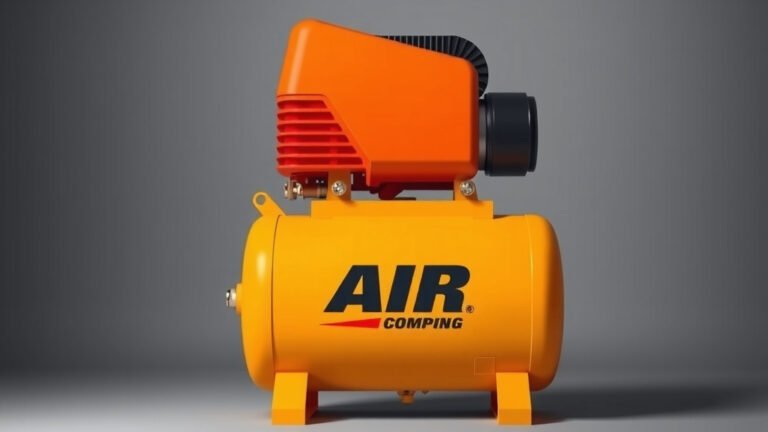
The size and style of your air compressor can greatly affect how long it takes to replace. A small, portable pancake compressor is a different beast than a large, stationary industrial unit. Moving and connecting these can vary wildly.
Portable vs. Stationary Units
Replacing a small, portable compressor is usually a quicker affair. You might just need to unplug it, disconnect a hose, and carry the old one out while bringing the new one in. This could take as little as 15-30 minutes if everything is straightforward. Stationary units, on the other hand, often involve more robust connections and a heavier load.
Horsepower and Tank Size
Larger compressors with higher horsepower and bigger tanks are heavier and more difficult to maneuver. They might also have more substantial electrical connections or plumbing to deal with. This inherently adds time to the process. We found that larger units can sometimes double the replacement time for a DIYer.
Your DIY Skill Level and Tools
Let’s be honest, your comfort level with tools and basic mechanics plays a role. Are you the type who enjoys a weekend project, or do you tend to call for help when a screw needs tightening? Your skill level is a major determinant of how long this will take.
Familiarity with Plumbing and Electrical
Air compressors need to be connected to air lines and power. If you’re comfortable with basic plumbing (like connecting air hoses and possibly dealing with pipe thread tape) and electrical work (like ensuring the correct voltage and proper wiring), you’ll move much faster. If these tasks make you nervous, it’s wise to account for extra time or professional help.
Having the Right Tools on Hand
Do you have a wrench set that fits the fittings? Is your screwdriver collection up to snuff? Missing a key tool can halt your progress dead in its tracks. We found that having a well-stocked toolbox readily available can shave off significant time. A simple trip to the hardware store can add an hour or more to your project.
The Preparation Phase: Your Time-Saving Secret Weapon
This is where many DIYers can gain a significant advantage. Proper preparation is not just about making the job easier; it’s about making it faster. Taking a little extra time upfront can prevent headaches later.
Clearing the Workspace
You need room to work. Trying to wrestle a heavy compressor into place in a cramped corner is a recipe for frustration and potential injury. Clear out the area around the old compressor. Make sure you have plenty of light. This step alone can make the physical act of moving the compressors much quicker.
Gathering Supplies and New Compressor
Before you even touch the old compressor, have your new one ready to go. Ensure you have all the necessary fittings, Teflon tape, electrical connectors, or whatever else your new unit requires. Having everything within arm’s reach is key. We found that setting up a staging area for your new compressor and supplies can be a real time-saver.
Understanding the New Compressor’s Requirements
Read the manual for your new compressor! Seriously. Does it require a dedicated circuit? Are there specific types of fittings it uses? Knowing these details before you start can prevent you from discovering a problem halfway through the job. Many manufacturers recommend specific installation steps that can affect time.
The Actual Replacement Steps and Time Breakdown
Let’s imagine you’ve prepped everything. Here’s a rough idea of how the hours might tick by for a typical DIYer replacing a medium-sized compressor. This is a general guide, and your experience might vary.
Disconnecting the Old Unit
First, you’ll need to turn off the power to the compressor. Then, drain any residual air. Next, disconnect the air hose and the electrical connection. For a standard unit, this might take anywhere from 15 to 45 minutes. If corrosion is bad or access is tricky, it could extend this phase.
Moving the Old and New Compressors
This is often the most physically demanding part. Maneuvering a heavy compressor requires care. If you have a hand truck or a helper, this goes much faster. We found that moving a single compressor can take 10-30 minutes, depending on size and assistance. Doing both adds to that time.
Connecting the New Unit
Once the new compressor is in place, you’ll connect the air hose and the power. This involves ensuring secure connections and proper electrical hookups. This step can take another 15 to 45 minutes. Double-checking all connections is vital for safety and performance.
Testing and Troubleshooting
Finally, you’ll want to power it up and test it. Listen for unusual noises. Check for air leaks. Ensure it cycles on and off correctly. This testing phase, including any minor adjustments, might take another 15 to 30 minutes. If you encounter unexpected issues, this is where the time can really stretch.
Professional vs. DIYer: Who is Faster?
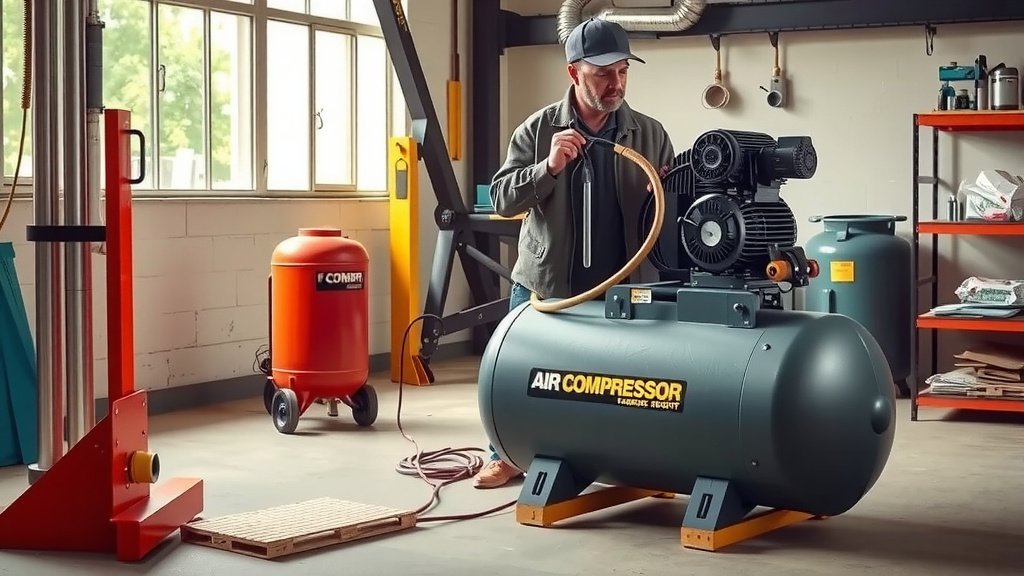
Professionals have the advantage of experience and specialized tools. They’ve likely performed this exact task hundreds of times. They know the common pitfalls and have efficient methods. This is why their replacement times are often significantly shorter, sometimes under an hour for standard units. For a DIYer, enjoying the satisfaction of doing it yourself is great, but it’s wise to block out a bit more time.
When to Call a Professional
If you’re dealing with a large, industrial-grade compressor, or if you’re uncomfortable with electrical wiring or plumbing, it’s always best to call a professional. They have the training and equipment to do the job safely and efficiently. Their speed comes from expertise, which is worth the cost for many people. We found that for units over 5 horsepower, professional installation is often recommended (Many equipment manufacturers).
Checklist for a Smoother Replacement
To help you stay on track and make the process as quick as possible, keep this simple checklist handy:
- Read the manual for your new compressor BEFORE starting.
- Clear and light your workspace thoroughly.
- Gather ALL necessary tools and supplies beforehand.
- Have a helper or equipment (like a dolly) ready for moving.
- Confirm your new compressor’s power requirements (voltage, amperage).
- Know your local building codes for electrical and plumbing if applicable.
Conclusion
Swapping out your air compressor can range from a quick under-an-hour job for a pro to a 1-3 hour project for you. Your specific compressor type, your comfort with tools, and how well you prep all play a big role in that timeline. We’ve seen how having your workspace clear, your new unit and supplies ready, and the manual in hand can save you a lot of time and hassle. Don’t underestimate the power of preparation! Take a few extra minutes beforehand, and your replacement project will go much smoother and faster. Ready to get started?
Frequently Asked Questions
Can I replace my air compressor myself in under an hour?
For most DIYers, replacing an air compressor in under an hour is ambitious. While a professional can often achieve this, a DIYer usually needs 1-3 hours. This is especially true if you’re less experienced or dealing with a larger unit. Preparation is key to getting closer to that faster timeframe.
What’s the biggest factor that slows down a compressor replacement?
We found that the biggest time-sinks are often unexpected issues like corroded fittings or the physical challenge of moving a heavy compressor without help. Not having the right tools or supplies readily available can also cause significant delays. Clear preparation helps avoid many of these common slowdowns.
Do portable compressors take much less time to replace than stationary ones?
Yes, generally. Portable compressors are lighter and easier to move, with simpler connections. Stationary units might be bolted down, have more robust electrical needs, or be plumbed into a larger air system, all of which add considerable time to the replacement process.
How much extra time should I budget for moving the new compressor into place?
Moving the compressor itself can take 10-30 minutes per unit, depending on its weight and your assistance. If you have a helper or equipment like a dolly, it will be much faster. Budget extra time if you’re doing this alone or navigating tight spaces.
Is there a specific tool I absolutely need for a quick compressor swap?
While a full toolbox is best, a good set of wrenches that fit your compressor’s fittings and a reliable adjustable wrench are critical. Having the correct screwdriver for any electrical housing is also important. Missing just one key size can stop your progress cold.