Boost Airflow: How to Add an Extra Tank to Your Compressor
Yes, you absolutely can add an extra tank to your air compressor to get more air storage. This is a fantastic way to increase your runtime and avoid those frustrating pauses when you’re in the middle of a project. It’s a practical solution for DIYers and professionals alike who need a consistent air supply.
Adding an auxiliary tank is a relatively straightforward process for most air compressors. It’s a smart upgrade that can make a big difference in your workflow. You’ll find that having that extra buffer of compressed air makes longer jobs much more manageable, so you can keep your tools running longer.
- Yes, you can add an extra tank for more air storage.
- This helps you run tools longer without pauses.
- It’s a great upgrade for DIYers and pros.
- Proper installation is key for safety and performance.
Let’s walk through exactly how you can set up an auxiliary tank for your air compressor and get you back to work with more air than ever!
Expanding Your Air Compressor’s Capacity
So, you’ve hit a wall with your current air compressor. Maybe your tools are sputtering, or you’re constantly waiting for that tank to refill. You’re wondering, “Can I really add another tank?” The good news is, yes, you absolutely can. Adding an auxiliary air tank is a popular and effective way to boost your compressor’s air storage. It’s like giving your compressor a bigger lung, allowing it to hold more compressed air.
This extra storage means you can run your air tools for longer periods. You’ll experience fewer interruptions. This upgrade is incredibly beneficial for many projects. Think about painting a car, running multiple nail guns, or using a large impact wrench. More air means less downtime. We found that many users report a significant improvement in their workflow after this simple modification.
Understanding Auxiliary Air Tanks
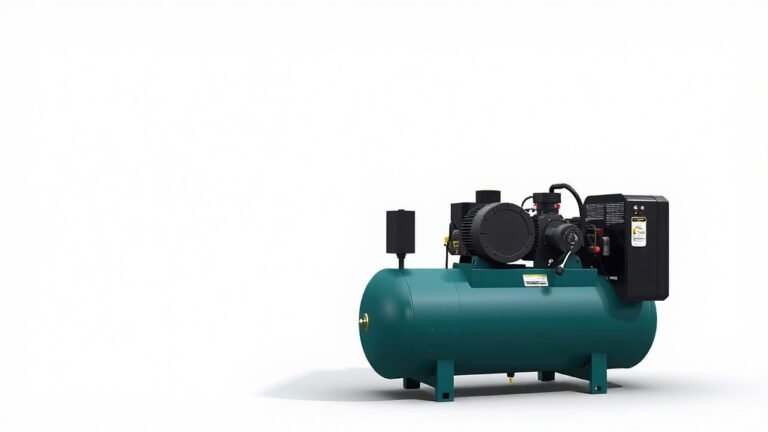
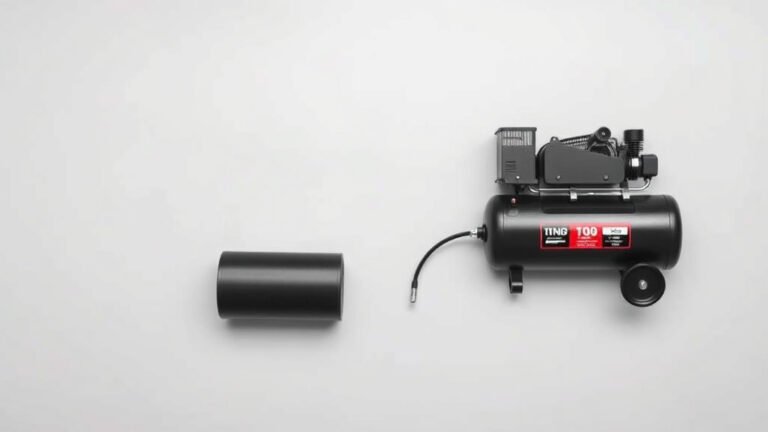
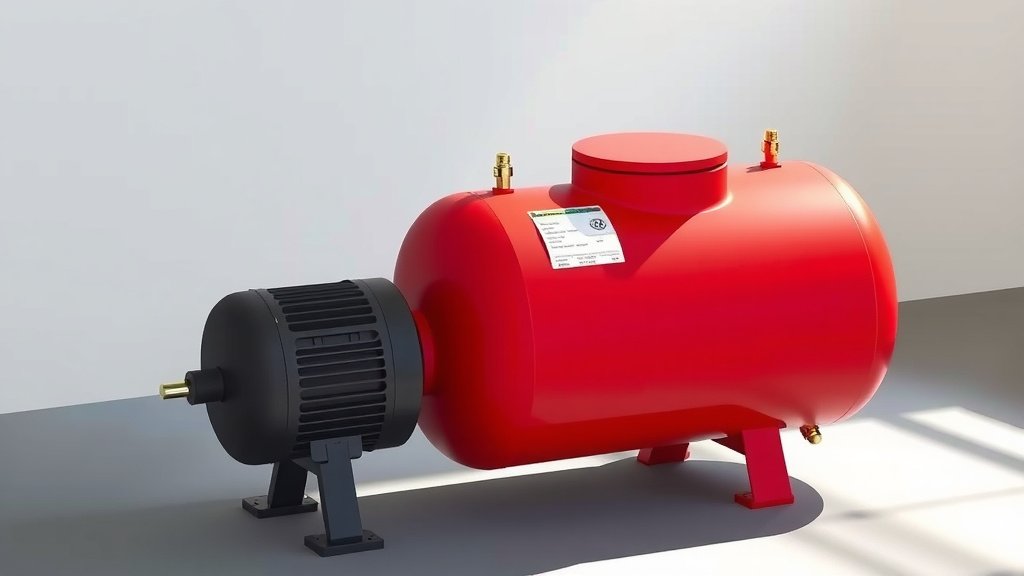
What exactly is an auxiliary air tank? It’s simply a secondary tank designed to hold compressed air. It connects to your primary compressor’s output. This setup allows your compressor to fill both tanks. When you use air, it draws from both. This gives you a larger overall reserve.
How They Work Together
Imagine your compressor is a pump and your tank is a bucket. When your bucket is small, you have to run back to the pump often. An auxiliary tank is like getting a second, larger bucket. Your pump fills both. When you need water, you can draw from either. This system ensures a steady supply. Many experts agree this is a smart way to increase air volume.
Benefits of an Extra Tank
The primary benefit is increased runtime. You can use your air tools for much longer before needing a recharge. This is especially helpful for continuous tasks. It also helps reduce wear and tear on your compressor motor. Instead of cycling on and off constantly, it can run for longer, more efficient periods. This can potentially extend the lifespan of your equipment.
Choosing the Right Auxiliary Tank
Not all auxiliary tanks are created equal. You need to select one that’s compatible with your existing compressor. Consider the size and type of your current tank. Also, think about the CFM (cubic feet per minute) rating of your compressor. You don’t want a tank that’s too large for your compressor to fill efficiently. Researching these specs is key.
Tank Size Considerations
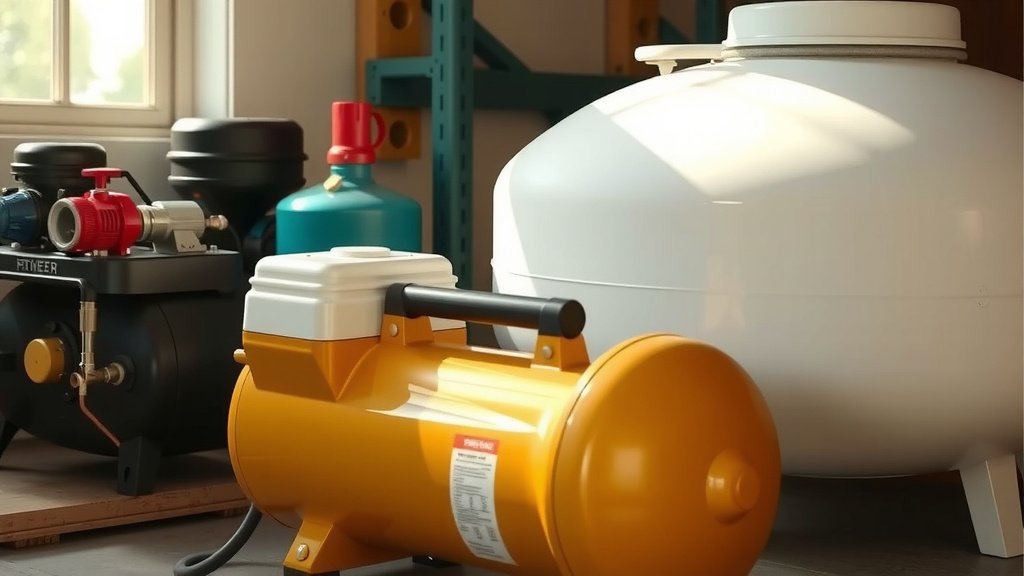
A good rule of thumb is to match the auxiliary tank size to your primary tank. Or, if you know you need significantly more air, you might opt for a larger secondary tank. For example, if you have a 20-gallon primary tank and frequently run out of air during longer jobs, adding another 20-gallon tank could be a good starting point. Many users find that doubling their storage is ample for most tasks. We found that going too big can mean your compressor struggles to keep up. Our guide to the best gallon air compressor can help you choose the right size.
Material and Pressure Ratings
Auxiliary tanks are typically made of steel. Ensure the tank you choose has a pressure rating that meets or exceeds your compressor’s maximum output pressure. Most compressors operate between 90 and 175 PSI. It’s essential that the tank and all fittings can safely handle these pressures. Always check the **ASME (American Society of Mechanical Engineers) rating** on the tank.
Components You’ll Need
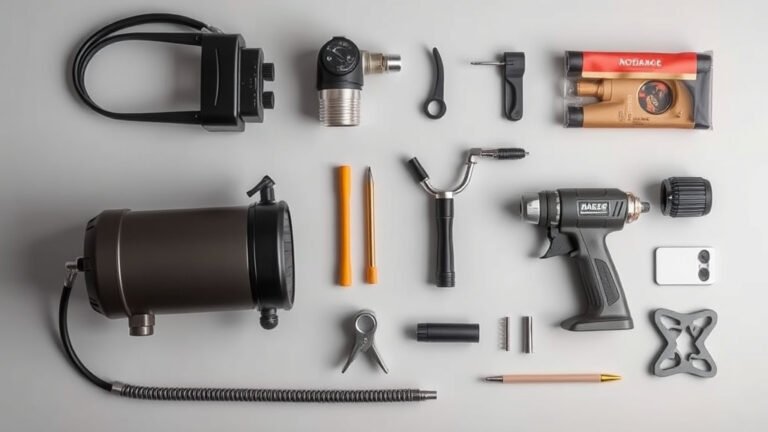
Besides the auxiliary tank itself, you’ll need a few other items to complete the setup. Gathering these beforehand makes the installation process much smoother. Think of it like preparing your ingredients before cooking.
Essential Fittings and Hoses
You’ll need appropriate fittings to connect the auxiliary tank to your compressor. This typically involves brass or steel fittings. You’ll also need a high-pressure air hose. Make sure the hose is rated for the pressures your compressor outputs. The diameter of the hose and fittings should be consistent to avoid creating a bottleneck.
Safety Valves and Gauges
Crucially, you need a pressure relief valve on the auxiliary tank. This is a non-negotiable safety item. It prevents over-pressurization. You should also consider adding a second pressure gauge to monitor the auxiliary tank’s pressure directly. This gives you better visibility into your air supply.
Types of Fittings
Common fittings include NPT (National Pipe Taper) threads. You’ll likely need elbows, unions, and adapters. Ensure all threads are properly sealed with PTFE tape (Teflon tape) to prevent air leaks. A leaky connection is like a slow drip from a faucet – annoying and wasteful.
Step-by-Step Installation Guide
Installing an auxiliary tank is a project you can tackle with basic tools and some patience. Safety first, always! Make sure your compressor is unplugged before you begin any work. It’s crucial to be **thorough and careful** during each step.
Connecting the Tank
First, identify the output port on your existing air compressor tank. You’ll connect your new hose and fittings here. You might need a T-fitting or a similar adapter to branch off the air line. Run the high-pressure hose from the compressor’s output to the inlet of the auxiliary tank. Secure all connections tightly.
Installing Safety Features
Attach the pressure relief valve to a designated port on the auxiliary tank. Make sure it’s installed correctly according to its instructions. If you’re adding a second pressure gauge, install it on a port on the auxiliary tank as well. These are vital for safe operation.
Testing for Leaks
Once everything is connected, it’s time for a leak test. Plug in your compressor and let it build pressure. Listen carefully for any hissing sounds. You can also use a soapy water solution. Spray it on all connections. Bubbles will indicate a leak. Tighten any fittings that are leaking. Many sources recommend repeating this test after the first few uses.
Tips for Safe and Efficient Use
Using your new setup safely and efficiently is just as important as installing it. A little care goes a long way.
Regular Maintenance Checks
Periodically inspect all hoses and fittings for wear or damage. Check the pressure relief valve to ensure it’s functioning correctly. Drain both tanks regularly to remove any accumulated moisture. This prevents rust and corrosion inside the tanks. Many manufacturers suggest draining tanks weekly.
Understanding Pressure Drop
Be aware that while you have more storage, the air will still flow at your compressor’s regulated rate. You may notice a slight pressure drop over longer, continuous uses. Understanding your compressor’s CFM and how it matches your tools is still essential for optimal performance. Your tools’ air consumption shouldn’t exceed your compressor’s supply for too long.
A Quick Checklist Before You Power Up
Here’s a handy checklist to run through:
- Ensure compressor is unplugged.
- Verify all connections are tight.
- Confirm PTFE tape is used on threaded fittings.
- Check that the pressure relief valve is installed correctly.
- Have a plan for testing leaks.
- Know where your compressor’s manual is located.
Conclusion
You’ve learned that adding an auxiliary tank is a smart and achievable upgrade for your air compressor. It’s a fantastic way to boost your air supply, letting you run tools longer without annoying interruptions. By choosing the right tank and following safe installation steps, you can dramatically improve your workflow. Remember to always prioritize safety with proper fittings and pressure relief valves. Now, you’re ready to tackle those bigger projects with confidence!
Frequently Asked Questions
Will adding an extra tank make my air compressor’s output pressure higher?
No, adding an auxiliary tank primarily increases your air storage capacity, not the maximum output pressure your compressor can generate. The pressure is still determined by your compressor’s regulator. You’ll simply have more air available at that regulated pressure.
How large of an auxiliary tank can I connect?
It’s best to match the auxiliary tank size to your primary tank or choose one that your compressor can efficiently fill. We found that doubling your storage is often a good starting point. A tank that’s too large might lead to your compressor struggling to keep up and fill it.
What happens if I don’t install a pressure relief valve on the extra tank?
Omitting a pressure relief valve is a serious safety hazard. If your compressor or regulator malfunctions, the auxiliary tank could over-pressurize, potentially leading to a dangerous rupture. Always install a correctly rated relief valve.
Can I use a regular shop air hose to connect the tanks?
You must use a high-pressure air hose rated for your compressor’s maximum output pressure. Standard shop hoses may not be able to withstand the pressure, leading to leaks or a burst hose. Always check the PSI rating on the hose.
How often should I drain the auxiliary tank?
You should drain both your primary and auxiliary tanks regularly to remove moisture. For most users, draining them weekly is sufficient. This prevents rust buildup inside the tanks and helps maintain air quality.