How to Add Oil to Your Air Compressor Properly
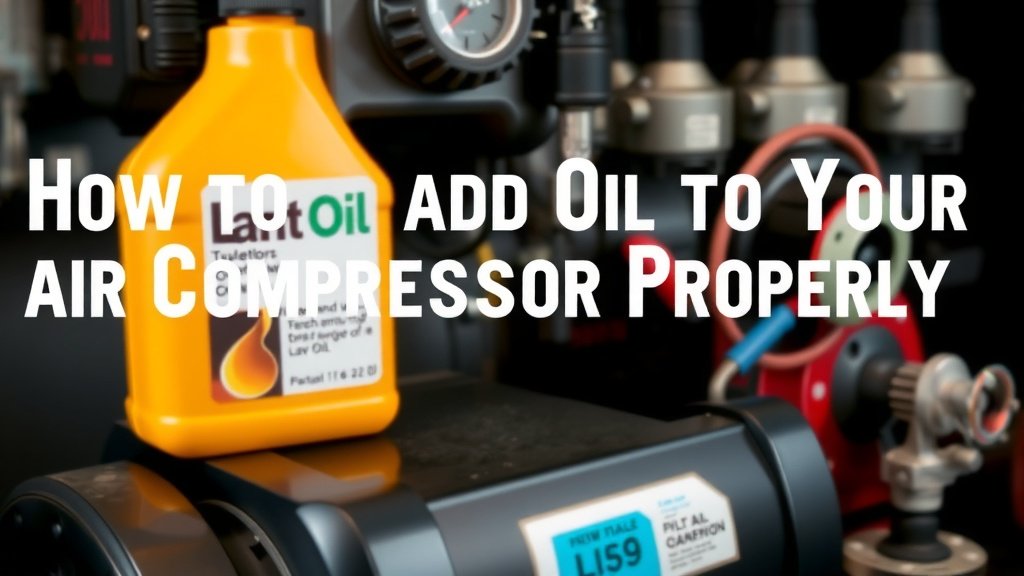
Adding oil to your air compressor is a straightforward process that helps ensure peak performance and longevity. You’ll typically add oil to the crankcase reservoir, often marked with a dipstick or a fill cap, using a funnel. Always use the correct type of oil specified by your compressor’s manufacturer to avoid damage.
It’s important to check your air compressor’s oil level regularly. Low oil can cause excessive wear on internal components and lead to overheating. Overfilling can also cause issues, so finding that perfect middle ground is key for smooth operation and to prevent potential problems down the road.
- Turn off and unplug the compressor first.
- Locate the oil fill port and dipstick.
- Use the manufacturer-recommended oil type.
- Fill to the correct level indicated by the dipstick.
- Wipe up any spills and reassemble.
Let’s walk through exactly how to add oil to your air compressor step by step, making sure it’s done right the first time.
Servicing Your Air Compressor: A Guide to Adding Oil
Adding oil to your air compressor is a fundamental maintenance task. It keeps the internal parts lubricated. This prevents wear and tear. You should do this regularly. It ensures your compressor runs smoothly. We’ll guide you through the process. It’s simpler than you might think.
Why Oil is Essential for Your Air Compressor
Think of air compressor oil like motor oil for your car. It’s the lifeblood of the machine. Without enough oil, metal parts grind against each other. This creates friction and heat. This can quickly lead to damage.
The Role of Lubrication
The oil coats all the moving parts inside the crankcase. This includes the piston, cylinder walls, and crankshaft. This coating reduces friction significantly. Less friction means less heat. It also creates a seal. This helps maintain compression.
Preventing Wear and Tear
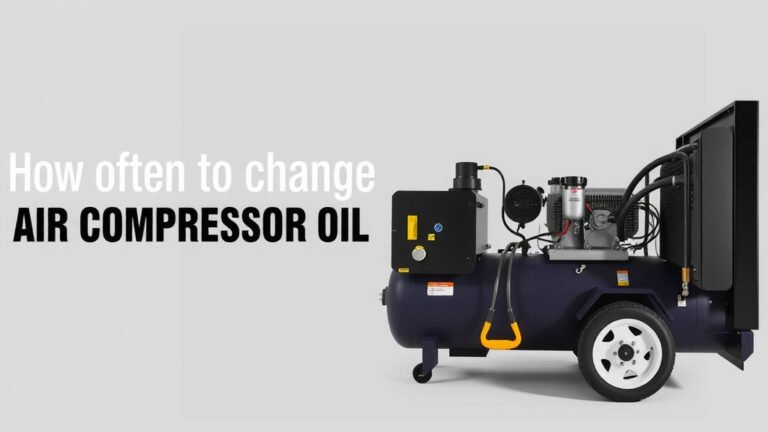
Regular oil top-ups and changes extend the life of your compressor. Worn-out oil loses its lubricating properties. It can become contaminated with debris. Fresh oil keeps everything running like new. Many compressor manufacturers recommend checking oil levels monthly (Craftsman, DeWalt).
Overheating Dangers
Low oil levels are a major cause of overheating. When parts aren’t lubricated, they generate more friction heat. This heat can warp metal parts. It can damage seals. In severe cases, it can cause a complete breakdown. This is something you definitely want to avoid.
Locating the Oil Fill and Dipstick
The first step is to find the oil reservoir. Most portable and stationary air compressors have a designated spot. It’s usually quite visible. You don’t need to be a mechanic to find it. Look for specific markers on the compressor’s body.
Identifying the Oil Fill Port
You’ll typically see a screw-on cap or a plug. This is the oil fill port. It might be directly on the crankcase. Sometimes it’s on a side panel. It’s often brightly colored, like red or yellow, to make it easy to spot. Some larger units might have a small funnel-shaped opening.
Understanding the Dipstick
Near the fill port, you’ll find a dipstick. This looks very similar to the one in your car. It has a handle and a long, thin metal rod. This rod measures the oil level. The end of the dipstick usually has markings indicating the ‘full’ and ‘add’ points. Always check your owner’s manual if you’re unsure.
Safety First: Power Down!
Before you do anything else, you must ensure the compressor is safe to work on. This means turning off the power. Unplug the unit from the wall socket. If it’s a gas-powered compressor, turn off the engine. Let the compressor cool down. Hot oil can cause serious burns. Wait at least 30 minutes after it has been running.
Choosing the Right Air Compressor Oil
This is a critical step. Using the wrong type of oil can cause serious damage to your compressor. You can’t just grab any old oil from the garage. You need to use the oil specifically recommended by the manufacturer. This information is usually in your owner’s manual. It’s also often printed on the compressor itself.
Types of Compressor Oils Explained
There are two main types: mineral oil and synthetic oil. Mineral oils are generally less expensive. They are suitable for many standard-duty compressors. Synthetic oils offer better performance. They resist breakdown at higher temperatures. They can also last longer between changes. Many manuals specify an ISO viscosity grade, like ISO VG 32, 46, or 68. This is about how thick the oil is. This is crucial for proper operation.
What the Manufacturer Recommends
Your compressor’s manual is your best friend here. It will tell you the exact type of oil and viscosity grade. It might also suggest specific brands. If you can’t find your manual, search online using your compressor’s model number. Many manufacturers have downloadable PDFs. Many experts agree that following the manual is the safest bet (ASHRAE Handbook).
Synthetic vs. Mineral: What’s the Difference?
Synthetic oils are engineered. They offer superior thermal stability and oxidation resistance. This means they don’t break down as easily under heat. They can also perform better in colder temperatures. Mineral oils are refined from crude oil. They are a good option for compressors that don’t run continuously or at very high temperatures. For heavy-duty or high-temperature applications, synthetic is often the better choice.
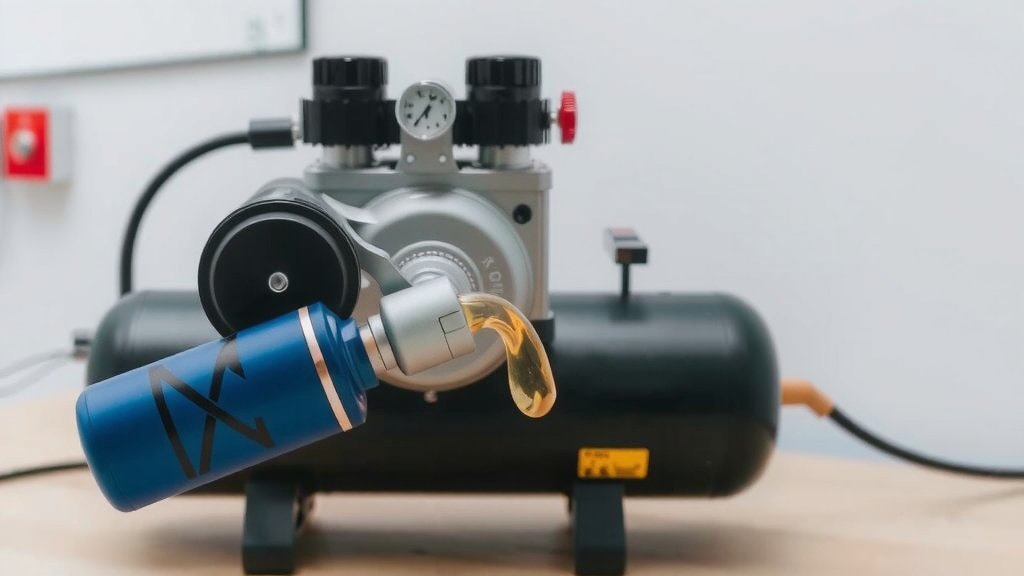
Step-by-Step: Adding Oil to Your Compressor
Now that you’re prepared, let’s get to it. This process is straightforward. Having a few basic tools will make it even easier. You’ll want a clean funnel and some shop rags. You might also need a wrench if the fill cap is tight.
Prepare Your Workspace
Make sure you’re in a well-lit area. Place some rags around the oil fill port. This will catch any drips or spills. A spill can make the compressor slippery and look messy. It’s best to clean as you go. This prevents oil from getting onto belts or electrical components.
Remove the Dipstick and Fill Cap
Gently unscrew the oil fill cap. Set it aside carefully. Then, pull out the dipstick. It might be a bit sticky. You can wipe the dipstick clean with a rag. This is a good idea before you start adding oil.
Using a Funnel for a Clean Fill
Insert a clean funnel into the oil fill port. Make sure it fits snugly. This prevents oil from splashing out. You don’t want to make a mess. A wide-mouth funnel is often best for air compressors.
Filling to the Correct Level
Slowly pour the recommended type of oil into the funnel. Stop periodically. Remove the funnel and reinsert the dipstick. Pull it out again and check the level. You want the oil to be between the ‘add’ and ‘full’ marks. Do not overfill. Overfilling can cause the compressor to foam. It can also lead to oil being expelled through the air line.
Reading the Dipstick Accurately
The dipstick usually has two marks. One is for the minimum level, and the other is for the maximum. You want the oil level to be near the top mark, but not above it. If the oil is too low, add a small amount and check again. If you accidentally add too much, you may need to drain some out.
Checking for Spills and Reassembly
Once the oil level is correct, remove the funnel. Wipe away any spilled oil with your rag. Carefully screw the oil fill cap back on tightly. Reinsert the dipstick. Ensure it’s seated properly. You’re almost done!
Post-Oil Change Checklist
After adding oil, a quick review ensures everything is perfect. This is your final check.
- Confirm oil level is between the marks.
- Ensure the fill cap is secure.
- Wipe down any oil residue.
- Dispose of used rags properly.
- Plug in and test the compressor briefly.
Initial Startup and Monitoring
Plug the compressor back in. Turn it on and let it run for a minute or two. Listen for any unusual noises. Keep an eye on the oil level through the sight glass, if your model has one. You might see a bit of oil mist. This is normal initially. Check the oil level again after it has run for a while and cooled down.
Conclusion
You’ve now got a clear roadmap for adding oil to your air compressor. Remember, this simple maintenance task is vital for your tool’s health. By following these steps, you ensure your compressor runs efficiently and lasts longer. Always prioritize safety and use the manufacturer’s recommended oil. Ready to give your compressor a fresh drink of oil? Make it a part of your regular maintenance routine, and you’ll keep your compressor humming along for years to come.
Frequently Asked Questions
How often should I add oil to my air compressor?
Check your owner’s manual for the exact recommendation. Most manufacturers suggest checking the oil level monthly. You may need to add oil if it’s low. Oil changes are also recommended periodically, typically every few hundred hours of use or annually.
What happens if I overfill the oil in my air compressor?
Overfilling can cause the compressor to foam. It can also lead to oil being expelled through the air line. This contaminates your tools and projects. It might also cause damage to internal components over time.
Can I use any type of motor oil in my air compressor?
No, you absolutely cannot. You must use the specific type of oil recommended by your air compressor’s manufacturer. Using the wrong oil can void your warranty and cause serious damage.
My compressor is new, does it need oil right away?
Most new air compressors come pre-filled with oil. However, it’s always best to check the oil level before your first use. Your owner’s manual will confirm this and provide instructions.
Where can I find the correct type of oil for my air compressor?
Your air compressor’s owner’s manual is the best place to find this information. If you don’t have the manual, look for a sticker or plate on the compressor itself. You can also search online using your model number.