Adjust Air Compressor Pressure Switch: A Step-by-Step Guide
Adjusting your air compressor’s pressure switch control valve is a straightforward process that helps you set the perfect air pressure for your tools. You can easily change the cut-in and cut-out pressure points to match your specific needs, ensuring optimal performance and safety.
Understanding how this control valve works is key to fine-tuning your air compressor. It directly influences when your compressor motor kicks on and off. Many users find that properly adjusting this can prevent premature wear and ensure a consistent air supply.
- Understand why you need to adjust the pressure switch.
- Locate the pressure switch control valve.
- Learn how to adjust the cut-in and cut-out pressures.
- Know when to call a professional.
Let’s walk through exactly how to adjust your air compressor’s pressure switch control valve step by step.
You’ve probably heard that satisfying hiss of compressed air, but have you ever wondered if it’s just right? Sometimes, your air compressor motor seems to cycle on and off more than you’d like, or maybe the pressure just isn’t cutting it for your tools. That’s where adjusting the pressure switch control valve comes in. It’s your key to dialing in the perfect pressure for any job, big or small.
Fine-Tuning Your Air Compressor’s Pressure Settings
Adjusting the pressure switch is like setting the thermostat for your air compressor. It tells the motor when to start pumping more air and when to take a break. Getting these settings right ensures you have a steady supply of air without overworking the motor or running out at a critical moment.
Why Adjust the Pressure Switch in the First Place?
You might be wondering why you’d even need to touch this thing. Well, compressors often come with a default setting. This setting might not be ideal for your specific tools or tasks. For instance, a delicate painting job needs less pressure than a nail gun.
- Optimize Tool Performance: Different tools require different air pressures to function correctly. Too little, and your tool might not work; too much, and you could damage it or the workpiece.
- Extend Compressor Lifespan: By setting the pressure range appropriately, you prevent the motor from cycling too frequently or running for too long. This reduces wear and tear.
- Ensure Safety: Operating tools or equipment outside their recommended pressure range can be dangerous. Proper adjustment helps maintain safe operating parameters.
- Save Energy: An unnecessarily high cut-out pressure means the compressor works harder than it needs to. You can save a bit on your electricity bill by setting it just right.
Locating Your Air Compressor’s Pressure Switch
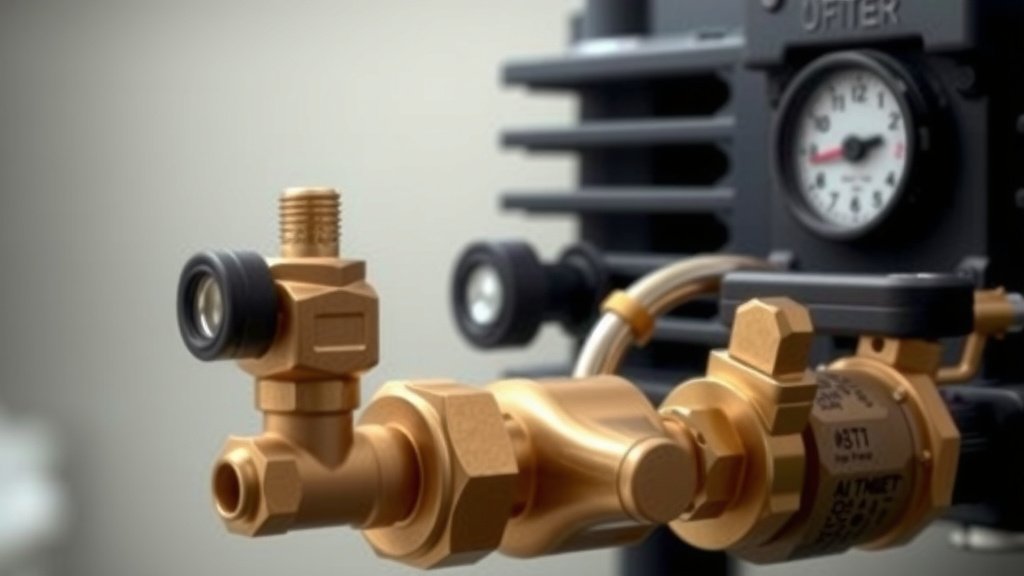
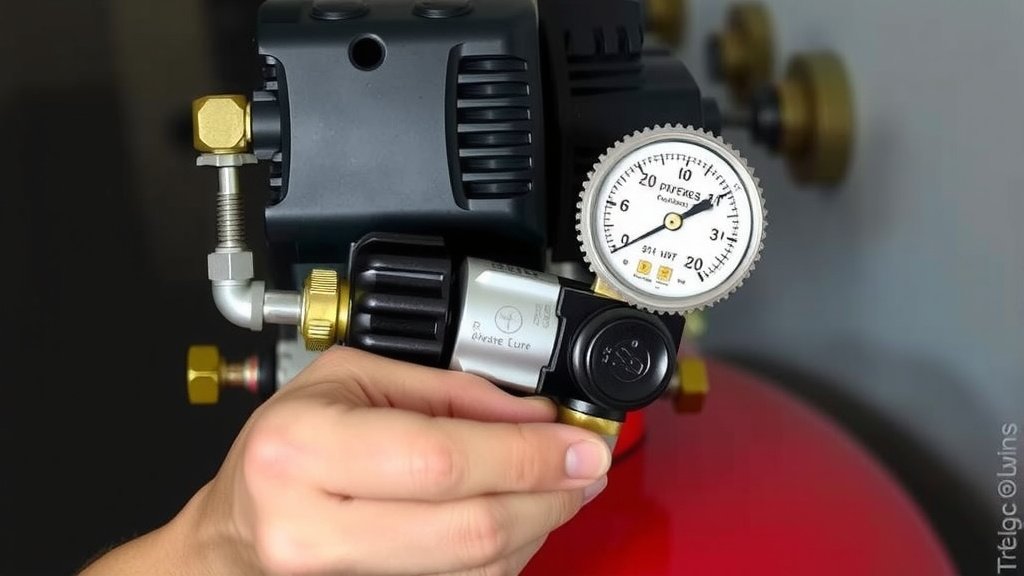
Before you can adjust anything, you need to find the control valve. It’s usually located on the same manifold as your air tank’s pressure gauge. Look for a small box, often black plastic, mounted on the side of the compressor pump or the air tank. This box typically has a lever or knob for pressure adjustment, along with an unloader valve and a safety relief valve.
What Does it Look Like?
The pressure switch itself is a key component. It’s the brain that tells your compressor when to switch on (cut-in) and off (cut-out). You’ll likely see two adjustment screws on it, often labeled with a plus (+) and minus (-) symbol, or sometimes just labeled “Differential” or “Cut-in/Cut-out.”
Understanding Cut-In and Cut-Out Pressures
Think of these as the “on” and “off” points for your compressor’s motor. The cut-in pressure is the point at which the motor turns on to build more pressure. The cut-out pressure is the higher point at which the motor turns off, having reached the desired maximum pressure.
The difference between these two points is called the differential pressure. A smaller differential means the motor turns on and off more frequently, providing a more consistent pressure but potentially causing more wear. A larger differential means fewer cycles but more pressure fluctuation.
| Pressure Point | What it Does | Ideal Setting Example |
|---|---|---|
| Cut-In Pressure | Motor starts pumping air. | e.g., 90 PSI |
| Cut-Out Pressure | Motor stops pumping air. | e.g., 120 PSI |
| Differential Pressure | The range between cut-in and cut-out (Cut-Out – Cut-In). | e.g., 30 PSI (120 – 90) |
Setting the Right Differential
Many experts recommend a differential of around 20-30 PSI for most home or DIY use. This offers a good balance between consistent air supply and motor longevity. Some larger industrial compressors might have different recommendations. Always check your compressor’s manual for specific guidance.
Step-by-Step Guide to Adjusting Your Pressure Switch
Now that you know the basics, let’s get to the practical part. Remember to always prioritize safety. Wear your safety glasses and make sure the area is well-ventilated.
Step 1: Safety First – Disconnect Power
This is the most critical step. Before you touch anything, unplug your air compressor from the power outlet. If it’s a gas-powered model, turn off the engine and disconnect the spark plug wire to prevent accidental starts. You don’t want the motor kicking on while your hands are near the switch!
Step 2: Identify Your Adjustment Screws
Locate the pressure switch. You’ll usually find two main adjustment screws. One typically controls the cut-out pressure (the higher pressure) and the other controls the differential pressure (the difference between cut-in and cut-out).
Sometimes, the screws are labeled. If not, research your specific pressure switch model online or consult your compressor’s manual. You might see a larger screw for the cut-out pressure and a smaller one for the differential. Some switches have a single screw that adjusts both simultaneously, which can be trickier.
Step 3: Adjusting the Cut-Out Pressure
To increase the cut-out pressure, you’ll typically turn a screw clockwise. To decrease it, turn it counter-clockwise. Make small adjustments, usually no more than a quarter turn at a time. Then, you’ll need to let the compressor build pressure to see the effect.
How to Test and Refine
After a small adjustment, plug the compressor back in and let it run. Watch the pressure gauge. Note the pressure at which the motor turns off. If it’s not where you want it, unplug the compressor again, make another adjustment, and repeat. This back-and-forth testing is normal.
Step 4: Adjusting the Differential Pressure
This is often done with the second screw. Turning this screw affects the range between the cut-in and cut-out pressures. If you want a smaller differential (more frequent cycling), you’ll typically adjust this screw a certain way (refer to your manual). For a larger differential, adjust it the opposite way.
Achieving a Balanced Cycle
The goal is to find a sweet spot. You want enough pressure for your tools without the motor constantly starting and stopping. A rapid cycling of the motor can lead to overheating and premature failure, as many repair guides point out.
Step 5: Fine-Tuning and Verification
Once you think you’ve got it dialed in, let the compressor run through a few cycles. Open your air tool briefly to let some air out and see how it behaves. Does the motor kick on at a reasonable pressure? Does it shut off at your desired maximum? You might need a few more minor tweaks to get it perfect.
When to Consider Professional Help
If you’re struggling to get the switch to adjust, if the pressure is inconsistent, or if you’re just not comfortable with the process, it’s okay to call a professional. Sometimes, a faulty pressure switch might need replacement, or there could be another underlying issue with your compressor.
Here’s a quick checklist to keep you on track:
- Always disconnect power before adjusting.
- Wear safety glasses.
- Locate the pressure switch and adjustment screws.
- Make small, incremental adjustments.
- Test the cut-in and cut-out pressures after each adjustment.
- Consult your compressor manual for specific guidance.
Conclusion
You’ve now learned the essential steps to adjust your air compressor’s pressure switch control valve. By understanding cut-in and cut-out pressures, and making careful adjustments, you can optimize your tool performance and extend your compressor’s life. Remember, safety is always the first step – always disconnect power before making any changes. With these adjustments, you’re well on your way to a more efficient and reliable air supply for all your projects. Take a moment to check your current settings and consider if they can be improved for your needs.
Frequently Asked Questions
How do I know if my air compressor pressure switch needs adjusting?
You might need to adjust your pressure switch if your tools aren’t performing well, or if the compressor motor cycles on and off too frequently or not enough. Sudden changes in air pressure during use are also a strong indicator that an adjustment is needed.
Can I adjust both the cut-in and cut-out pressure with just one screw?
Some pressure switches have a single adjustment screw that affects both settings, making it a bit trickier to dial in precisely. Others have separate screws for cut-out pressure and differential pressure. Always check your compressor’s manual to understand how your specific switch works.
What happens if I set the cut-out pressure too high?
Setting the cut-out pressure too high means your compressor will run longer and build up more pressure than needed. This can potentially overwork the motor, lead to overheating, and could even exceed the safe operating pressure for some of your air tools or the tank itself.
Is it normal for the pressure to drop a little after the compressor turns off?
Yes, it’s completely normal for the pressure to drop slightly due to the natural leak-down in the system or the air used by the unloader valve. However, a significant or rapid drop could indicate an issue with the tank or fittings, not just the pressure switch setting.
Where can I find the recommended pressure settings for my specific air tools?
You can usually find the recommended operating pressure for your air tools in their owner’s manuals or on the tool itself, often marked directly on the device. It’s essential to match your compressor’s output to these requirements for optimal function and to prevent damage.