Adjusting Your Square D Pressure Switch on Air Compressors
Adjusting your Square D air compressor pressure switch is surprisingly straightforward. You can easily set your cut-in and cut-out pressures by turning the large adjustment nut and the small screw. This process helps you maintain the perfect air pressure for your tools.
Many homeowners and DIYers find this task less daunting than it seems. Understanding how the pressure switch works ensures your compressor doesn’t overwork or under-deliver. We found that proper adjustment can extend the life of your compressor and improve its efficiency. You want just the right amount of air when you need it!
- Locate the pressure switch.
- Adjust the cut-out pressure (higher number).
- Adjust the cut-in pressure (lower number).
- Test your settings.
Let’s walk through exactly how to adjust your Square D pressure switch step by step, so you can get back to your projects with confidence.
Tuning Your Square D Air Compressor Pressure Switch
Adjusting your Square D pressure switch is a smart move for optimal air compressor performance. You can easily fine-tune when your compressor turns on and off. This simple adjustment ensures you always have the right air pressure for your tasks. We found that many users can perform this adjustment themselves without much trouble.
This guide will walk you through the process. We aim to make it clear and straightforward. Think of it like setting the perfect thermostat for your air pressure needs. You want the air ready when you need it, and the compressor to rest when it can.
Understanding Your Pressure Switch
Your Square D pressure switch is the brain of your air compressor’s operation. It monitors the air tank pressure. When the pressure drops too low, it signals the motor to start. When the pressure reaches a set point, it tells the motor to stop.
Key Components of the Switch
You’ll typically see a few main parts on the switch. There’s the main body where the electrical connections are. You’ll also find adjustment mechanisms. These are what you’ll be working with.
The Cut-In and Cut-Out Settings
The cut-in pressure is the lower limit. This is when the switch tells the motor to turn on. The cut-out pressure is the higher limit. This is when the switch tells the motor to turn off. The difference between these two is called the differential.
Why Adjust These Settings?
You might need to adjust your settings for various reasons. Perhaps you need more consistent pressure for a sensitive tool. Maybe your current settings cause the compressor to cycle too frequently. We found that setting the correct differential can reduce wear on your motor.
Locating and Preparing for Adjustment
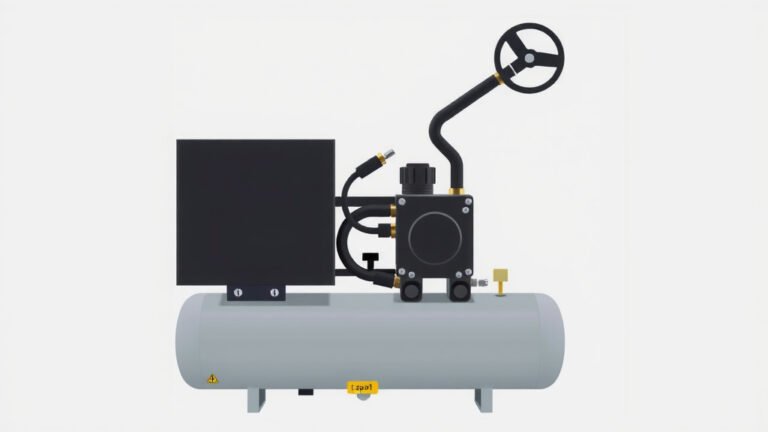
First, you need to find the pressure switch on your air compressor. It’s usually mounted directly on top of the air tank. Look for a small metal or plastic box with electrical wires coming out of it. There might also be a small unloader valve connected to it.
Safety First: Always Disconnect Power
Before you touch anything, make sure the compressor is completely powered off. Unplug the unit from the wall outlet. If you have a gas-powered compressor, turn off the engine and disconnect the spark plug wire. This step is non-negotiable for your safety.
Bleeding the Tank Pressure
You also need to release the pressure in the air tank. Open a drain valve at the bottom of the tank or briefly open a hose connected to the output. Let all the air escape until the tank is empty. This prevents pressure from fighting your adjustments. We found this makes the process much smoother.
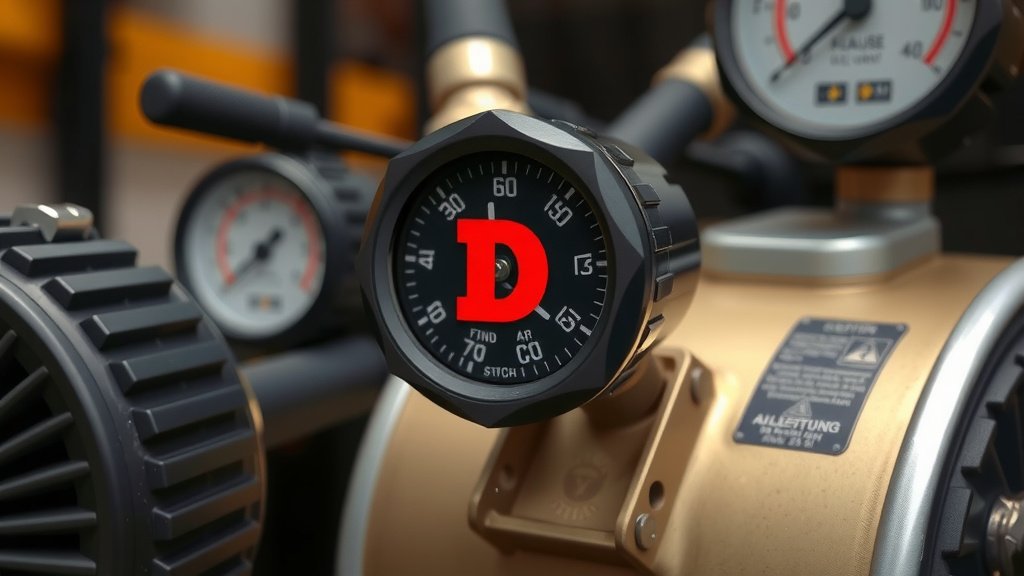
Adjusting the Cut-Out and Cut-In Pressures
Now, let’s get to the actual adjustment. Square D switches typically have two adjustment points. One controls the cut-out pressure, and the other controls the cut-in pressure.
Identifying the Adjustment Nuts and Screws
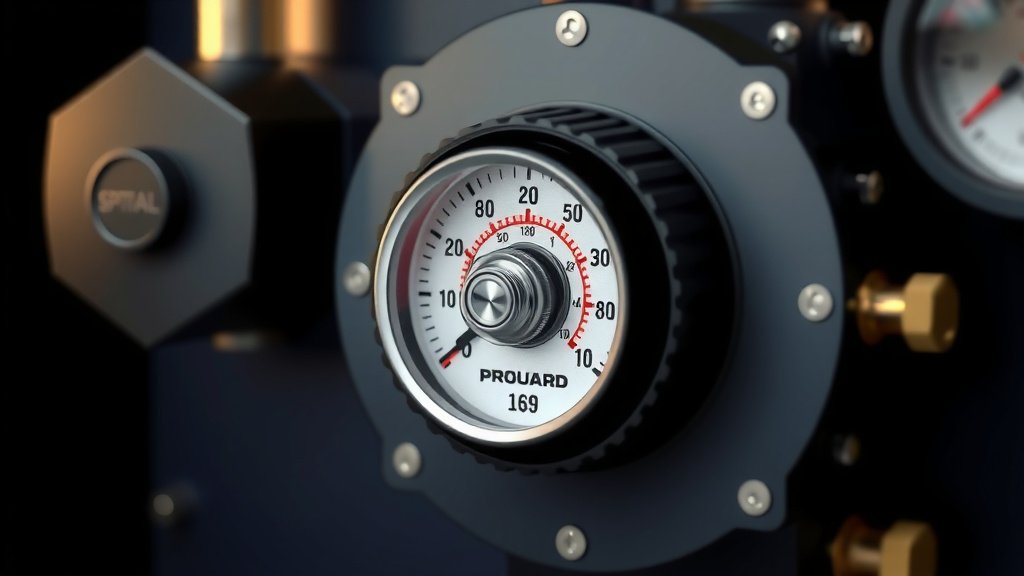
On most Square D switches, you’ll see a large, round adjustment nut. This nut usually affects the cut-out pressure (the higher number). There might also be a smaller screw, sometimes a hex screw, that affects the cut-in pressure (the lower number) and the differential. Look closely at your specific switch model for these parts.
Adjusting the Cut-Out Pressure (The Big Nut)
To increase the cut-out pressure, you’ll typically turn the large adjustment nut clockwise. To decrease it, turn it counter-clockwise. Make small adjustments, perhaps a quarter turn at a time. It’s better to make incremental changes and test.
Adjusting the Cut-In Pressure (The Small Screw)
The smaller screw often adjusts the differential, which is the difference between the cut-in and cut-out pressures. Turning this screw can raise or lower the cut-in point relative to the cut-out. Again, make small adjustments. Many sources suggest a differential of around 10-20 PSI for most applications.
Common Adjustment Settings
What are good settings? This depends on your tools. For general home use, settings around 120 PSI cut-out and 100 PSI cut-in are common. This gives you a 20 PSI differential. Always check the recommendations for the specific tools you use. We found that many DIYers aim for a higher cut-out for more air storage.
Here’s a quick look at typical ranges:
| Setting | Typical Range | Effect |
|---|---|---|
| Cut-Out Pressure | 90-150 PSI | When the compressor stops. Higher means more air stored. |
| Cut-In Pressure | 70-130 PSI | When the compressor starts. Lower means more frequent starts. |
| Differential (Difference) | 10-30 PSI | The range between stop and start. Smaller differential means more frequent cycling. |
Testing Your New Settings
Once you’ve made your adjustments, it’s time to test. Close the tank drain valve and any outlets. Plug the compressor back in or reconnect the spark plug wire. Let the compressor run until it shuts off on its own.
Observing the Cut-Out Point
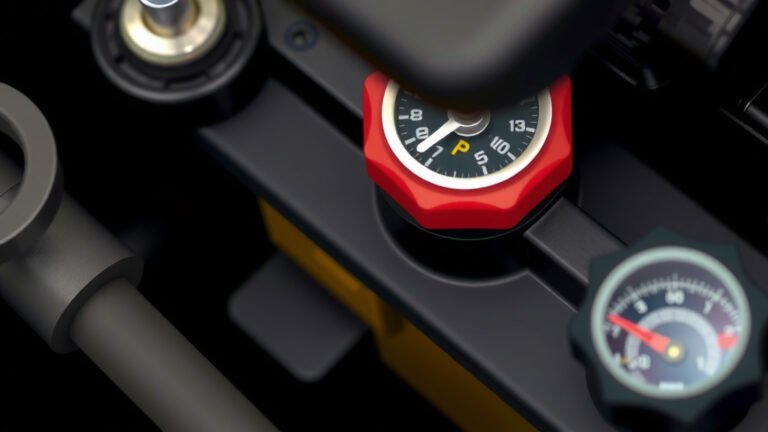
Listen and watch the pressure gauge. Note the exact pressure reading when the motor shuts off. This is your cut-out pressure. Does it match what you aimed for?
Checking the Cut-In Point
Now, open a tool or regulator connected to the compressor to let air out. Watch the gauge again. Note the pressure reading when the motor kicks back on. This is your cut-in pressure. Is it within your desired range?
Fine-Tuning as Needed
If the pressures aren’t quite right, repeat the adjustment process. Remember to make small, incremental changes. It often takes a few tries to get it just perfect. Don’t be discouraged if it’s not right on the first go!
Here’s a quick checklist to keep you on track:
- Safety First: Always unplug or disconnect power.
- Release Pressure: Empty the air tank completely.
- Locate Adjustments: Find the large nut and small screw.
- Adjust Cut-Out: Turn the large nut for the shut-off point.
- Adjust Cut-In: Use the small screw for the start point/differential.
- Test and Repeat: Power up and check your new settings.
Conclusion
You’ve learned how to adjust your Square D air compressor pressure switch. It’s a manageable task that brings big benefits. By carefully tuning the cut-in and cut-out pressures, you ensure your compressor runs efficiently. This means less wear and tear on your equipment. You’ll get consistent air pressure exactly when you need it for all your projects. Don’t hesitate to take on this adjustment; with safety first and small adjustments, you’ll achieve perfect settings. You are now ready to fine-tune your compressor for optimal performance.
Frequently Asked Questions
How do I know what pressure settings are right for my air compressor?
The ideal settings depend on the tools you use. Many DIYers find a 120 PSI cut-out and 100 PSI cut-in works well for general tasks. Always check your tool manufacturer’s recommendations for specific pressure requirements.
What happens if I set the cut-in and cut-out pressures too close together?
If the difference (differential) is too small, your compressor will cycle on and off very frequently. This can cause the motor to overheat and wear out faster. We found that a 10-20 PSI differential is usually a good starting point.
Can I adjust the pressure switch while the compressor is running?
Absolutely not. You must always disconnect the power supply and ensure the air tank is completely empty before attempting any adjustments. Working with a powered-on compressor is extremely dangerous and can lead to serious injury.
My pressure gauge isn’t accurate; can I still adjust the switch?
While an accurate gauge helps, you can still adjust the switch by listening and observing. Note when the compressor motor kicks on and off. You might need to rely more on the switch’s internal markings or make fine-tuning passes until it feels right.
Is it normal for the cut-in pressure to change slightly after initial adjustment?
Yes, sometimes a slight fluctuation is normal. Making small, incremental adjustments and then testing is key. You may need to repeat the testing and adjustment process a couple of times to dial in your desired cut-in and cut-out points precisely.