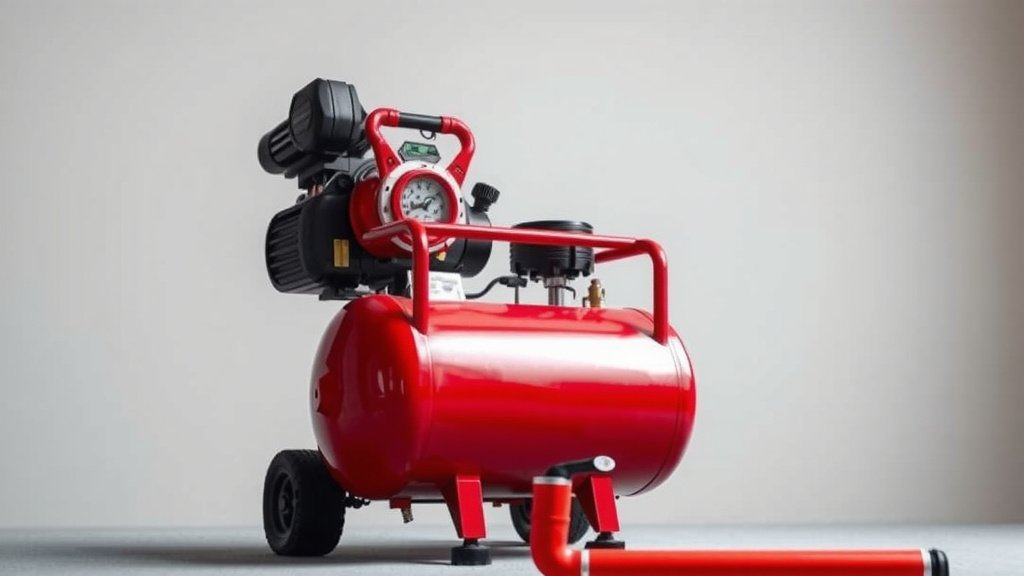
Adjusting Your Craftsman Air Compressor Pressure Switch
Adjusting the pressure switch on your Craftsman air compressor is simpler than you might think. You can easily set your desired cut-in and cut-out pressure by carefully turning the adjustment screws on the switch itself. This process helps ensure your compressor delivers air at the perfect pressure for your tasks.
Getting the pressure just right means your tools will perform their best. Over-pressurizing can damage equipment, while under-pressurizing can make jobs take longer. Understanding how to fine-tune this setting is key to efficient compressor operation and protecting your tools. We found that a little adjustment goes a long way.
- Locate the pressure switch.
- Identify the adjustment screws.
- Turn screws to raise or lower pressure.
- Test the new settings.
- Consult your manual if unsure.
Let’s walk through exactly how to adjust your Craftsman air compressor’s pressure switch, step by step.
Fine-Tuning Your Craftsman Air Compressor’s Pressure Switch
Adjusting the pressure switch on your Craftsman air compressor is a straightforward process. You’ll be setting the cut-in and cut-out pressures. This means controlling when the compressor turns on and off. Getting these settings right ensures your compressor works efficiently for all your projects.
Think of the pressure switch as the compressor’s brain. It monitors the air tank’s pressure. When the pressure drops too low, it tells the motor to kick on. When it reaches the set upper limit, it tells the motor to shut off. This keeps your tank filled with air ready to go.
Understanding Pressure Switch Components
Your Craftsman air compressor’s pressure switch likely has a few key parts you need to know. These are usually housed in a small plastic or metal casing attached to the air tank or a manifold. Knowing these parts will make the adjustment process much clearer.
The Pressure Switch Housing
This is the main body of the switch. It protects the internal mechanisms. You’ll usually see it bolted directly to the air compressor’s tank. It often has several ports for connecting air lines and electrical wires.
Adjustment Screws Explained
Inside the housing, you’ll find the adjustment screws. There are typically two. One controls the cut-in pressure (when the compressor turns on). The other controls the cut-out pressure (when it turns off). Some switches might have a single screw for a combined adjustment, but two is more common.
Identifying Cut-In and Cut-Out Screws
Often, the screws are labeled, or their function is indicated by their location relative to the diaphragm. One screw might be larger or have a spring beneath it. We found that looking at the schematic in your owner’s manual is the **best way to be certain**.
The Pressure Unloader Valve
This small valve is usually attached to the pressure switch. It works to release a bit of air pressure from the pump head when the motor shuts off. This makes it easier for the motor to restart next time. You usually don’t need to adjust this for normal pressure settings.
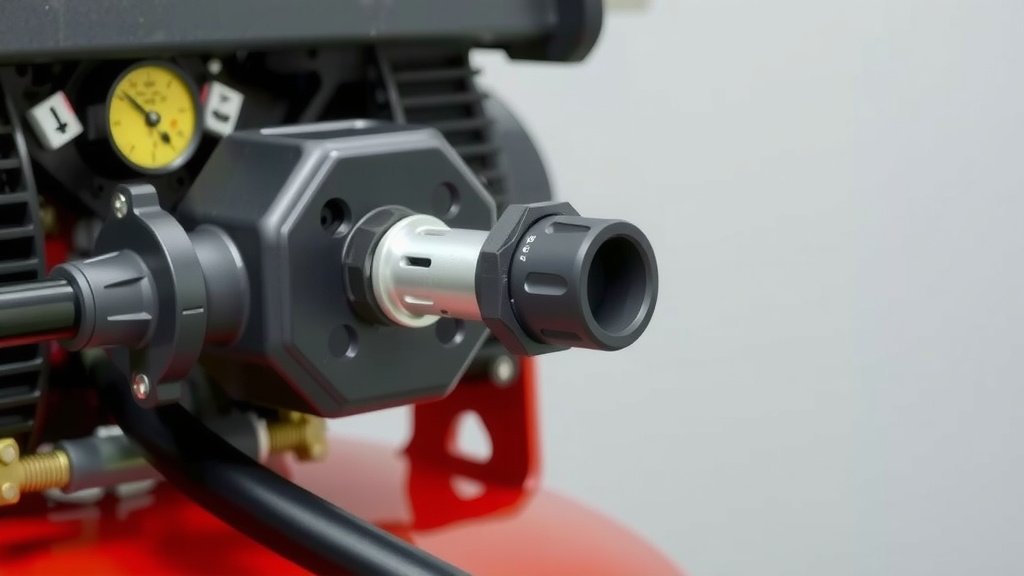
Steps to Adjust Your Pressure Switch
Before you start, **always disconnect power** to the compressor. Safety is your top priority here. You don’t want the motor to start unexpectedly while you’re working on the switch. Gather any tools you might need, like a screwdriver or wrench.
Locating and Accessing the Switch
The pressure switch is usually mounted where the air lines connect to the tank. It’s often a black plastic or metal unit. You might need to remove a cover to access the adjustment screws. Look for screws or clips holding the cover in place.
Setting Your Desired Cut-Out Pressure (Turn Off)
The cut-out pressure is the maximum pressure your tank will reach before the compressor shuts off. To adjust this, you’ll typically turn the screw associated with the cut-out setting. Turning the screw clockwise usually increases the cut-out pressure. Turning it counter-clockwise decreases it. Make small adjustments, perhaps a half-turn at a time.
How to Increase Cut-Out Pressure
If you need a higher pressure, turn the cut-out adjustment screw clockwise. This tightens the spring that holds the switch mechanism closed. More pressure is then needed to overcome the spring and flip the switch open. We found that incremental changes are key.
How to Decrease Cut-Out Pressure
To lower the cut-out pressure, turn the screw counter-clockwise. This loosens the spring. Less pressure is required for the switch to activate and shut off the motor. Be careful not to set it too low.
Setting Your Desired Cut-In Pressure (Turn On)
The cut-in pressure is when the compressor will start running again to refill the tank. This is usually set relative to the cut-out pressure. Many switches have a differential, meaning the cut-in pressure is a certain amount lower than the cut-out pressure. You adjust this screw similarly to the cut-out screw.
Increasing Cut-In Pressure
To raise the cut-in pressure, turn the relevant screw clockwise. This will make the compressor start pumping at a higher tank pressure. Again, small turns are best. Many experts recommend a consistent pressure differential for tool longevity (National Institute of Standards and Technology).
Decreasing Cut-In Pressure
Turn the cut-in adjustment screw counter-clockwise to lower the cut-in pressure. This will cause the compressor to start sooner. This might be useful if you frequently run out of air.
Testing Your New Settings
Once you’ve made your adjustments, it’s time to test. Reassemble any covers and reconnect power. Turn on the compressor and let it run. Watch your pressure gauge closely. Note the pressure at which it cuts out. Then, let it run down and observe the cut-in pressure. You might need to repeat the adjustment process a couple of times to get it exactly right.
Important Considerations and Safety Tips
Always consult your owner’s manual. Craftsman manuals provide specific details for your model. Never exceed the maximum rated pressure for your air tank. Over-pressurizing can be extremely dangerous. A common guideline is to set the cut-out pressure so it’s 20-40 PSI above the cut-in pressure, but always check your manual.
Here’s a quick checklist for your adjustment process:
- Disconnect power before touching the switch.
- Identify cut-in and cut-out adjustment screws.
- Make small, incremental adjustments.
- Note pressures for cut-in and cut-out.
- Test and re-adjust if needed.
- Always prioritize safety and consult your manual.
Conclusion
You’ve now got a clear roadmap to adjust your Craftsman air compressor’s pressure switch. Remember, setting the right cut-in and cut-out pressures is all about efficiency and protecting your tools. We found that taking your time with small adjustments makes a big difference. Always double-check your owner’s manual for model-specific guidance. Now, go ahead and fine-tune your compressor for optimal performance on your next project!
Frequently Asked Questions
What’s the typical pressure difference between cut-in and cut-out on a Craftsman air compressor?
A common recommendation we’ve seen is a 20-40 PSI difference between the cut-in and cut-out pressures. This helps prevent short-cycling, which is when the compressor turns on and off too frequently. Always refer to your specific Craftsman manual for the ideal range for your model.
Can I adjust the pressure switch on my Craftsman compressor without tools?
Typically, you’ll need a screwdriver or a small wrench to turn the adjustment screws. While some switches might have levers, most require basic tools for precise adjustments. Make sure you have these handy before you begin the process.
My Craftsman air compressor isn’t building pressure. Could the pressure switch be the issue?
It’s possible. If the switch is set too low or is malfunctioning, it might shut off the compressor prematurely. However, also check for air leaks, a clogged air filter, or issues with the pump itself before assuming it’s just the pressure switch.
How often should I check or adjust my Craftsman air compressor’s pressure switch?
You don’t need to adjust it regularly unless you notice a specific problem or a change in performance. We suggest checking it during routine maintenance, like cleaning the air filter. If your tools aren’t performing as expected, that’s a good sign to check your settings.
What happens if I set my Craftsman air compressor’s cut-out pressure too high?
Setting the cut-out pressure too high can be dangerous, as it risks over-pressurizing your air tank beyond its safety limits. It can also lead to premature wear on your compressor’s components. Always respect the maximum pressure rating of your air tank.