How to Blow Out Sprinkler Lines With Air Compressor
Yes, you can absolutely blow out your sprinkler lines with an air compressor. It’s a common and effective method for winterizing your system and preventing costly freeze damage. You’ll need the right setup to do it safely and efficiently.
Properly draining your sprinkler system before winter is essential. This air compressor method is widely recommended by landscaping professionals. Many homeowners find it a cost-effective way to protect their investment from cold weather.
- Winterize your sprinklers safely and effectively.
- Use an air compressor for a thorough system drain.
- Prevent freeze damage and costly repairs.
- Follow a step-by-step process for best results.
Let’s walk through exactly how to blow out your sprinkler lines with an air compressor, step by step.
Winterizing Your Sprinkler System with an Air Compressor
Blowing out your sprinkler lines is a key step to winterizing. It removes water. This prevents frozen pipes and damage. An air compressor is a great tool for this job. You can do it yourself. It saves money compared to hiring a pro.
Essential Tools and Safety First!
Before you start, gather your gear. Having the right tools makes the job easier. Safety is also super important here. Let’s make sure you have everything you need.
What You’ll Need
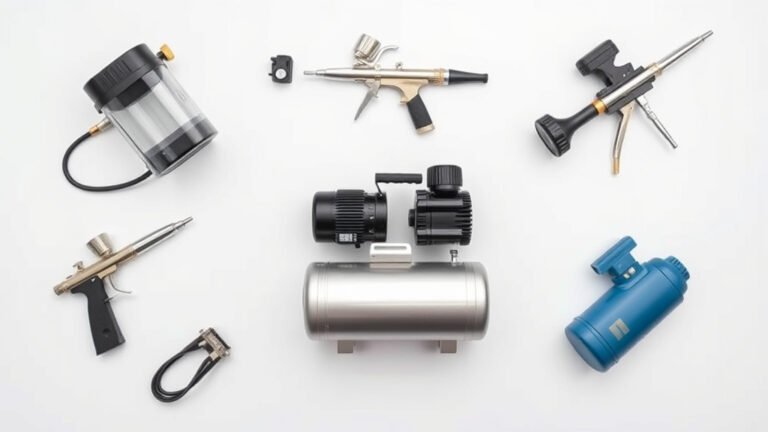
You’ll need a few things to get started. Most are pretty common. The air compressor is the star, of course. But don’t forget these:
- Air compressor: A good-sized one is best. Aim for at least 10-15 CFM (Cubic Feet per Minute). A smaller one might take longer.
- Hose adapter: This connects your air compressor hose to the sprinkler system’s main line. Many hardware stores sell specific sprinkler blowout adapters.
- Air hose: A sturdy air hose that can handle pressure.
- Teflon tape: For sealing connections and preventing leaks.
- Shut-off valve: If your system doesn’t have one near the connection point.
- Work gloves: To protect your hands.
- Safety glasses: Always wear these when working with compressed air. You don’t want any debris flying into your eyes.
Safety Precautions
Compressed air can be powerful. Treat it with respect. Here are a few safety tips we found helpful:
- Always wear safety glasses. This is non-negotiable.
- Ensure your air compressor has a pressure regulator. You don’t want to over-pressurize your lines.
- Check all connections before turning on the air. A loose connection can spray water and debris everywhere.
- Never point the air hose at yourself or others.
- Work in a well-ventilated area.
Preparing Your Sprinkler System
Getting the system ready is half the battle. A little prep work now saves you trouble later. Think of it like getting your car ready for a long trip. You check the tires and oil first.
Step 1: Shut Off the Water Supply
This is the absolute first thing you must do. Find your main water shut-off valve for the sprinkler system. It’s usually near your home’s main water meter. Turn it off completely. This stops more water from entering the pipes. You don’t want to be fighting the main water supply while trying to blow out lines.
Step 2: Drain Excess Water from the Main Line
Some systems have a drain valve or a low point. If yours does, open it up. Let any standing water drain out. This reduces the amount of water the air has to push. Many experts recommend this step. It makes the blowout process more efficient. If you’re unsure where this is, consult your system’s manual or a professional.
Step 3: Locate Your System’s Blow-Out Port
Most sprinkler systems are designed with a blow-out port. This is where you’ll connect your air compressor. It’s often located near the backflow preventer or the main shut-off valve. It might look like a simple threaded connection. If you can’t find it, you might need to install one. Or, you may need to connect directly to the main line after the shut-off valve.
The Blow-Out Process: Step-by-Step
Now for the main event! Connecting the air compressor and getting the water out. We’ll break this down into manageable steps. It’s not too complicated once you know the drill.
Connecting the Air Compressor
This is where your hose adapter comes in handy. Screw it onto the blow-out port. Make sure it’s snug. Then, connect your air hose from the compressor to the adapter. Apply Teflon tape to threaded connections to ensure a good seal. A good seal prevents air from escaping and makes the job faster.
Setting the Right Air Pressure
This is critical for avoiding damage. Too much pressure can rupture pipes or damage sprinkler heads. Too little pressure won’t clear the water effectively. Most residential sprinkler systems can handle between 30 and 50 PSI (Pounds per Square Inch). Many guidelines suggest starting low and increasing gradually if needed (Gardena).
Here’s a quick reference:
| System Component | Recommended PSI Range |
|---|---|
| PVC Pipes | 30-50 PSI |
| Sprinkler Heads | 30-40 PSI |
| Valves | 30-50 PSI |
Always check your system’s manual for specific recommendations. When in doubt, err on the side of lower pressure. You can always increase it slightly if the water isn’t clearing.
Blowing Out the Lines: Zone by Zone
You’ll typically blow out your system zone by zone. This ensures each section is thoroughly cleared. Here’s how it works:
Zone 1 Blowout
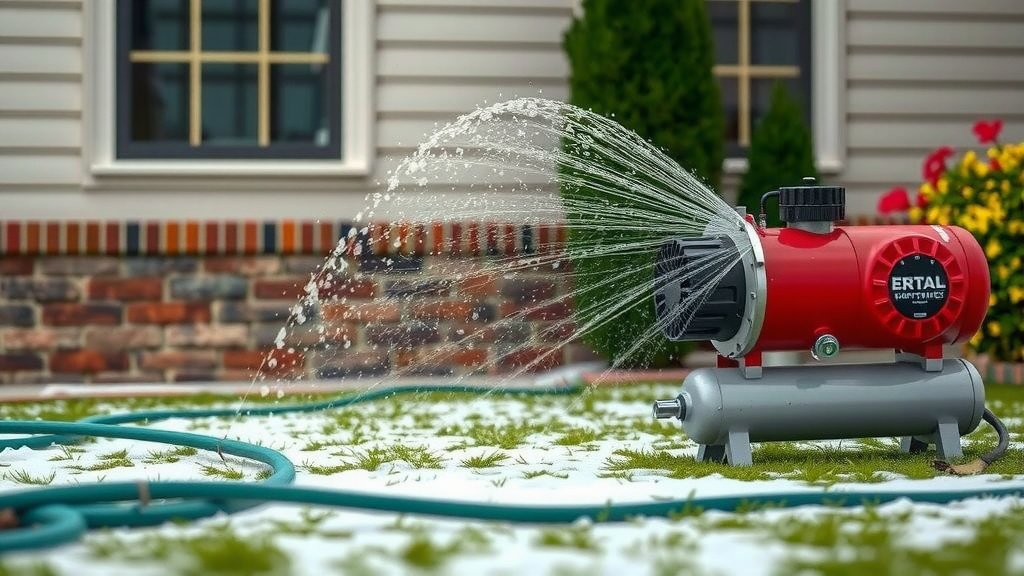
Start with your first zone. Turn on the air compressor. Slowly increase the pressure to your desired setting, usually around 30-40 PSI. Open the valve for the first zone. You should hear the air rushing through the pipes. Water will likely start sputtering out of the sprinkler heads in that zone. Keep the air flowing until you no longer see water spraying. Just a fine mist or dry air is ideal. This might take a minute or two per zone.
Moving to the Next Zone
Once Zone 1 is clear, turn off the air. Close the valve for Zone 1. Then, open the valve for Zone 2. Repeat the process. Continue this for every zone in your sprinkler system. This methodical approach ensures no water is left behind. We found this method very effective for complete drainage.
Final Check and Disconnection
After you’ve blown out all zones, turn off the air compressor. Disconnect the air hose and adapter. Close any drain valves you opened earlier. You might want to open the main water supply valve slightly and then immediately close it again to help flush any remaining debris from the blow-out port. However, some recommend leaving the main water shut-off valve closed until spring.
Troubleshooting Common Issues
Sometimes things don’t go perfectly. Don’t panic if you run into a snag. We’ve gathered some common problems and solutions.
Low Airflow or Pressure Loss
If you’re not getting good airflow, check your connections. Make sure the adapter is tight and the hose is securely attached. Leaks are the most common culprit. Also, ensure your air compressor tank has enough air. If you have a smaller compressor, you might need to let it refill.
Water Still Coming Out
If you’re still seeing a steady stream of water after a few minutes, you might have a leak in the system or a valve that isn’t fully closed. Double-check all your connections. If you have a large system, you might need a more powerful compressor or need to break the job into smaller sections.
Sprinkler Heads Not Spraying
This could mean the zone valve isn’t opening properly, or the lines leading to those heads are still full of water and have a blockage. Ensure the correct zone valve is open when you’re working on that zone. If a specific head isn’t working, it might need individual attention later.
Here’s a quick checklist to ensure you’ve got it covered:
- Water supply to the system is OFF.
- Air compressor is set to the correct PSI.
- Connections are secure and leak-free.
- Each zone is blown out until dry.
- All tools are disconnected and put away.
- Main water valve is off for winter.
Conclusion
You’ve now learned how to safely and effectively blow out your sprinkler system lines with an air compressor. This process is essential for preventing costly freeze damage over the winter months. By following the steps for preparation, connection, and zone-by-zone blowout, you can protect your investment. Remember to always prioritize safety by wearing your protective gear and setting the correct air pressure. Now, take a moment to ensure your system is fully prepped before the first freeze hits!
Frequently Asked Questions
How often should I blow out my sprinkler system?
You should blow out your sprinkler system at least once a year, typically before the first hard freeze of the fall or winter. If you live in a region with mild winters and rarely freeze, you might be able to skip this step, but it’s generally a good preventative measure.
Can I use a small air compressor for my sprinkler system?
While you can use a smaller air compressor, it will likely take much longer to blow out the lines. Ensure your compressor has enough tank capacity and can maintain a steady airflow. For larger systems, a compressor with a higher CFM rating is recommended for efficiency.
What PSI should I use to blow out my sprinkler lines?
For most residential sprinkler systems, a pressure of 30-50 PSI is recommended. It’s crucial to check your sprinkler system’s manual for specific guidelines. Always start on the lower end of the recommended range and increase it only if necessary, as too much pressure can damage your pipes and sprinkler heads.
What happens if I don’t blow out my sprinkler lines?
If you don’t remove the water from your sprinkler lines before freezing temperatures, the water can freeze and expand. This expansion can cause your pipes to crack or burst, leading to leaks and significant repair costs when you turn your system back on in the spring. Sprinkler heads and valves can also be damaged.
How do I know when all the water is out of a zone?
You’ll know a zone is clear when the water coming from the sprinkler heads in that zone changes from a stream or sputter to a fine mist or completely dry air. It might take a minute or two of continuous airflow to achieve this. Listen for the sound to change, and visually inspect the sprinkler heads.