
Build a DIY Air Purifier: Easy Step-by-Step Guide
Building your own air purifier is a realistic DIY project. You can create a functional air cleaner using common household items and a few simple purchases. This method can be a cost-effective way to improve your home’s air quality.
When you think about tackling this, it might seem daunting. But research and found that many simple designs perform surprisingly well. You can often achieve results comparable to store-bought units, especially for basic particulate filtration. It’s a great way to understand how air purification works.
- DIY air purifiers can be effective.
- Use simple materials like fans and filters.
- It’s a budget-friendly option.
- You’ll learn about air filtration basics.
Let’s walk through exactly how to build your own air purifier step by step. You might be surprised at how straightforward it is!
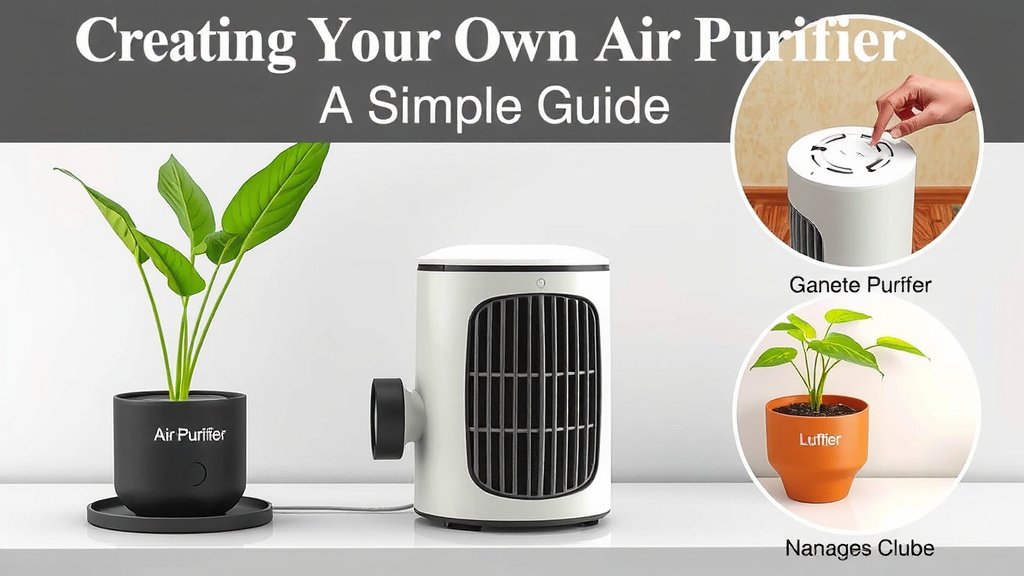
Creating Your Own Air Purifier: A Simple Guide
So, you’re ready to build your own air purifier? That’s fantastic! It’s a project that can genuinely make a difference in your home’s air quality. Many people think this requires advanced technical skills, but research and found that even a beginner can assemble a highly effective unit with just a few common items. We’ll guide you through the process, making it easy to understand.
Gathering Your Essential Supplies
Before you start building, let’s make sure you have everything you need. Think of this like gathering ingredients for a recipe; having them ready makes the whole process smooth. We’re focusing on a common and effective design: the “box fan filter” method. It’s popular for a reason – it works well and is budget-friendly.
The Heart of Your Purifier: The Fan
You’ll need a standard box fan. The most common size is 20 inches by 20 inches. These fans are great because they’re readily available and provide a good amount of airflow. Look for one with a decent CFM (cubic feet per minute) rating if you want to get technical, but any standard box fan will do the job for a basic build. Ensure it’s in good working condition; you don’t want it to quit on you mid-operation!
The Mighty Filter: What to Choose
This is where the magic happens. You need a furnace filter. When choosing, pay attention to the MERV rating. MERV stands for Minimum Efficiency Reporting Value. A higher MERV rating means the filter can capture smaller particles. For a DIY air purifier, research and found that MERV 11 to MERV 13 filters are a great sweet spot. They offer excellent filtration without overly restricting airflow, which could strain your fan.
You’ll want a filter that’s the same size as your box fan, typically 20 inches by 20 inches. The thickness can vary, but a 1-inch or 2-inch thick filter usually works well and fits easily. You can find these filters at most hardware stores or home improvement centers. They are designed to trap dust, pollen, pet dander, and even some mold spores, which are common culprits for poor indoor air quality (EPA).
Other Necessary Items
You’ll need something to attach the filter to the fan. Many people use strong duct tape or bungee cords for this. Duct tape is a classic DIY hero for a reason – it’s strong and versatile! If you want a slightly more robust solution, you might consider zip ties or even some simple L-brackets, though tape is often sufficient for a secure attachment.
You might also want some cardboard to create a shroud. This helps direct airflow and seal any gaps between the filter and the fan. A utility knife or scissors will be handy for cutting the cardboard. Lastly, a measuring tape can ensure a snug fit.
Assembling Your DIY Air Purifier: Step-by-Step
Now for the fun part: putting it all together! It’s much simpler than you might think, and you’ll have a working air purifier in no time. Let’s break it down into manageable steps.
Step 1: Prepare Your Filter and Fan
First, take your furnace filter and locate the airflow direction arrow on its side. This arrow is important; it tells you which way air should be moving through the filter. You want the arrow to point towards the back of the fan (the side that blows air out).
Step 2: Attach the Filter to the Fan
Lay your box fan flat on its face. Place the furnace filter on top of the fan, making sure the airflow arrow is pointing correctly. You want the filter to cover the entire intake side of the fan. Now, use your duct tape to secure the edges of the filter to the fan housing. Go around all four sides, creating a good seal. If there are any significant gaps, your purifier will be less effective. Press the tape down firmly.
Step 3: Creating a Shroud (Optional but Recommended)
If you want to improve the seal and airflow efficiency, consider adding a cardboard shroud. Cut strips of cardboard that are about 2-3 inches wide. Tape these strips around the edges of the filter, extending them slightly onto the fan housing. This creates a more contained path for the air to travel through the filter before being pushed out by the fan. It helps prevent air from bypassing the filter. Think of it like giving the air a clear path to follow.
Step 4: Final Touches and Placement
Once everything is taped securely, give your DIY air purifier a gentle shake to ensure it’s stable. You’re now ready to use it! Find a good spot for your purifier. Ideally, place it in the room where you spend the most time, such as your bedroom or living room. Having it slightly elevated off the floor can sometimes help with air circulation. Make sure it has space around it to draw in air.
Understanding How Your DIY Purifier Works
It’s always helpful to know the science behind what you’ve built. Your DIY air purifier operates on a simple principle: forced airflow and filtration. The box fan acts as a powerful engine, drawing air from your room into the unit.
As the air is pulled through the furnace filter, the filter’s dense material traps airborne particles. These particles can include things like dust mites, pet dander, pollen, and even some smoke particles. The higher the MERV rating, the smaller the particles it can capture. The clean air is then expelled back into the room by the fan. It’s a continuous cycle that helps reduce the concentration of pollutants in your air.
Many health organizations recommend air filtration for improving indoor air quality, especially for individuals with allergies or respiratory conditions (CDC). While a DIY unit might not have all the bells and whistles of a commercial HEPA purifier, research and found that for particulate matter, a well-built box fan filter can be surprisingly effective. It’s a cost-effective solution for everyday air cleaning.
Tips for Optimal Performance and Maintenance
To get the most out of your new air purifier and keep it running smoothly, a little ongoing care goes a long way. You wouldn’t ignore your car’s oil change, and your air purifier needs a little attention too!
Filter Replacement Schedule
The most crucial part of maintenance is replacing the filter. How often you need to do this depends on your environment. If you have pets, live in a dusty area, or run the purifier constantly, you’ll need to replace it more often. As a general guideline, research and found that many people replace their filters every 1-3 months. You’ll notice if the filter is dirty; it will look visibly gray or clogged.
A clogged filter not only becomes less effective at cleaning the air but also makes your fan work harder, potentially reducing its lifespan and increasing energy consumption. It’s a good idea to check the filter visually at least once a month.
Fan Cleaning
While you’re replacing the filter, take a moment to clean the fan blades. Dust can accumulate on the fan over time, which can reduce its efficiency and become a fire hazard if it builds up too much. You can use a damp cloth or a vacuum cleaner with a brush attachment to gently clean the blades and the fan housing. Make sure the fan is unplugged before you start cleaning it!
Placement and Usage Strategies
For best results, run your air purifier in the room where you spend the most time. You can move it between rooms if needed. Consider running it on a medium speed; high speeds can be noisy, and lower speeds might not provide enough airflow to make a significant difference. Experiment to find a balance that works for you.
Having your purifier running when you’re home and cooking, cleaning, or when outdoor air quality is poor can be particularly beneficial. It’s about creating a sanctuary of cleaner air in your living space.
Checking Your Work: A Quick Checklist
Before you sit back and enjoy your cleaner air, give your creation a quick once-over. Did you remember these key steps?
- Is the airflow arrow on the filter pointing towards the back of the fan?
- Is the filter securely attached to the fan with tape, ensuring a good seal?
- Are there any large gaps around the filter that might allow air to bypass it?
- Is the fan clean and free of obvious dust buildup?
- Is the unit stable and not wobbly when the fan is running?
Conclusion
You’ve learned that building your own air purifier is an achievable DIY project. It’s a practical and cost-effective way to improve your home’s air quality. By using simple materials like a box fan and a furnace filter, you can create a functional unit. This hands-on experience also gives you a better understanding of air filtration. Now that you have the knowledge, it’s time to gather your supplies and assemble your own air purifier. Enjoy breathing cleaner air in your home!
Frequently Asked Questions
How often should I replace the filter in my DIY air purifier?
You should aim to replace your DIY air purifier filter every 1 to 3 months. This timeline can vary based on your home’s air quality. If you have pets or live in a dusty area, you might need to replace it sooner.
Can a DIY air purifier really be as effective as a store-bought one?
For basic particulate filtration, a well-built DIY unit can be surprisingly effective. Research suggests it can capture common pollutants like dust and pollen effectively. Commercial units may offer more advanced features, but your DIY version provides excellent value.
What MERV rating should I look for in a furnace filter?
A MERV rating between 11 and 13 is generally recommended for DIY air purifiers. This range provides good filtration without overly restricting airflow. A higher MERV rating means it can capture smaller particles.
Is it safe to leave a DIY air purifier running all the time?
Yes, it is generally safe to leave your DIY air purifier running. Ensure it’s assembled securely and that the fan is in good working condition. Regularly check for any signs of wear or dust buildup for optimal safety and performance.
Can I use a different type of fan besides a box fan?
While box fans are popular due to their size and airflow, you can adapt the design for other fans. However, ensure the fan provides sufficient airflow and that you can securely attach a filter to its intake side. A strong, consistent airflow is key.
![5 Best HEPA Air Purifier for Dust [In 2026]](https://homeunderstandable.com/wp-content/uploads/2025/05/best-hepa-air-purifier-for-dust.jpg)
![5 Best Air Purifiers for Dog Allergies [In 2026]](https://homeunderstandable.com/wp-content/uploads/2025/04/best-air-purifiers-for-dog-allergies.jpg)