Build Your Own Gas Powered Air Compressor: A Step-by-Step Guide
Building your own gas powered air compressor is definitely possible. It requires careful planning and the right parts, but you can create a powerful tool for your workshop or job site. This project lets you customize its tank size and power to suit your specific needs.
When constructing a gas air compressor, you’ll connect a gasoline engine to an air compressor pump. You’ll also need a sturdy air tank to store the compressed air. Safety is a major consideration throughout the build process. Understanding the basic components will make the job much smoother.
- Connecting a gas engine to an air pump is the core task.
- You’ll need a suitable air tank to hold compressed air.
- Selecting the right parts ensures your compressor performs well.
- Safety must be a top priority during construction and use.
Ready to get your hands dirty? Below, we’ll walk you through the essential steps and components needed to build your very own gas powered air compressor.
Putting Together Your Own Gas Air Compressor
So, you’re thinking about building your own gas powered air compressor? That’s a fantastic project! It’s not for the faint of heart, but with the right approach, you can end up with a robust piece of equipment. Think of it as a custom tool tailored just for your workshop. You get to decide the power and capacity. Let’s break down what you’ll need and how to put it all together.
The Essential Components You’ll Need
Before you start turning wrenches, let’s get familiar with the key players. You’ll be bringing together an engine, a pump, and a tank. Each part has a specific job. Getting the right kind of each is **super important** for performance and safety.
The Engine: The Heartbeat of Your Compressor
Your gas engine is what powers the whole operation. For most DIY projects, a small gasoline engine, typically between 5 to 10 horsepower, works well. You want something reliable. Many people find that engines used for lawnmowers or go-karts are a good starting point. Make sure the engine has a sturdy mounting plate. This will help you connect it to the pump later on.
Horsepower and Displacement
When choosing an engine, consider its horsepower and displacement. Higher horsepower generally means more power for the pump. Displacement, often measured in cubic centimeters (cc), gives you an idea of the engine’s size and potential. A larger displacement often means more torque, which can be helpful.
The Air Compressor Pump: The Air Master
The pump is where the magic happens. It draws in air and compresses it, sending it to the tank. You’ll want a pump designed for a gas engine setup. These are typically called “gas engine drive” pumps. They are built to handle the direct drive from an engine, unlike electric pumps.
Single-Stage vs. Two-Stage Pumps
Pumps come in two main types: single-stage and two-stage. A single-stage pump compresses air once. This is usually fine for lighter-duty tasks. A two-stage pump compresses the air twice. This means it can build higher pressures more efficiently. If you plan on running tools that need a lot of air, like impact wrenches or sanders, a two-stage pump is often a better choice. Many experts recommend a two-stage pump for general workshop use (Popular Mechanics).
CFM Rating: What It Means for You
Look at the pump’s CFM rating (Cubic Feet per Minute). This tells you how much air the pump can deliver at a certain pressure. Your tools will have their own CFM requirements. You need a pump that can meet or exceed those needs. It’s better to have a little extra capacity than not enough. Too little CFM means your tools might not work correctly or will cycle the compressor constantly.
The Air Tank: Your Compressed Air Reservoir
The air tank stores the compressed air. This is where your compressor builds up a reserve. You can buy new air compressor tanks designed for this purpose. You might also be able to repurpose other pressure vessels, but safety is **absolutely critical** here. Ensure any tank you use is rated for the pressure you intend to build.
Tank Size Matters
Tank size is measured in gallons. A larger tank means more stored air. This allows you to run tools for longer periods without the engine needing to constantly run the pump. For hobbyist use, a 20-30 gallon tank might be sufficient. For heavier use, you might consider 60 gallons or more. It’s a balancing act between storage needs and how much space you have. Choosing the right gallon air compressor means matching its tank size and CFM output to your specific applications.
Putting It All Together: The Assembly Process
Now for the fun part – assembly! This is where your planning turns into reality. You’ll need to securely mount the engine and pump, connect them, and then hook up the tank. Safety gear should be worn at all times during this process.
Mounting the Engine and Pump
You’ll need a sturdy base or frame to mount both the engine and the pump. Many builders use a metal frame or even a repurposed trailer chassis. Align the engine’s crankshaft pulley with the pump’s drive pulley. You’ll likely use a belt-drive system to connect them. Make sure the belts are properly tensioned.
Belt Alignment and Tension
Proper belt alignment is key to preventing wear and tear on both the engine and pump. The belts should run straight and true. Tension should be just right – not too loose, not too tight. Think of it like a bicycle chain; it needs some give but shouldn’t be sloppy. This ensures efficient power transfer.
Connecting the Pump to the Tank
Once the engine and pump are mounted, you’ll connect the pump’s output to the air tank. This involves using high-pressure air hose and fittings. You’ll need a check valve between the pump and the tank. This prevents air from flowing back into the pump when it stops. You’ll also want a pressure regulator and safety relief valve connected to the tank. These are non-negotiable safety features.
Essential Fittings and Valves
Make sure all your fittings are rated for the correct pressure. Use pipe thread sealant on all threaded connections. The safety relief valve is your backup; it’s designed to release excess pressure if something goes wrong. Always double-check its rating to ensure it’s lower than the tank’s maximum working pressure.
Important Safety Considerations
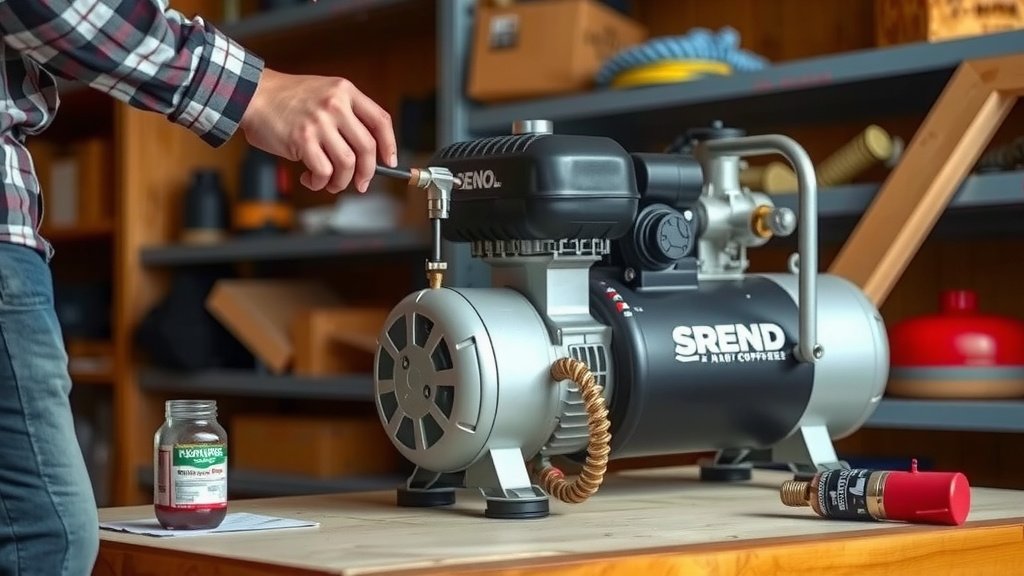
Building and operating any pressurized system carries risks. It’s vital to prioritize safety at every step. Never cut corners when it comes to safety equipment. Many organizations, like OSHA, provide guidelines for working with compressed air systems. We found that understanding these guidelines beforehand is crucial (OSHA).
Pressure and Guarding
Always be aware of the **maximum pressure** your tank and pump are rated for. Never exceed these limits. Ensure that all moving parts, especially belts and pulleys, are covered with sturdy guards. This prevents accidental contact while the compressor is running.
Regular Maintenance Checks
Once your compressor is built, routine checks are a must. Drain the air tank regularly to remove moisture. Check belts for wear. Listen for any unusual noises from the engine or pump. This preventative maintenance can save you from bigger problems down the line.
Quick Checklist Before You Start
- Gather all your necessary parts: engine, pump, tank, belts, hoses, fittings, safety valves.
- Ensure your workspace is clean and well-ventilated.
- Wear appropriate safety gear: safety glasses, gloves, hearing protection.
- Have a reliable service manual for your engine and pump.
- Understand all local regulations regarding pressure vessel construction.
- Test the system at low pressure first before running at full capacity.
Conclusion
You’ve now got a solid understanding of what it takes to build your own gas powered air compressor. It’s a project that requires careful selection of your engine, pump, and tank. Proper assembly and a strong focus on safety are absolutely non-negotiable. With the right parts and a methodical approach, you can create a powerful, custom tool for your needs. Before you start gathering parts, review your project plan one last time to ensure you haven’t missed any critical steps or safety features. Your custom compressor awaits!
Frequently Asked Questions
What’s the biggest safety risk when building a gas air compressor?
The biggest risk is working with a pressurized system. Exceeding the pressure rating of your tank or not having a properly functioning safety relief valve can lead to serious accidents. Always ensure all components are rated for your intended pressure and that safety features are installed correctly.
Do I need a special type of pump for a gas engine?
Yes, you’ll generally need a pump designed for gas engine drive. These pumps are built to handle the direct connection and higher RPMs often associated with gasoline engines, unlike electric pumps. Look for pumps specifically labeled for use with gas engines.
How do I know what size air tank I need?
The ideal tank size depends on the air tools you plan to use. Tools that use a lot of air, like grinders or sanders, benefit from larger tanks. A larger tank stores more air, allowing you to use your tools for longer before the compressor needs to cycle on again.
Is it cheaper to build a gas air compressor than to buy one?
It can be, especially if you find good deals on used engines or pumps, or if you already have some parts. However, when factoring in the cost of new, quality components, tools, and potential mistakes, the price can approach that of a new commercial unit. Your main benefit is customization and the satisfaction of building it yourself.
How often should I drain the air tank?
You should drain your air tank regularly, ideally after each use or at least weekly, depending on your usage frequency and humidity. This removes moisture that can build up inside the tank, preventing rust and potential damage to your tools.