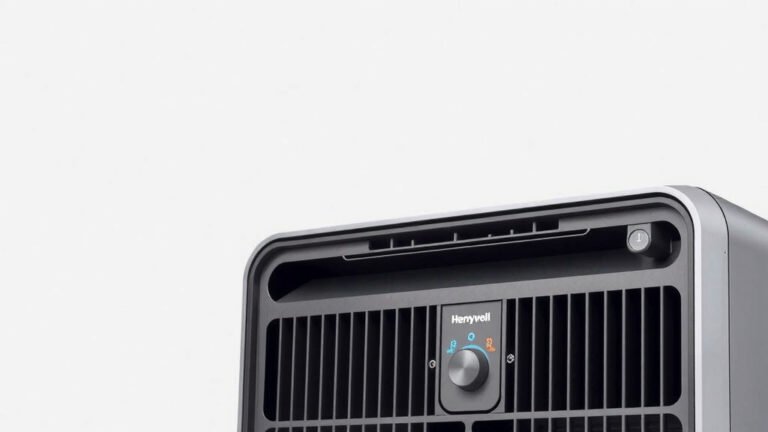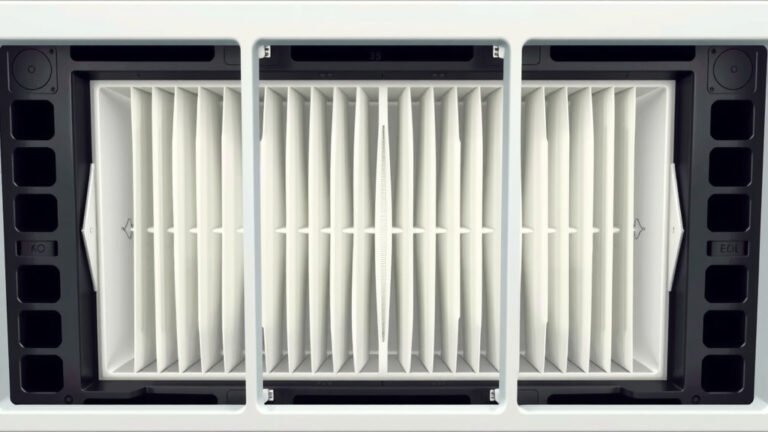
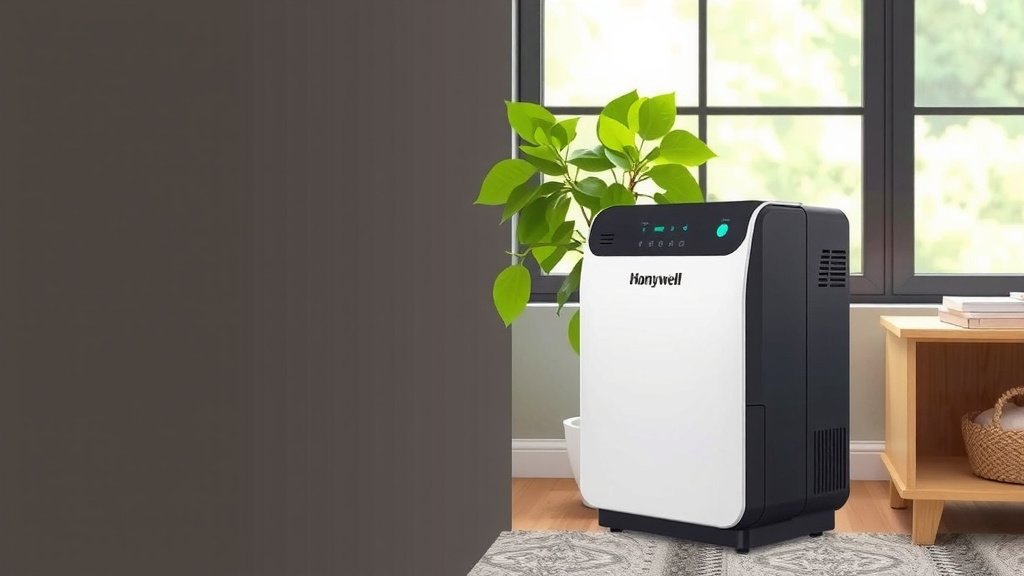
How to Change Your Honeywell Air Purifier Filter
Changing your Honeywell air purifier filter is a straightforward process that keeps your air clean. You’ll want to replace your filter typically every 6-12 months, depending on your model and air quality. Doing so ensures your purifier runs efficiently and continues to trap allergens and pollutants.
Regular filter changes are essential for maintaining optimal performance. A clogged filter makes your purifier work harder, using more energy. We found that many models will even alert you when it’s time for a replacement. This simple maintenance task makes a big difference for your home’s air.
- Unplug your air purifier first.
- Locate and remove the old filter.
- Insert the new, correct filter.
- Plug the purifier back in.
- Reset the filter indicator light.
Ready to get your hands dirty (but not *too* dirty)? Let’s walk through exactly how to change your Honeywell air purifier filter step by step.
“`htmlKeeping Your Honeywell Air Purifier Running Smoothly
You’ve got your Honeywell air purifier humming along, doing its job to clean your air. But like any hardworking appliance, it needs a little TLC. The most important part of that TLC? Changing the filter. It’s not a difficult task, and it makes a huge difference in how well your purifier works.
When should you think about this filter swap? Most manufacturers suggest doing it every 6 to 12 months. This timeframe isn’t set in stone, though. Factors like how often you run your purifier, the air quality in your home, and even if you have pets or allergies can speed up the need for a change. Think of it like changing the oil in your car; it’s preventative maintenance.
When Is It Time for a New Filter?
Your Honeywell air purifier is pretty smart. Many models come equipped with a filter change indicator light. This little beacon is usually red or will blink when it’s time to swap out the old for the new. It’s your purifier’s way of saying, “Hey, I’m getting a little stuffed up in here!”
Beyond the indicator light, you can also look for other signs. Is your purifier running louder than usual? Does it seem like it’s not moving as much air as it used to? These can be telltale signs that the filter is clogged. A dirty filter restricts airflow, making the motor work harder. This not only reduces efficiency but can also shorten the life of your appliance. We’ve found that noticing these subtle changes can save you a headache down the line.
Gathering What You Need
Before you dive in, let’s make sure you have everything ready. The most important item is, of course, the new replacement filter. You’ll need the exact filter model number for your specific Honeywell air purifier. You can usually find this on the back or bottom of your unit, or in your owner’s manual. Using the wrong filter can damage your purifier or just not work effectively.
You likely won’t need many tools for this job. Most Honeywell purifiers are designed for easy filter changes. You might want a soft cloth or a vacuum cleaner with a brush attachment handy. This is for a quick clean-up of the filter housing area if needed. Don’t worry, it’s usually a pretty clean job.
Step-by-Step Guide to Changing Your Honeywell Filter
Step 1: Safety First – Unplug Your Purifier
This is the most critical first step. Before you touch anything, make sure your Honeywell air purifier is completely unplugged from the wall outlet. You don’t want any accidental power surges or for the unit to kick on while you’re reaching inside. It’s like making sure the power is off before you change a lightbulb.
Double-check that the power cord is disconnected. This ensures you can work safely and without worry. We know it seems obvious, but it’s a step that shouldn’t be skipped, even if you’re in a hurry.
Step 2: Accessing the Old Filter
Now, let’s get to the filter. The location of the filter compartment varies slightly by Honeywell model. On most units, you’ll find it behind the front or back grille. Some models have latches or clips that you’ll need to release. Others might simply require you to gently pull the grille away from the main body.
Once the cover or grille is off, you’ll see the old filter. It might look quite dusty and discolored, which is a good sign it’s been doing its job! Carefully slide or lift the old filter out of its housing. Try not to let any accumulated dust fall into the purifier’s inner workings. If a little dust escapes, don’t fret; that’s what the cleaning step is for.
Cleaning the Housing (Optional but Recommended)
While the filter is out, take a moment to look inside the compartment. You might see some dust build-up. This is a perfect opportunity for a quick clean. Use a dry, soft cloth to wipe away any loose dust. A vacuum cleaner with a brush attachment can also be helpful here. Just be gentle!
You want to remove debris so it doesn’t get pulled into the new filter or circulated back into your air. This minor cleaning can help your purifier perform even better. Many sources recommend this simple wipe-down as part of the filter change process (Cleveland Clinic).
Step 3: Inserting the New Filter
This is where your new, clean filter comes in. Before you put it in, check the new filter for any plastic packaging. Many filters come sealed in plastic to keep them clean. Make sure you remove all of this packaging before installation. You don’t want the plastic obstructing airflow!
Now, carefully slide the new filter into the housing. It should fit snugly. Pay attention to any directional arrows or labels on the filter or the purifier itself. These often indicate the correct way the filter should be oriented for optimal airflow. If your filter has a specific side that should face outwards, make sure it’s positioned correctly.
Step 4: Reassembling Your Purifier
With the new filter in place, it’s time to put everything back together. Reattach the front or back grille or cover. If there were latches or clips, make sure they snap securely into place. You want the unit to be sealed properly so that air is forced through the filter and not around it.
Give the purifier a gentle shake to ensure everything is secure. A properly assembled unit will operate more efficiently and quietly. It’s like closing a door all the way; it stops drafts and keeps things working as they should.
Step 5: Power Up and Reset the Indicator
Once your purifier is fully reassembled, you can plug it back into the wall outlet. Turn it on to make sure it’s running correctly. Listen for any unusual noises and check that air is flowing from the unit.
Now, for the final touch: resetting the filter indicator light. The process for this can differ slightly between Honeywell models. Usually, you’ll need to press and hold a specific button (often labeled “Filter,” “Reset,” or the power button) for a few seconds until the light turns off or changes color. Consult your owner’s manual if you’re unsure about the exact procedure for your model. This tells your purifier that a new filter is installed and starts the timer for the next change.
Here’s a quick checklist to make sure you didn’t miss a beat:
- Ensure the purifier is unplugged.
- Open the filter compartment.
- Remove and dispose of the old filter.
- Clean the compartment if needed.
- Install the new, unwrapped filter correctly.
- Close and secure the compartment.
- Plug in and turn on the purifier.
- Reset the filter indicator light.
See? That wasn’t so bad! Taking these simple steps ensures your Honeywell air purifier continues to provide you with clean, fresh air. Regular filter changes are key to its performance and longevity.
“`
Conclusion
You’ve successfully learned how to change your Honeywell air purifier filter! This simple maintenance task is key to ensuring your purifier consistently delivers clean air. Remember, a clean filter means a more efficient machine and healthier air for your home. Don’t wait for the indicator light to become your only guide; consider marking your calendar for regular checks. Ready to breathe easier? Make that filter change a part of your routine this week.
Frequently Asked Questions
How often should I really change my Honeywell air purifier filter?
The general recommendation is every 6 to 12 months. However, you might need to change it sooner if you have pets, allergies, live in a polluted area, or run your purifier constantly. Your purifier’s indicator light is a good reminder, but observing your air quality and the filter’s appearance is also helpful.
What happens if I don’t change my Honeywell air purifier filter on time?
If you skip filter changes, your air purifier’s efficiency will decrease significantly. The motor will have to work harder to pull air through a clogged filter, using more energy and potentially leading to premature wear. Most importantly, it won’t be effectively cleaning your air of allergens and pollutants.
Can I wash or clean a disposable Honeywell air purifier filter?
Most Honeywell air purifier filters are designed for single use and are not meant to be washed. Attempting to clean them can damage the filter material and reduce its effectiveness. It’s best to replace disposable filters with new ones to ensure optimal performance.
Where can I find the correct replacement filter for my Honeywell air purifier?
You can typically find the correct filter model number on the back or bottom of your air purifier unit itself. Consulting your owner’s manual is also a reliable way to identify the exact filter needed. You can then purchase replacements directly from Honeywell or authorized retailers.
My Honeywell air purifier doesn’t have a filter indicator light. How do I know when to change the filter?
If your model lacks an indicator light, you’ll need to rely on other signs. Listen for increased noise from the unit, which can indicate the motor is straining. Also, observe if the airflow from the purifier seems weaker than usual. A visual inspection of the filter every few months can also tell you if it’s visibly dirty and needs replacement.