Clean Honeywell Air Purifier Permanent Filters: Easy Guide
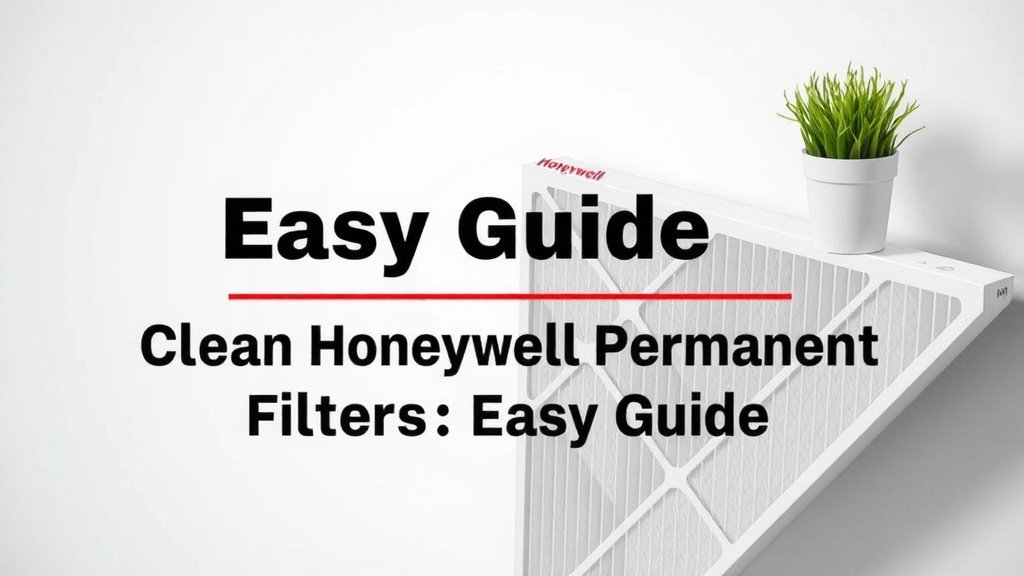
The easiest way to clean your Honeywell air purifier’s permanent filter is by vacuuming it regularly and then gently rinsing it with warm water. This simple routine will help maintain the filter’s efficiency and ensure your air stays fresh. You can also use a soft brush if needed.
Keeping your permanent filter clean is key to your air purifier’s performance. A dirty filter means your purifier has to work harder, using more energy. It also can’t capture pollutants as well. Many experts agree that regular cleaning is essential for optimal air quality.
- Vacuum the filter often.
- Rinse with warm water.
- Dry completely before re-installing.
- Replace only if damaged.
Let’s walk through exactly how to get that Honeywell filter sparkling clean, step by step.
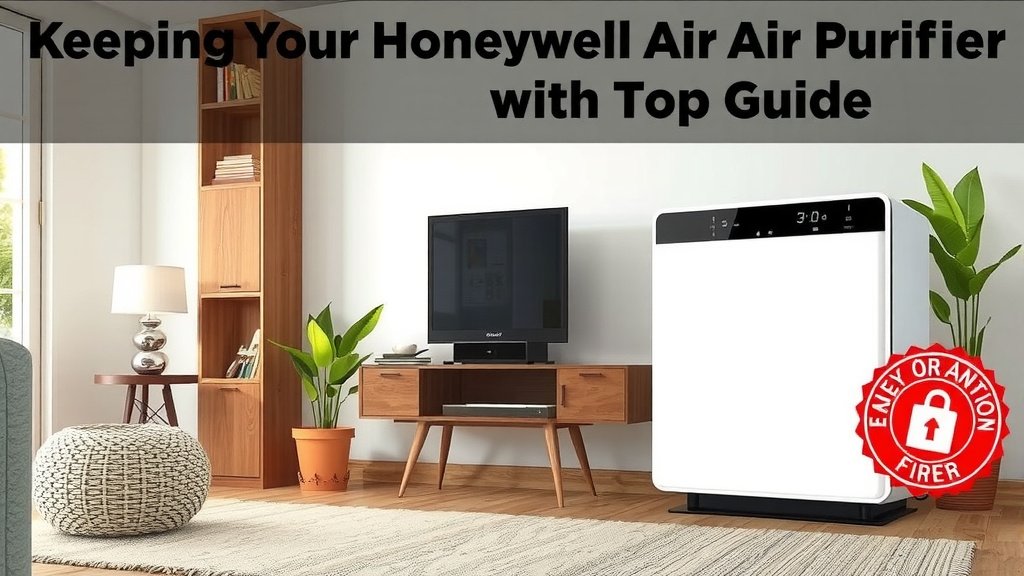
Keeping Your Honeywell Air Purifier Filter in Top Shape
So, you’ve got a Honeywell air purifier with a permanent filter. That’s a smart choice for keeping your air clean and your wallet happy over time. But even “permanent” filters need a little love to keep performing at their best. We’re here to show you the simple steps to clean yours effectively.
Think of your filter like a tiny, hardworking gatekeeper for your air. It catches dust, pollen, and other tiny particles before they can circulate. When that gatekeeper gets clogged, it struggles to do its job. This means less clean air and more work for your purifier.
Your Step-by-Step Guide to a Clean Filter
Let’s get down to business. Cleaning your permanent Honeywell filter is pretty straightforward. You won’t need a lot of fancy supplies, just a few household items and a little bit of your time.
Gather Your Supplies
Before you start, make sure you have everything handy. This makes the whole process smoother. You’ll need:
- A vacuum cleaner with a brush attachment.
- A soft brush (like an old toothbrush or a paintbrush).
- A sink or bathtub with a faucet.
- A clean, dry towel.
- Optional: Mild dish soap.
Power Down and Disassemble
Safety first! Always unplug your air purifier before you do any cleaning. This prevents any accidental shocks. Then, you’ll need to access the filter. Consult your Honeywell manual if you’re unsure how to remove it. Most models have a simple latch or clip system.
Once you’ve got the filter out, set it on a protected surface, like a towel on your counter or floor. This prevents scratches.
The Vacuuming Stage: Your First Line of Defense
This is where most of the loose debris comes off. Grab your vacuum cleaner. Use the brush attachment. This is important so you don’t damage the filter material. Gently vacuum both sides of the filter.
Focus on the larger surfaces and the edges. You’ll be amazed at how much dust and hair can accumulate. Do this regularly, perhaps once a month, and your filter will stay much cleaner overall.
The Rinse: Washing Away the Grime
Now, it’s time for a gentle wash. Take your filter to the sink. Turn on the faucet to use warm water. Avoid hot water, as it can sometimes damage delicate filter materials. Let the water run over the filter, flushing out the remaining dust that the vacuum missed.
You can move the filter around under the water stream. The goal is to let the water flow through the filter material. If you have a particularly stubborn spot, you can use your soft brush to gently dislodge any embedded dirt. Remember to be gentle; you’re not scrubbing a pot.
When to Use Mild Soap
For most regular cleanings, warm water is perfectly sufficient. However, if your filter seems to have a greasy film or is exceptionally dirty, a tiny bit of mild dish soap can help. Just put a drop or two on your soft brush and gently work it into the filter. Then, rinse thoroughly to ensure no soap residue remains. This is a good practice about twice a year, or as needed.
Drying is Crucial: No Shortcuts Here!
This is a critical step that many people overlook. Your filter MUST be completely dry before you put it back into the air purifier. If you re-insert a damp filter, you risk mold and mildew growth. That’s the opposite of what you want for cleaner air!
First, gently shake off any excess water. Then, lay the filter flat on a clean, dry towel. You can also lean it against something so air can circulate around it. Allow it to air dry completely. This might take several hours, depending on your humidity and air circulation.
Never use heat to dry your filter. That means no hairdryers or putting it in the sun. The heat can warp or damage the filter material, making it less effective or even unusable.
Reassembly: Putting It All Back Together
Once you are absolutely certain your filter is dry – and I mean bone dry – you can put it back into your Honeywell air purifier. Carefully slide it back into its designated spot. Secure any latches or clips you removed earlier. Plug your purifier back in, and you’re good to go!
We found that regular cleaning, even just a quick vacuum and rinse, makes a noticeable difference in air quality. Many air quality guidelines suggest maintaining your filters is key to achieving optimal performance from your appliance.
How Often Should You Clean Your Filter?
The frequency of cleaning really depends on your environment. If you have pets, live in a dusty area, or have allergy sufferers in your home, you’ll likely need to clean it more often. As a general rule, we recommend checking your filter at least once a month.
Consider this a quick inspection. If you see a significant amount of dust or debris buildup, it’s time for a clean. A good routine to adopt is to clean it every time you change your HVAC filter, or roughly every 1-3 months. For many users, this works out perfectly.
When It’s Time for a New Filter
Your Honeywell permanent filter is designed to last a long time with proper care. However, like any component, it can eventually wear out. You’ll know it’s time to replace it if you notice:
- Tears or holes in the filter material.
- Cracks or warping in the frame.
- Persistent odors that cleaning doesn’t remove.
- A noticeable decrease in air purifier performance even after thorough cleaning.
If you encounter any of these issues, it’s time to look for a replacement filter. Honeywell provides specific part numbers for their filters, so make sure you get the correct one for your model. A damaged filter simply can’t do its job effectively and could even harm your purifier.
Quick Filter Cleaning Checklist
To make it super easy, here’s a quick checklist to keep handy:
- Unplug purifier before starting.
- Remove filter carefully as per manual.
- Vacuum both sides with brush attachment.
- Rinse gently with warm water.
- Dry completely before re-installing.
- Inspect for damage; replace if needed.
Conclusion
You’ve learned how simple it is to maintain your Honeywell air purifier’s permanent filter. Regular vacuuming and a gentle warm water rinse are your best tools. This routine keeps your purifier working efficiently and improves your home’s air quality. Remember, a clean filter means cleaner air for you and your family.
Your next step is to schedule this quick filter maintenance into your routine. Check your filter monthly, and clean it as needed. You’ll enjoy fresher air and a longer-lasting appliance with this small effort.
Frequently Asked Questions
Can I use soap to clean my Honeywell permanent filter?
For most situations, warm water is sufficient to clean your filter. If you notice a greasy film or extremely stubborn dirt, a tiny amount of mild dish soap on a soft brush can be used. Always rinse thoroughly to remove any soap residue afterwards.
How long does it take for the filter to dry completely?
Drying time can vary based on humidity and airflow in your home. It’s best to allow several hours for your filter to air dry completely. Ensure it’s bone dry before re-installing to prevent mold growth.
What’s the biggest mistake people make when cleaning their filter?
The most common mistake is not letting the filter dry completely before putting it back. Re-installing a damp filter can lead to mold and mildew, which defeats the purpose of air purification. Always air dry thoroughly.
Is it okay to use a vacuum without a brush attachment?
It’s best to use a vacuum with a soft brush attachment. A standard vacuum nozzle can be too harsh and may damage the delicate filter material. The brush attachment gently loosens dust without causing harm.
How do I know if my permanent filter actually needs replacing?
You should consider replacing your filter if you see visible tears or holes in the material. Warping or cracks in the frame are also indicators. If your purifier’s performance noticeably drops even after cleaning, it might be time for a new filter.
![5 Best Indoor Air Purifier for Smoke [In 2026]](https://homeunderstandable.com/wp-content/uploads/2025/05/best-indoor-air-purifier-for-smoke.jpg)