How to Clean Your Sharp Air Purifier Filter
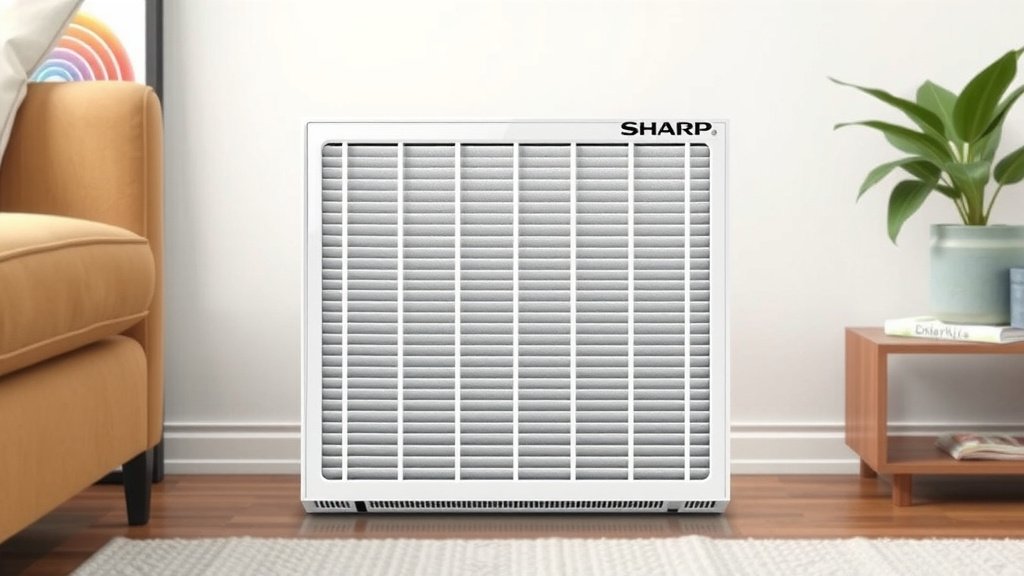
You can often clean your Sharp air purifier filter, but it depends on the filter type. Many Sharp air purifiers use a pre-filter that you can wash. This pre-filter traps larger particles like dust and hair. Regularly cleaning it helps your purifier run better. Always check your model’s manual first to be sure.
Keeping your Sharp air purifier filter clean is key to breathing cleaner air at home. A dirty filter can’t trap pollutants effectively. This means less clean air for you and your family. Cleaning the washable pre-filter is a simple way to maintain your unit’s performance and extend its life. We found that a clean filter also means your purifier works more quietly.
- Check your manual for filter type.
- Washable pre-filters catch big particles.
- Rinse under cool water.
- Let it air dry completely.
- HEPA filters usually need replacing, not washing.
Let’s walk through exactly how to clean your Sharp air purifier’s washable filter step by step.
You’ve got a Sharp air purifier, and that’s fantastic! Now, let’s talk about keeping its filter in top shape. Not all filters are created equal, and knowing what you have is the first step to a cleaner home. We’ve found that most Sharp models feature a washable pre-filter. This is usually the part you’ll be cleaning regularly.
Caring for Your Sharp Air Purifier’s Washable Filter
The goal here is simple: get the most out of your Sharp air purifier. A clean filter means better air quality for your family. We recommend checking your filter about once a month. This helps you stay ahead of the dust bunnies.
Identifying Your Filter Type: The First Crucial Step
Before you get your hands wet, take a moment to identify your filter. Your Sharp air purifier’s manual is your best friend here. It will clearly state what type of filters your specific model uses. Most units have a washable pre-filter. Some might also have a HEPA filter or an activated carbon filter. These latter two usually cannot be washed. Washing them can damage them and reduce their effectiveness. So, step one: grab that manual!
Gathering Your Cleaning Supplies
You don’t need much for this task. A little soap and water go a long way. You’ll want:
- A sink or basin.
- Cool, running water.
- A mild dish soap (optional, for stubborn dirt).
- A soft cloth or sponge (also optional).
- A clean, dry towel.
Make sure your workspace is ready. You don’t want to be hunting for supplies mid-clean. We found having everything within reach makes the process smooth.
Step-by-Step Guide to Washing Your Pre-Filter
Ready to get cleaning? This process is quite straightforward. Think of it like giving your filter a refreshing spa day. It’s a simple maintenance task that pays off in cleaner air.
Removing the Pre-Filter
First, make sure your air purifier is unplugged. Safety first, always! Then, locate the filter access panel. This is usually on the back or side of the unit. Gently slide or unclip the panel. You should see the pre-filter. It might be a mesh screen. Carefully slide it out. Be gentle so you don’t bend or tear it. We found that most pre-filters slide out easily with a slight pull.
The Washing Process
Take the pre-filter to your sink. Under cool, running water, rinse away the loose dust and debris. For light dust, a simple rinse might be enough. If you see more stubborn grime, like stuck-on pet hair or greasy buildup, you can use a tiny bit of mild dish soap. Use your hands or a soft cloth to gently work the soap into the filter. Avoid harsh scrubbing. We found that a light scrub is usually sufficient. Rinse thoroughly until all soap residue is gone. Leftover soap can leave a film on the filter.
Drying the Filter Thoroughly
This is a critical step. Your pre-filter must be completely dry before you put it back. Any moisture left behind can lead to mold or mildew growth. This would be counterproductive to air purification! Gently shake off excess water. Pat it dry with a clean towel. Then, let it air dry in a well-ventilated area. Avoid direct sunlight or heat sources, as these can warp the filter. We found that letting it dry overnight is usually a safe bet. Ensure there’s no dampness anywhere on the filter.
Reinstalling the Clean Filter
Once you’re absolutely sure the pre-filter is dry, it’s time to put it back. Carefully slide it into its slot. Make sure it’s seated correctly. Then, reattach the filter access panel. You should hear or feel it click back into place. Plug your air purifier back in and turn it on. You’ve done a great job!
What About Other Filter Types? HEPA and Carbon Filters
As we mentioned, not all Sharp air purifier filters are washable. If your unit has a HEPA filter or an activated carbon filter, you generally cannot clean them by washing. These filters are designed to trap very fine particles and odors. Washing them can damage their delicate structure. This would compromise their ability to clean your air effectively. Many experts recommend replacing these filters according to the manufacturer’s schedule. This ensures optimal performance. We found that checking your manual is the best way to know when these specific filters need replacing.
When to Replace, Not Wash
HEPA filters, for example, capture microscopic particles. They do this through a dense mat of fibers. Washing them would clump these fibers together, making them ineffective. Activated carbon filters use carbon’s porous surface to absorb odors and VOCs. Washing would strip away this absorbent material. Think of them like sponges; once they’re full, they need to be replaced. You’ll typically see a filter replacement indicator light on your unit. Or, your manual will give you a time frame (e.g., every 1-2 years). Trust the manufacturer’s guidance for these types.
A Quick Comparison: Washable vs. Replaceable Filters
It’s helpful to see the difference clearly:
| Filter Type | Cleaning Method | Purpose | Frequency Note |
|---|---|---|---|
| Pre-Filter (Washable) | Rinse with cool water, air dry | Traps larger particles (dust, hair, lint) | Monthly cleaning recommended |
| HEPA Filter (Replaceable) | Replacement only | Captures fine particles (pollen, mold spores, bacteria) | Replace every 1-2 years (or as indicated) |
| Activated Carbon Filter (Replaceable) | Replacement only | Absorbs odors, smoke, and VOCs | Replace every 6-12 months (or as indicated) |
Your Filter Cleaning Checklist
To make sure you haven’t missed anything, here’s a quick checklist:
- Confirm your filter is washable using the manual.
- Unplug the air purifier before starting.
- Gently remove the pre-filter.
- Rinse with cool water, use mild soap if needed.
- Ensure the filter is completely dry before reinstalling.
- Reinstall the filter and secure the panel.
By following these steps, you’ll keep your Sharp air purifier running smoothly and efficiently, providing you with cleaner, fresher air!
Conclusion
You’ve learned how to keep your Sharp air purifier’s washable pre-filter clean. Remember, a clean filter means better air quality for your home. Always check your manual to confirm your filter type. Most importantly, ensure your pre-filter is completely dry before putting it back. If you have HEPA or carbon filters, focus on replacing them as recommended. Taking these simple steps ensures your Sharp air purifier performs at its best. Your next step is to set a reminder to check your pre-filter monthly for optimal performance!
Frequently Asked Questions
How often should I clean my Sharp air purifier’s pre-filter?
We recommend checking your washable pre-filter about once a month. This regular check helps you catch dust and debris before it builds up significantly. For households with pets or higher dust levels, you might need to clean it more often.
Can I use a vacuum cleaner to clean my Sharp air purifier filter?
You can use a vacuum cleaner with a brush attachment to remove loose dust from the pre-filter. However, a thorough rinse under cool water is usually more effective for removing embedded particles. Always ensure the filter is completely dry after any cleaning method.
What if my Sharp air purifier has multiple filters?
If your Sharp unit has multiple filters, like a pre-filter, HEPA filter, and carbon filter, you’ll need to treat them differently. Only the pre-filter is typically washable. The HEPA and carbon filters usually require replacement according to your manual’s schedule.
Is it okay to put a slightly damp filter back in my Sharp air purifier?
No, it’s never okay to put a damp filter back into your air purifier. Even slight moisture can encourage mold and mildew growth. This would contaminate the air you’re trying to clean and potentially damage the unit. Always air dry filters completely.
My Sharp air purifier still seems dusty after cleaning the filter. What should I do?
If dust persists, first ensure you removed the filter correctly and rinsed it thoroughly. Also, check for any air leaks around the filter housing. If your unit has other filters like a HEPA or carbon filter, they might be clogged and need replacement, impacting overall air intake.