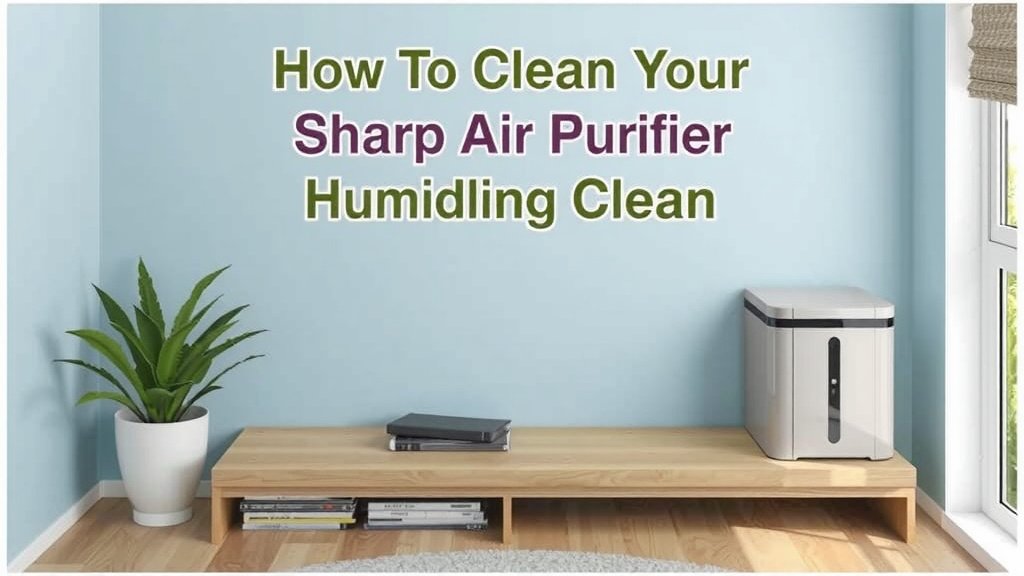
How to Clean Your Sharp Air Purifier Humidifier
The easiest way to clean your Sharp air purifier humidifier is to disassemble it and wash the tank and other removable parts with mild soap and water. Regular cleaning prevents mold and mineral buildup. This routine ensures your humidifier works efficiently and keeps your air fresh.
Keeping your Sharp air purifier humidifier clean is more than just tidiness. It’s about ensuring it runs at its best performance. Regular maintenance also helps prevent the spread of unwanted germs and minerals into your home’s air. You’ll breathe easier knowing it’s clean.
- Clean the water tank regularly.
- Use a soft cloth for wiping parts.
- Disinfect with a mild solution as needed.
- Dry all components thoroughly before reassembly.
Ready to get your humidifier sparkling? Let’s walk through the simple steps to clean your Sharp air purifier humidifier effectively.
“`htmlKeeping Your Sharp Air Purifier Humidifier Sparkling Clean
Regularly cleaning your Sharp air purifier humidifier is essential for its optimal performance. It helps prevent mold growth and mineral buildup, ensuring you breathe healthier air. Think of it like giving your air purifier a much-needed spa day!
Getting Started: What You’ll Need
Before you dive into cleaning, gather a few simple supplies. You probably already have most of them in your home. Having everything ready makes the process much smoother.
- Mild dish soap: For general cleaning of removable parts.
- White vinegar or a descaling solution: For tackling mineral deposits and disinfecting.
- Soft cloths or sponges: Avoid abrasive materials that could scratch surfaces.
- Cotton swabs: Great for reaching small nooks and crannies.
- A small brush: Like an old toothbrush, for scrubbing stubborn spots.
- A clean towel or drying rack: For air-drying components.
Disassembling Your Sharp Humidifier
The first step is to carefully take apart your humidifier. Make sure it’s unplugged from the power source. This ensures your safety during the cleaning process. Always refer to your specific model’s manual if you’re unsure about disassembly.
Removing the Water Tank
Gently lift the water tank from the base unit. Some models may have a handle or a specific way to unlatch it. Place it on a flat surface, ready for washing. This is where most of the water and potential buildup resides.
Taking Out Other Removable Parts
Depending on your model, you might have other parts to remove. This could include the filter cover, mist outlet, or other internal components. Carefully set them aside in the order you removed them. This helps with reassembly later.
Cleaning the Water Tank and Base
This is where the magic happens! We’ll focus on removing any slime or mineral buildup. A clean tank means cleaner mist.
Washing with Soap and Water
Fill the water tank with warm water and a few drops of mild dish soap. Swish it around to help loosen any residue. Use a soft cloth or sponge to scrub the inside of the tank. Pay attention to any corners or seams. Rinse thoroughly with clean water until all soap is gone. This simple step is very effective for routine cleaning.
Tackling Mineral Buildup (Scale)
Over time, hard water can leave white, chalky deposits. These are mineral deposits, often called scale. For tougher buildup, white vinegar is your friend. Fill the tank with a mixture of equal parts white vinegar and water. Let it sit for about 30 minutes to an hour. The acidic nature of vinegar helps dissolve the minerals. After soaking, empty the tank and scrub away any loosened scale. Rinse very well with water to remove any vinegar smell.
Many experts recommend using vinegar for descaling because it’s a natural, food-grade product (CDC). If you have a specific descaling solution recommended by Sharp, you can use that instead.
Cleaning the Humidifier Base
The base unit also needs attention. Wipe down the inside and outside with a damp cloth. For any stubborn spots, use a cloth dipped in a mild soap and water solution. Be careful not to get water into any electrical components. Cotton swabs are excellent for cleaning around the heating element or ultrasonic disc, if your model has one. Rinse the cloth and wipe again to remove soap residue.
Cleaning the Filter and Other Components
Your humidifier might have a filter or other small parts that require cleaning. Proper care extends their lifespan and effectiveness.
Filter Maintenance
Some Sharp humidifiers have filters that need regular cleaning or replacement. Check your user manual to see if your model has a cleanable filter. If it does, rinse it under cool running water. Gently squeeze out excess water. Do not use soap or detergent on most filters, as this can damage them. If your filter is not designed for cleaning, it’s time to replace it. A clogged filter reduces performance.
Mist Nozzle and Small Parts
Use cotton swabs dipped in a vinegar solution to clean the mist nozzle and any other small, hard-to-reach parts. This helps prevent clogs and ensures a steady mist output. Ensure all parts are thoroughly rinsed after cleaning.
Drying and Reassembly
This step is critical to prevent mold and mildew. Thorough drying is key.
Air Drying is Best
Allow all components to air dry completely on a clean towel or drying rack. Do not reassemble the unit while parts are still wet. Moisture left behind can quickly lead to mold and unpleasant odors. This might take a few hours, so plan accordingly.
Putting It Back Together
Once everything is bone dry, carefully reassemble your humidifier. Follow the steps in reverse order of disassembly. Ensure all parts fit snugly into place. Double-check that the water tank is properly seated on the base.
A Quick Cleaning Checklist
Here’s a handy checklist to help you remember the essential steps:
- Unplug the unit and disassemble carefully.
- Wash tank and base with mild soap and water.
- Use vinegar for tough mineral deposits.
- Clean or replace the filter as needed.
- Dry all parts completely before reassembly.
- Fill with fresh water and plug back in.
By following these steps regularly, you’ll keep your Sharp air purifier humidifier running smoothly and efficiently. You’ll enjoy cleaner, fresher air for your home, just as it was designed to provide.
“`Conclusion
You’ve now learned how to effectively clean your Sharp air purifier humidifier. By following these simple steps, you can ensure your device operates at peak performance. Regular cleaning prevents mold and mineral buildup, leading to fresher, healthier air for your home. Don’t let buildup diminish your air quality. Make cleaning a part of your routine for a consistently clean and refreshing environment. Your next step is to grab your supplies and schedule your humidifier’s cleaning session this week!
Frequently Asked Questions
How often should I clean my Sharp humidifier?
We recommend cleaning your Sharp humidifier at least once a week. This frequent cleaning prevents the buildup of mold, mildew, and bacteria. For areas with hard water, you might need to descale more often.
Can I use bleach to clean my humidifier?
While bleach can disinfect, it’s generally not recommended for humidifier tanks. It can leave behind strong fumes and potentially damage certain parts. Mild soap and water or a vinegar solution are safer and just as effective for routine cleaning.
What’s the best way to deal with stubborn mineral deposits?
For stubborn mineral deposits, a 50/50 mixture of white vinegar and water works wonders. Let it soak in the tank for 30 minutes to an hour, then scrub gently. Always rinse thoroughly to remove any vinegar scent.
My humidifier smells musty. What should I do?
A musty smell usually means there’s hidden mold or mildew. Ensure you are cleaning the water tank and base thoroughly. Make sure all parts are completely dry before reassembly. Consider running a vinegar solution through it again if the smell persists.
Can I leave water in the tank when not in use?
It’s best to empty the water tank completely when you’re not using the humidifier. Leaving water in the tank for extended periods encourages stagnant water, which can lead to the growth of bacteria and mold.
![5 Best Air Purifier for One Bedroom Apartment [In 2026]](https://homeunderstandable.com/wp-content/uploads/2025/05/best-air-purifier-for-one-bedroom-apartment-top-picks-for-fresh-air-768x384.jpg)