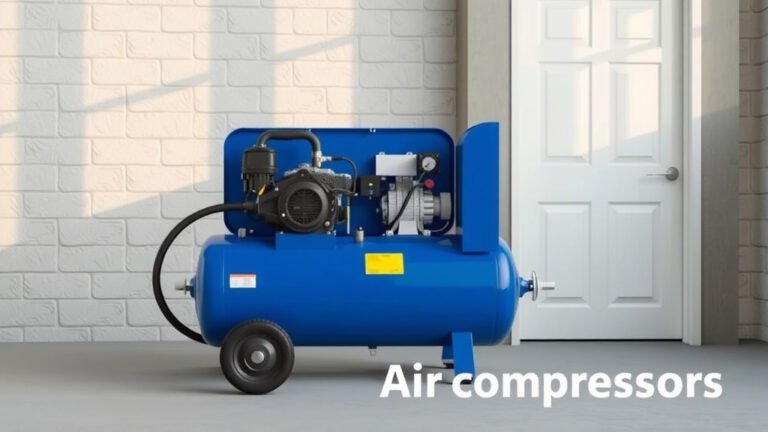
How to Drain Moisture from Your Air Compressor
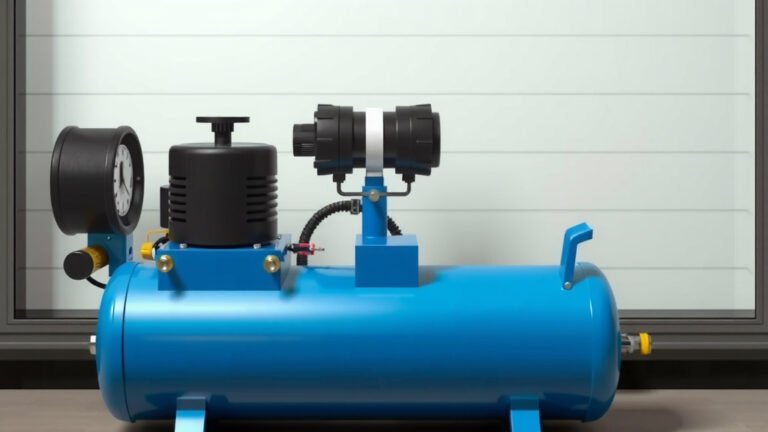
Draining moisture from your air compressor is a simple but essential maintenance task. You can easily drain it by opening the drain valve at the bottom of the tank, typically located near the motor. Doing this regularly prevents rust and damage to your tools, making your air compressor last much longer.
Water in an air compressor tank is a common issue. It forms when the air cools and can cause serious problems if left unchecked. Removing this moisture helps maintain optimal air quality and protects the compressor’s internal components from corrosion. It’s a small step that makes a big difference.
- Open the drain valve at the bottom of the tank.
- Let all the water and air escape.
- Close the valve when done.
- Do this after each use or regularly. Do this after each use or regularly; our guide explains how often to drain your air compressor.
Let’s walk through exactly how to drain your air compressor, step by step, so you can keep it running smoothly.
Keeping Your Air Compressor Tank Dry: A Simple Guide
Let’s talk about keeping water out of your air compressor tank. It might seem like a small thing, but it’s a really important part of air compressor maintenance. When water builds up, it can cause rust and damage. This can lead to a shorter lifespan for your compressor and even affect the tools you use. Fortunately, draining the moisture is usually a pretty straightforward process. We’ll walk you through how to do it so you can keep your equipment in top shape.
Why Moisture in Your Air Compressor is a Problem
You might be wondering why water even gets into your air compressor tank in the first place. It’s a natural process. When the air inside the compressor gets hot during operation, it holds more moisture. As the compressor cools down after you turn it off, that moisture turns back into liquid water. Think of it like condensation on a cold drink glass on a hot day. This water then settles at the bottom of the tank.
The Damage Water Can Cause
Leaving this water in the tank is where the problems start. The biggest concern is rust. Metal tanks, especially older ones, are susceptible to corrosion when constantly exposed to moisture. This rust can flake off and clog up your air lines or damage sensitive tool components. Many experts say that rust is one of the most common ways air compressors get ruined prematurely (CDC).
Beyond rust, standing water can encourage bacterial growth. While not usually a health hazard in this context, it’s not ideal for your equipment. It can also freeze in colder environments, potentially causing damage to the tank itself. Keeping the tank dry is key to preventing these issues.
How to Drain Your Air Compressor: Step-by-Step
Ready to tackle this maintenance task? It’s really not complicated. Most air compressors have a drain valve designed specifically for this purpose. You’ll find it at the very bottom of the air tank.
Locating the Drain Valve
Take a look at the base of your air compressor tank. You’re looking for a small valve. It often looks like a faucet handle, a knob, or sometimes a small plug with a hex head. Some might have a small hose attached, while others are just an open port. Don’t confuse it with any pressure relief valves; those are usually red or have a spring mechanism.
Preparing to Drain
Before you open the valve, make sure the compressor is turned off and unplugged for safety. It’s also a good idea to release any stored air pressure. You can do this by opening a separate bleed valve if your compressor has one, or by briefly opening the drain valve itself to let out the stored air. Some people recommend letting the compressor cool down a bit first, as hot water can cause burns. Research indicates that letting the pressure out before draining is a standard safety practice (OSHA).
Using a Container
You’ll want something to catch the water and air that comes out. A small bucket, a pan, or even an old plastic jug will work just fine. Place it directly underneath the drain valve. This will save you from having to clean up a mess later.
Opening the Drain Valve
Now for the main event! Slowly turn the drain valve counter-clockwise. You might hear a hiss as air escapes. Once you start to see water coming out, you know it’s working. Let it drain until only air is coming out, or until the flow completely stops. This process can take a minute or two, depending on how much moisture has accumulated.
Closing the Valve
Once the draining is complete, turn the valve clockwise to close it tightly. Make sure it’s snug, but don’t overtighten it, as this could damage the valve. You don’t want any leaks!
Different Types of Drain Valves and How to Use Them
While the basic principle is the same, you might encounter a few different types of drain valves. Knowing what you have can make the process even smoother.
Manual Ball Valves
These are very common. They have a handle that you turn 90 degrees to open and close. You just need to position your bucket and turn the handle. They are reliable and easy to operate.
Twist-Style Valves
Some compressors use a knob that you twist, often with a spring-loaded mechanism. You might need to pull the knob out slightly while twisting it to open. Again, just turn it until water flows out.
Petcock Valves
These often look like a tiny faucet and might require a wrench to turn. They’re less common on modern compressors but still effective. Just be gentle with them.
Automatic Drain Valves (Electronic or Mechanical)
Some higher-end compressors come with automatic drain valves. These open and close on a schedule or based on pressure. If you have one of these, you might only need to check its function periodically rather than performing a manual drain each time.
How Often Should You Drain Your Air Compressor?
This is a question many users ask, and the answer often depends on how you use your compressor and the environment you’re in. Here’s a general guideline that most manufacturers and experts recommend.
After Every Use: The Gold Standard
The absolute best practice is to drain your air compressor after each time you use it. This ensures that you’re always starting with a dry tank. It takes just a minute or two, and it’s the most effective way to prevent moisture buildup. Many sources, including equipment manuals, suggest this as the primary method for maintenance (EPA).
Consider Environmental Factors
If you live in a very humid climate, you might find that more water accumulates faster. In such cases, draining after every use becomes even more critical. Conversely, in very dry climates, you might get away with draining every few uses, but it’s still wise to check regularly.
Regular Checks are Key
Even if you don’t drain after every single use, make it a habit to check the tank for water buildup at least once a week. If you hear gurgling sounds or notice reduced performance from your tools, it’s definitely time to drain. Consistent checks help you stay ahead of potential problems.
Checklist for Draining Your Air Compressor
Here’s a quick checklist to make sure you cover all your bases:
- Ensure compressor is OFF and unplugged.
- Release stored air pressure from the tank.
- Place a bucket or pan under the drain valve.
- Slowly open the drain valve.
- Let water and air drain completely.
- Close the valve securely.
Troubleshooting Common Draining Issues
Sometimes, things don’t go exactly as planned. Here are a couple of common hiccups you might run into and how to fix them.
The Valve Won’t Open
If your drain valve is stuck, don’t force it too hard, or you could break it. Sometimes, a bit of gentle tapping with a rubber mallet can help loosen it. If it’s a plug type, ensure you’re using the correct size wrench and applying steady pressure. If it’s severely corroded, you might need to replace the valve, but try a penetrating oil first as recommended by some repair guides.
The Valve Leaks After Closing
If you close the valve and still hear air hissing or see water dripping, it might not be closed tightly enough. Try giving it a firm, but not excessive, turn. If the leak persists, the valve seat or the valve itself might be damaged or dirty. You might need to clean it or replace the valve. A small amount of PTFE tape on the threads can sometimes help seal minor leaks, but this depends on the valve type.
Conclusion
You’ve now learned why keeping your air compressor tank dry is so important and how simple it is to do. Regularly draining that moisture prevents rust, protects your tools, and extends the life of your compressor. Remember, it only takes a few minutes after each use. By making this a habit, you ensure your air compressor always performs its best for you. So, grab your bucket and get that valve open – your compressor will thank you!
Frequently Asked Questions
What happens if I never drain the moisture from my air compressor?
If you consistently skip draining your air compressor, you risk significant internal damage. Rust will form inside the tank, which can eventually break free and clog your air lines and tools. This corrosion can also weaken the tank itself over time.
Can I drain the air compressor while it’s still under pressure?
It’s best to release the stored air pressure before opening the drain valve. While some pressure will escape with the water, fully depressurizing the tank first is a safety precaution recommended by many experts. This prevents a sudden forceful expulsion of water.
How do I know if my air compressor has an automatic drain valve?
Automatic drain valves are usually visible as a small electronic box or a mechanical timer attached to the drain port at the bottom of the tank. They often have a distinct appearance from manual valves and may have small indicator lights or a ticking sound if mechanical.
Is it okay to use the air compressor if there’s a little bit of water left in the tank?
It’s always ideal to drain as much water as possible. Even a small amount of residual water can contribute to corrosion over time. For optimal performance and longevity, aim to drain the tank completely until only air is expelled.
My drain valve is stuck. What should I do?
If your drain valve is difficult to open, avoid forcing it aggressively, which could cause damage. Try gently tapping around the valve with a rubber mallet. If it’s a plug type, ensure you have the correct wrench. For persistent issues, a penetrating oil might help, or you may need to consider replacing the valve.