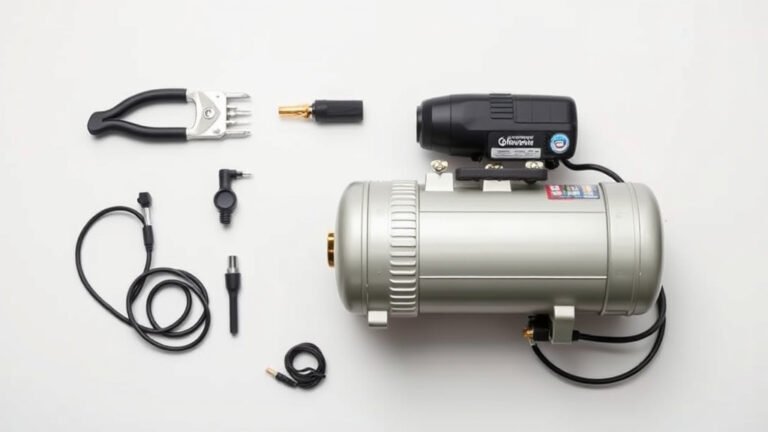
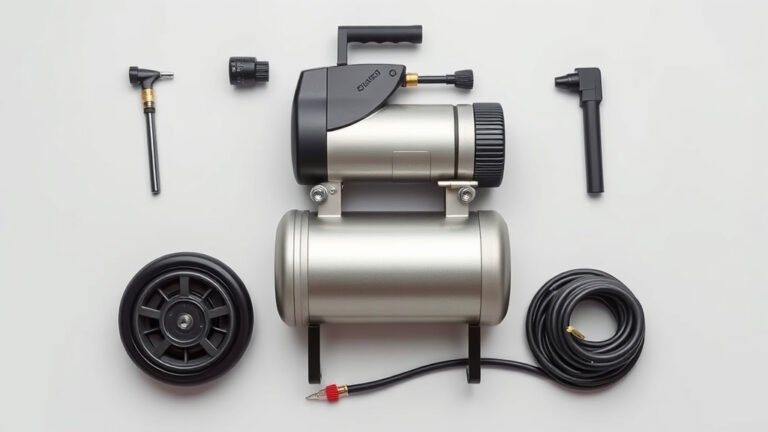
How to Safely Drain Air From Your Compressor
Releasing air from your air compressor is a straightforward process. You’ll typically do this by opening the drain valve located at the bottom of the tank. This is essential for compressor maintenance and preventing rust.
Properly draining your air compressor helps remove moisture. This prevents damage to your tools and the compressor itself. Many people forget this step, but it’s vital for long-term performance.
- Locate the drain valve.
- Open the valve slowly.
- Let all the air escape.
- Close the valve securely.
Ready to get that air out safely? Let’s walk through exactly how this works step by step.
You’ve got your air compressor ready to go, and you know that getting rid of that built-up air is important. But how do you actually do it? Don’t worry, it’s a pretty simple process. Think of it like letting the air out of a balloon. You just need to find the right spot and give it a gentle nudge.
Draining the Air from Your Compressor: What You Need to Know
Draining your air compressor is essential for its longevity. It primarily helps remove condensation. This moisture can cause rust inside your tank. Rust particles can damage your tools and the compressor itself. Many experts recommend draining the tank after every use (Tool Talk Magazine).
Why is Draining So Important?
Think of your air compressor tank like a soda bottle. When you open it, you hear that hiss? That’s pressure escaping. Your compressor does something similar, but it’s not just about relieving pressure. It’s about protecting your investment. Moisture is the enemy of metal tanks. Over time, it can turn a perfectly good compressor into a rusty relic. Regular draining keeps things running smoothly and prevents costly repairs.
The Moisture Problem Explained
Air contains water vapor. When you compress air, you’re squeezing it into a smaller space. This process can cause the water vapor to condense into liquid water. This liquid water settles at the bottom of your air tank. If left there, it starts to corrode the metal. This is especially true in humid environments. You might even see rust flakes coming out when you drain it, a clear sign it’s time to be more diligent.
Protecting Your Tools and Equipment
It’s not just the compressor you’re saving. That moisture can also get into your air lines and tools. Imagine using an air-powered nail gun and getting a burst of rusty water instead of clean air. It can clog delicate parts and cause tools to malfunction prematurely. Draining the tank means cleaner, drier air for all your air-powered accessories.
Locating the Drain Valve: Your Compressor’s “Exit”
The first step is finding the drain valve. It’s usually pretty easy to spot. Most air compressors have this valve at the very bottom of the air tank. It’s designed to be the lowest point, so all the moisture naturally settles there.
Common Drain Valve Types
You’ll likely encounter a few types of drain valves. The most common are:
- Manual Petcock Valve: This looks like a small spigot or faucet. You usually have to turn a handle or lever to open it.
- Ball Valve: This is a lever that you turn 90 degrees to open or close. It’s very straightforward.
- Moisture Drain (Automatic/Electric): Some larger or more advanced compressors have automatic drains. These can open on a timer or when pressure drops. If you have one of these, consult your owner’s manual for specific instructions, as they might not require manual intervention.
The Step-by-Step Process for Releasing Air
Ready to get that air out? Here’s how you do it safely and effectively. We’ll break it down so there’s no confusion.
Step 1: Ensure the Compressor is Off and Depressurized
Safety first! Never try to drain the tank while the compressor is running or still under pressure. You need to turn off the compressor and let any remaining air escape through your tools or by opening a connected hose. If you’re unsure how to safely release pressure, consult your compressor’s manual. Releasing pressure slowly is key to avoiding a sudden blast of air.
Step 2: Position Something to Catch Water
You don’t want water spraying all over your workshop floor. Place a bucket, pan, or even an old rag directly under the drain valve. This will catch any residual water or debris that comes out. It’s a small step that saves you a bigger mess later.
Step 3: Slowly Open the Drain Valve
Now for the main event. Gently turn or pull the drain valve to open it. Do this slowly. You should hear a hissing sound as the air starts to escape. If it’s a strong rush, you might have opened it too quickly, or there’s still a lot of pressure. If it’s a completely automatic drain, this step might be different; again, check your manual.
Step 4: Let All the Air and Moisture Escape
Be patient! Let the air hiss out completely. You’ll likely hear the air escaping for a minute or two. Eventually, the hissing will stop. You might see some water come out first, followed by air. Keep the valve open until you’re sure all the pressure is gone. Some air compressors might release a bit of fine rust dust along with the water. This is normal, but if you see large chunks, it might indicate more significant corrosion.
Step 5: Close the Drain Valve Securely
Once the air has completely stopped escaping, you need to close the valve. Turn the handle or lever back to its original, closed position. Make sure it’s tight and secure. A loose valve can lead to slow air leaks, reducing your compressor’s efficiency. You don’t want to lose all that hard-earned pressure!
A Quick Checklist for Draining Your Compressor
Here’s a quick rundown to make sure you don’t miss a beat:
- Compressor is off and depressurized.
- Bucket or pan is in place under the valve.
- Drain valve is located.
- Valve is opened slowly.
- All air and water have escaped.
- Valve is closed securely.
When to Drain Your Air Compressor
The best practice is to drain your air compressor after every use. This is especially true if you live in a humid climate or if you notice condensation. Even if you only used it for a short time, a small amount of moisture can accumulate. Think of it as a quick daily habit, like brushing your teeth.
Frequency Recommendations
While daily draining is ideal, we found that many users benefit from draining at least weekly if daily use isn’t practical. However, if you use your compressor heavily or in very humid conditions, you might need to drain it more often. Some guidelines suggest checking for moisture buildup weekly regardless of usage frequency (Industrial Maintenance Journal).
Signs It’s Time to Drain
Besides the general recommendation, there are tell-tale signs:
- You hear a lot of water sputtering when you use air tools.
- You see rust or water dripping from the drain valve when you inspect it.
- The compressor tank feels unusually heavy or sounds “sloshy.”
| Valve Type | How to Operate | Ease of Use |
|---|---|---|
| Manual Petcock | Turn a small handle or lever | Moderate |
| Ball Valve | Turn lever 90 degrees | Easy |
| Automatic/Electric | Usually no manual operation needed; consult manual | Very Easy (if applicable) |
Conclusion
You’ve learned how essential it is to drain your air compressor regularly. This simple maintenance step prevents rust and protects both your compressor and your tools. By locating the drain valve and releasing the air slowly, you ensure a longer lifespan for your equipment. Make it a habit to check and drain your compressor after each use. This small effort goes a long way in keeping your air compressor in top working condition for all your projects.
Frequently Asked Questions
What happens if I don’t drain my air compressor?
If you don’t drain your air compressor, moisture will build up inside the tank. This can lead to rust, which can damage the tank itself and contaminate the air supply. Rust particles can also clog and ruin your air tools over time.
Can I release the air quickly all at once?
It’s best to release the air slowly. Opening the drain valve too quickly can cause a sudden blast of air and water, making a mess. It also doesn’t allow the moisture to drain out as effectively. A slow release ensures you get all the air and water out safely.
How do I know if my air compressor has a lot of moisture?
You might hear sputtering sounds when using air tools, indicating water in the lines. You could also see water or rust dripping from the drain valve when you inspect it. If the tank sounds sloshy when you move it, that’s another sign of excess moisture.
What should I do if my drain valve is stuck?
If your drain valve is stuck, try gently tapping it with a rubber mallet or using a penetrating lubricant. Never force it, as you could damage the valve or tank. If it remains stuck, consult your owner’s manual or a qualified technician for assistance.
Do I need to drain the compressor if I only used it for a few minutes?
Yes, even a short use can introduce moisture. Air naturally contains water vapor, and the compression process can cause it to condense. Draining your compressor after every use, no matter how short, is the best way to prevent long-term moisture damage.