Build an Air Compressor Water Trap: Step-by-Step Guide
Building your own water trap for an air compressor is a straightforward project. You can create an effective moisture separator using common plumbing parts. This DIY solution helps protect your tools from water damage and improves air quality. It’s a smart way to save money and maintain your equipment.
When your air compressor runs, it inevitably pulls in humid air. This moisture can condense inside your tank and lines. A homemade water trap helps catch this condensation before it causes problems. It’s a simple yet vital component for any workshop.
- Understand why air compressors produce water.
- Gather necessary plumbing parts for your trap.
- Assemble the water trap step-by-step.
- Learn how to install and maintain your DIY trap.
Let’s walk through how you can build your own air compressor water trap with a few basic items. It’s easier than you might think!
Creating Your Air Compressor Water Trap
Building your own air compressor water trap is surprisingly simple. You can gather a few common plumbing parts. This DIY project protects your tools from water damage. It also helps improve the overall air quality you use. It’s a smart way to save money and keep your equipment in top shape.
When your air compressor runs, it draws in air from your surroundings. This air often contains moisture. As the compressor works and the air cools, this moisture can condense. This condensation can build up in your tank and along your air lines. A homemade water trap is designed to catch this moisture before it becomes a problem. It’s a vital component for any workshop or garage.
Understanding Condensation in Air Compressors
Have you ever noticed a small puddle of water when you drain your air compressor tank? That’s condensation. Air compressors work by compressing air. As air is compressed, its temperature rises. When this hot, compressed air cools down, it can no longer hold as much moisture. The excess water vapor turns into liquid water.
This process is similar to how a cold drink “sweats” on a warm day. The warm, humid air hits the cold glass, and water condenses on the outside. In your compressor, this happens inside the tank and lines. Over time, this water can corrode your tank and damage sensitive air tools. Many experts agree that controlling moisture is key to compressor longevity (CDC).
Why Moisture is Bad for Your Tools
Water inside your air lines is not your tools’ friend. For pneumatic tools like sanders, grinders, or spray guns, water can cause rust. It can also wash away lubricants, leading to increased wear and tear. Imagine using a spray gun and getting little water droplets mixed with your paint. It leads to an uneven finish and frustration.
For precision tools, even small amounts of water can be detrimental. Research indicates that rust and debris from condensed water can clog small air ports and valves. This can lead to tool malfunction or premature failure. Keeping your air supply dry is essential for getting the best performance and longest life out of your equipment.
Gathering the Parts for Your DIY Water Trap
You don’t need a lot of fancy or expensive items to build a working water trap. Most of these parts are readily available at your local hardware store or online plumbing supply shop. Think of it like building with LEGOs, but for your air lines!
Essential Plumbing Components
Here’s what you’ll generally need:
- A small metal or PVC pipe nipple: This will be the main body of your trap. About 6-12 inches long is a good starting point.
- Two end caps or plugs: These seal the ends of your pipe nipple. One will be for the top, and one for the bottom.
- A drain valve: This allows you to release the collected water. A small ball valve or a petcock valve works well.
- Pipe thread sealant or Teflon tape: For creating a watertight seal on all threaded connections.
- Adapters (if needed): To connect your pipe nipple to your existing air compressor line. You’ll need fittings that match your compressor’s output thread size and your pipe nipple’s thread size.
- Optional: A small mounting bracket or clamp: To secure the finished trap to a wall or your compressor.
Choosing the Right Materials
For the pipe and end caps, you can use galvanized steel, brass, or PVC. Steel is durable, but it can rust over time if it gets wet inside and isn’t drained. Brass is corrosion-resistant. PVC is lightweight and easy to work with. Whichever you choose, ensure it can withstand the pressure of your air compressor.
The drain valve is important. A ball valve is easy to operate with a simple lever. A petcock valve is smaller and looks more like a traditional faucet. Both will do the job of letting you drain the collected water. We found that a simple 1/4-inch or 3/8-inch ball valve is very user-friendly.
Step-by-Step Assembly Instructions
Now, let’s get building! This process is straightforward, and you’ll have a functional water trap in no time. Always work in a well-ventilated area and wear safety glasses.
Preparing the Pipe and Fittings
First, make sure your pipe nipple is clean and free of debris. If you’re using metal pipes, ensure the threads are in good condition. If you’re using PVC, make sure any primer and cement have fully cured according to the manufacturer’s instructions.
Attaching the End Caps and Valve
Take one end cap and apply pipe thread sealant or Teflon tape to the threads of the pipe nipple. Screw the end cap onto one end of the nipple. Tighten it securely. Repeat this process for the second end cap on the other end of the nipple.
Now, decide where you want your drain valve. The best place is at the lowest point of the trap. This ensures gravity helps drain all the collected water. You’ll need to drill and tap a hole for the drain valve, or use a pre-threaded fitting on one of your end caps if available. For most DIYers, using a drilled and tapped end cap is common.
Apply thread sealant or Teflon tape to the threads of your chosen drain valve. Carefully screw the drain valve into the hole you prepared on the bottom end cap. Tighten it firmly but avoid over-tightening, which could crack the fitting.
Making the Air Inlet and Outlet Connections
The air will enter the trap at the top and exit from the side or top of the upper end cap. You’ll need to install fittings that match your compressor’s output and your tools’ requirements. This often involves drilling and tapping a hole in the top end cap.
You’ll likely need an adapter that screws into the top cap and then connects to your air hose or compressor output. Ensure all these connections are snug and sealed with thread sealant or Teflon tape. Many find that using a 90-degree elbow fitting on the outlet can make hose routing easier.
A common setup is to have the air enter on one side of the top cap and exit from the other side, or even from the top itself, allowing condensation to fall to the bottom.
Final Assembly Check
Once everything is assembled, give it a gentle shake to ensure it feels solid. Double-check that all threads are properly sealed. You’ve now built the core of your water trap!
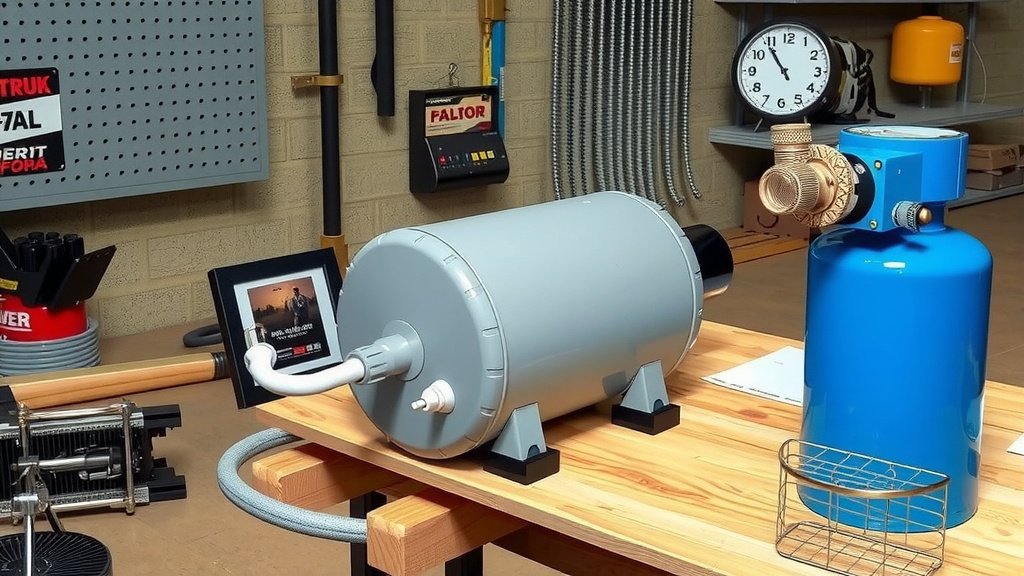
Installing Your New Water Trap
Installing your DIY water trap is the next logical step. You want to place it strategically in your air line. Think about where the air cools down the most after leaving the compressor. This is usually after the tank and before the air reaches your tools.
Placement in the Air System
The ideal spot is as close to the air compressor’s output as possible. This way, you catch the moisture early, before it travels too far down the line. You can install it directly onto the compressor’s outlet fitting or onto the beginning of your main air line.
Consider how you will connect it. If your compressor has a standard threaded outlet, you can often screw a fitting directly into it. From there, you can attach your DIY trap. You might need a short flexible hose or a rigid pipe nipple to bridge the gap.
Connecting the Trap
Use appropriate fittings and thread sealant to connect your trap to the compressor’s output. Ensure the trap is oriented so the drain valve is at the bottom. This is critical for effective draining. If you plan to mount it, now is a good time to secure it.
Many folks find it helpful to mount the trap vertically on a wall near the compressor. This keeps it out of the way and makes draining easier. Use sturdy brackets to ensure it doesn’t vibrate loose under pressure. Many plumbing supply stores offer simple pipe clamps that work well.
Maintaining Your DIY Water Trap
Your water trap is built, but the job isn’t quite done. Regular maintenance is key to keeping it working effectively. Think of it like taking care of a pet; it needs attention to thrive!
Regular Draining is Key
You should drain the collected water regularly. How often depends on your usage and the humidity in your workshop. If you use your compressor a lot, you might need to drain it daily. For lighter use, weekly might suffice.
To drain, simply open the drain valve. Let all the water escape. You’ll often hear a hiss as the pressure releases. Once empty, close the valve. Many experts suggest draining it after each use (NIOSH). This simple habit prevents water buildup.
Periodic Inspection and Cleaning
Occasionally, you’ll want to inspect your trap for any signs of corrosion or damage. If you used PVC, check for cracks. If you used metal, look for rust. If any part looks compromised, it’s time to consider replacing it.
Every few months, you might want to disassemble the trap and give it a good cleaning. Flush out any sediment or scale that might have built up inside. Check the seals and O-rings on your drain valve to ensure they are still pliable and sealing properly.
Checklist for Your Water Trap Project
Here’s a quick rundown to make sure you’re set:
- Gather all necessary plumbing parts.
- Ensure you have thread sealant or Teflon tape.
- Assemble the pipe, caps, and drain valve securely.
- Install the trap between the compressor and your air line.
- Test for leaks after installation.
- Establish a regular draining schedule.
By following these steps, you’ve successfully built and installed a water trap that will help protect your valuable air tools and maintain clean, dry air for your projects. Happy building!
Conclusion
You’ve successfully learned how to build your own air compressor water trap! This DIY project is a smart way to protect your tools from damaging moisture. By understanding how condensation forms and using common plumbing parts, you’ve created a cost-effective solution. Remember, regular draining and inspection will keep your new water trap working efficiently. Now you can enjoy cleaner, drier air for all your projects, extending the life of your compressor and tools. Your next step is to get those parts and assemble your trap!
Frequently Asked Questions
How often should I drain my DIY water trap?
You should drain your water trap as often as possible, ideally after each use of your air compressor. If that’s not feasible, check it daily for heavy use or weekly for lighter use. This simple habit prevents significant water buildup and keeps your air system dry.
Can I use PVC pipe for the water trap body?
Yes, PVC pipe is a great option for building your water trap. It’s lightweight, easy to work with, and resistant to corrosion. Just ensure you use the appropriate primer and cement for strong, leak-proof connections that can handle your compressor’s pressure.
What size fittings should I use for my trap?
The size of fittings you’ll need depends on your existing air compressor output and the tools you plan to use. Most DIY traps use common 1/4-inch or 3/8-inch fittings for the drain valve and air inlet/outlet. Always match the thread size to your compressor’s outlet for a direct connection.
Will a water trap affect my air compressor’s performance?
A properly built and installed water trap should not negatively affect your air compressor’s performance. In fact, by removing moisture, it can improve performance by preventing tool wear and ensuring consistent airflow. It simply acts as a filter for water.
What’s the best way to mount my DIY water trap?
Mounting your water trap vertically on a wall near the compressor is often best. This keeps it accessible for draining and out of the way. Use sturdy pipe clamps or brackets to secure it firmly, ensuring it won’t vibrate loose under pressure.