DIY Box Fan Air Purifier: Simple Steps
You can absolutely make your own air purifier with a box fan! It’s a surprisingly simple and effective DIY project. This homemade air cleaner can help reduce dust, allergens, and pet dander in your home for a fraction of the cost of a store-bought unit.
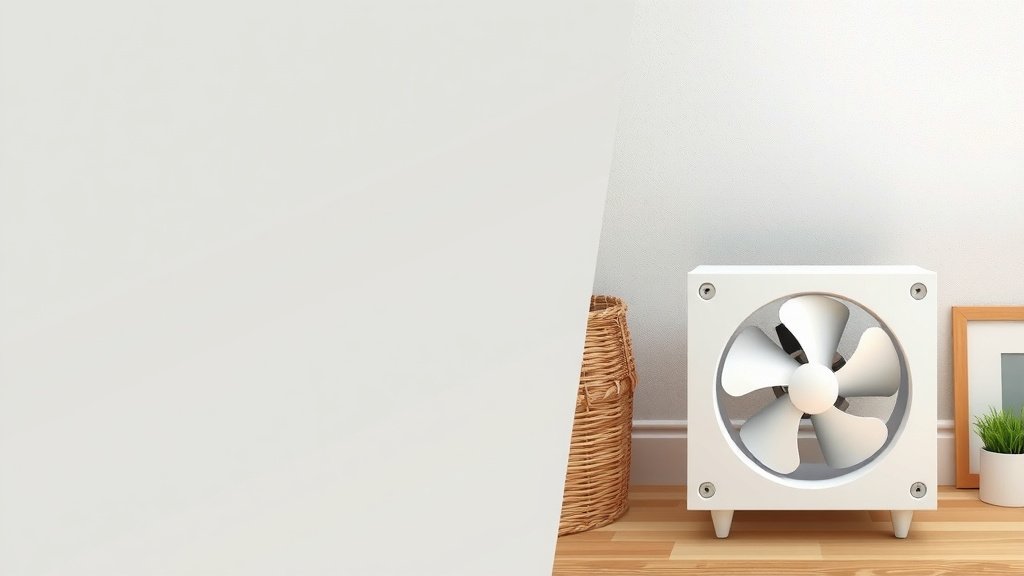
Creating a box fan air purifier involves attaching a furnace filter to the back of a standard box fan. This setup draws air through the filter, trapping airborne particles. Many people find this DIY solution offers a noticeable improvement in air quality without breaking the bank.
- Build an affordable air purifier.
- Trap dust, pollen, and pet dander.
- Uses a common box fan and furnace filter.
- Simple to assemble in minutes.
Ready to breathe a little easier? Let’s walk through exactly how to build your own effective box fan air purifier step by step.
Building Your Own Box Fan Air Purifier
You’re looking to improve your home’s air quality without spending a fortune. That’s where this DIY box fan air purifier shines! You can easily transform a standard box fan into a functional air cleaner. It’s a project many people find incredibly rewarding and effective. We’re going to guide you through each step.
Understanding How It Works
So, how does this simple setup actually clean your air? It’s pretty straightforward. The box fan has a motor that pulls air. When you attach a filter to it, that air has to pass through the filter material first. Think of it like a coffee filter, but for your room air. The filter traps particles floating around. These particles can include things like dust, pollen, and pet dander. Your fan then blows the cleaner air back into your living space. It’s a basic but effective way to filter out airborne irritants.
The Science Behind Simple Filtration
Air filtration relies on a filter’s ability to capture particles. Furnace filters are designed to do just that for your home’s HVAC system. They have a dense material that acts as a barrier. Smaller particles can get stuck in the fibers. The efficiency of a filter is often measured by its MERV rating. A higher MERV rating means it can capture smaller particles more effectively. For this DIY project, we’re aiming for a good balance of filtration and airflow. You don’t want a filter so dense that it strains your fan’s motor.
Gathering Your Materials
To get started, you’ll need just a few common items. Most of these are likely already in your home or easy to pick up. Having everything ready makes the assembly process smooth and quick. You won’t need any special tools, which is great news for most DIYers!
Essential Components You’ll Need
- A standard 20-inch box fan.
- A 20×20 inch furnace filter.
- Strong tape (duct tape or packing tape works well).
Choosing the Right Furnace Filter
The furnace filter is the heart of your DIY air purifier. Its size should match your box fan. A 20×20 inch filter is standard for most box fans. What about the filter’s rating? This is where you have a few choices. Look for filters with a MERV rating between 8 and 13. A MERV 8 filter is a good starting point and won’t restrict airflow too much. If you want better filtration for smaller particles, like some allergens or smoke, a MERV 11 or 13 might be better. Keep in mind that higher MERV ratings can reduce airflow. This could potentially shorten your fan’s lifespan. For most general purposes, a MERV 11 filter offers a nice balance. Many sources suggest this range for DIY air purifiers.
Step-by-Step Assembly Guide
Now for the fun part – putting it all together! This process is designed to be simple and quick. You should be able to have your air purifier ready in under 15 minutes. Let’s get started!
Preparing Your Box Fan
First, make sure your box fan is unplugged. Safety first, always! You’ll want to place the fan on a flat surface. The side with the fan blades should be facing away from you. This is the side where air is pulled in. The side with the motor housing and controls is where the air will come out.
Attaching the Furnace Filter
Next, take your 20×20 inch furnace filter. Notice the arrows on the side of the filter. These arrows indicate the direction of airflow. You want these arrows to point towards the fan. This ensures the filter is installed correctly to catch particles as air is drawn through. Place the filter against the back of the box fan. It should cover the entire fan grille. Make sure it sits as flush as possible.
Securing the Filter in Place
Now, you need to seal the filter to the fan. This is where your tape comes in. Generously apply tape around all four edges of the filter. Press the tape down firmly to create a good seal. You want to prevent any air from leaking around the sides of the filter. A tight seal ensures all the air the fan pulls in goes *through* the filter. This is really important for effective filtration. Go around the edges a couple of times if needed. A strong, continuous seal is key to trapping those airborne particles.
Final Checks and Placement
Once the tape is secure, give the filter a gentle tug. It should feel firmly attached to the fan. Your DIY air purifier is now assembled! You can place it in any room where you want to improve air quality. Consider placing it in a bedroom, living room, or home office. Just be sure it has some space around it to draw air in effectively. Don’t push it right up against a wall or furniture.
Maintaining Your DIY Air Purifier
Like any air filter, your box fan setup will need some upkeep. Regular maintenance ensures it keeps working efficiently. Ignoring it means it won’t clean your air as well. Plus, a clogged filter can put a strain on your fan’s motor.
When to Replace the Filter
The lifespan of your filter depends on a few things. This includes how often you run the fan and how dirty your home’s air is. A general guideline is to replace the filter every 1 to 3 months. You’ll know it’s time to change it when the filter looks visibly dirty or clogged. Some people check theirs monthly. If you see a lot of dust buildup, it’s time for a fresh one. Replacing the filter is as simple as peeling off the old tape, removing the old filter, and taping on a new one.
Fan Care and Considerations
While the filter is the main component needing replacement, it’s also good to give your box fan a quick check. Every few months, unplug the fan and wipe down the blades and grille. This removes any dust that might have settled there. We found that running the fan on a medium speed often provides a good balance. It offers decent filtration without being too loud or taxing the motor. Some experts suggest not running these DIY units continuously on the highest setting for extended periods. This is to help preserve the fan’s motor.
Tips for Optimal Performance
To get the most out of your homemade air purifier, a few extra tips can help. Small adjustments can make a big difference in how well it works for you.
Strategic Placement in Your Home
Where you put your fan matters. Place it in the room where you spend the most time. This is often a bedroom or living area. Try to position it so that it can circulate air freely. Avoid corners or tight spaces. Giving it at least a foot of clearance on the back and sides helps it breathe better. Some people even find they can build a simple shroud to better direct airflow. But for a basic setup, good placement is enough.
Running Your Air Purifier Effectively
You don’t always need to run your fan on high. Often, a medium setting works just as well for air cleaning. It will also be much quieter. Consider running it for several hours a day, especially when you’re home. If you notice a lot of dust or allergens, running it more frequently can help. Some folks run theirs overnight in bedrooms.
A Simple Performance Checklist
- Ensure the filter arrows point towards the fan.
- Tape all four edges of the filter securely.
- Place the fan with at least one foot of clearance.
- Check the filter for dust buildup monthly.
- Replace the filter every 1-3 months.
- Wipe down fan blades and grille periodically.
Conclusion
You’ve now learned how simple and affordable it is to build your own air purifier using a box fan and a furnace filter. This DIY solution is a fantastic way to improve your indoor air quality by trapping common allergens like dust and pet dander. Remember to choose a filter with a good MERV rating and seal it securely. By following these steps, you can breathe easier knowing you’ve created an effective air cleaner without a high price tag. Your next step is to gather your materials and assemble your very own box fan air purifier!
Frequently Asked Questions
How often should I check and replace the furnace filter?
You should aim to check your filter for dust buildup monthly. Most filters need replacing every 1 to 3 months, depending on your home’s air quality and how often you run the fan. A visibly dirty or clogged filter needs immediate replacement for optimal performance.
Can I use any size furnace filter with a box fan?
It’s best to use a furnace filter that matches the size of your box fan. For most standard box fans, a 20×20 inch filter is the correct size. Using a filter that is too small or too large will prevent a proper seal, reducing its effectiveness.
What does the MERV rating on a filter mean for my DIY purifier?
MERV stands for Minimum Efficiency Reporting Value. A higher MERV rating means the filter can capture smaller particles. For a box fan air purifier, research and found that a MERV rating between 8 and 13 is generally recommended to balance filtration and airflow.
Will running a box fan air purifier for a long time damage the fan?
Running the fan on a medium setting for extended periods is usually fine. However, using a very high MERV filter or running the fan on its highest setting continuously for very long durations could potentially strain the motor over time. Opting for medium speed can help prolong your fan’s life.
Is there a difference in which side of the filter faces the fan?
Yes, there is! Look for arrows on the side of your furnace filter. These arrows indicate the direction of airflow. You want these arrows to point *towards* the fan so that the air is pulled through the filter correctly and trapped.