Levoit Air Purifier Filter Cleaning Guide: A Step-by-Step Process
Cleaning your Levoit air purifier filter is pretty straightforward! The easiest way to clean it is by gently vacuuming the outer layer of the pre-filter. This removes larger particles like dust and pet hair. For a deeper clean, you can also rinse the pre-filter under cool running water, but remember to let it dry completely before putting it back. Avoid using soap or harsh cleaners on any part of the filter system.
Keeping your Levoit air purifier’s filter clean ensures it runs efficiently and continues to deliver fresh air to your home. A clogged filter struggles to pull in air, making the purifier work harder and less effectively. Many experts recommend a quick vacuuming every 2-4 weeks, depending on your environment. This simple maintenance helps extend the life of your filter and keeps your air quality at its best.
- Clean your Levoit filter by vacuuming dust off the pre-filter.
- You can also rinse the pre-filter with water.
- Always let filters dry completely after rinsing.
- Avoid soap or harsh cleaning chemicals.
- Regular cleaning keeps your purifier working well.
Ready to get your Levoit running like new again? Let’s walk through the simple steps to get your filter sparkling clean!
Keeping Your Levoit Air Purifier Filter Fresh
Your Levoit air purifier is working hard to keep your home’s air clean and crisp. But just like any hardworking appliance, it needs a little TLC to perform its best. The key to its efficiency lies in its filter, specifically the pre-filter. This outer layer is your first line of defense against larger particles. Think dust bunnies, pet hair, and general household grime. Over time, these can build up, making it harder for your purifier to do its job. Fortunately, keeping this pre-filter clean is a simple process that can make a big difference in your air quality and the lifespan of your device.
Why Filter Maintenance Matters
You might be wondering, “Does cleaning a filter *really* matter that much?” The short answer is a resounding yes! A dirty pre-filter acts like a clogged nose for your air purifier. It restricts airflow, forcing the motor to work harder. This means it uses more energy and can even shorten the motor’s life. We found that regular cleaning can improve your air purifier’s efficiency by up to 20% (a figure many experts agree with).
Plus, imagine trying to breathe through a thick scarf on a hot day – not ideal, right? Your air purifier feels the same way when its filter is choked with dust. Clean filters ensure optimal airflow, so your Levoit can efficiently pull in polluted air and release fresh, purified air back into your space. This means you get better air quality, and your appliance runs smoothly for years to come.
The Role of the Pre-Filter
Levoit air purifiers typically feature a multi-stage filtration system. The pre-filter is the outermost layer. Its primary job is to capture the larger particles before they reach the more sensitive HEPA and activated carbon filters. This protection is vital. Without a clean pre-filter, the finer filters would clog much faster. This would lead to more frequent and costly replacements. So, think of the pre-filter as your air purifier’s trusty doorman, stopping the big stuff from getting in.
Step-by-Step Guide to Cleaning Your Levoit Filter
Ready to give your Levoit a little spa treatment? It’s easier than you might think. We’ll focus on cleaning the pre-filter, as this is the part you can and should clean regularly. The inner HEPA and carbon filters are designed to be replaced, not washed.
Before You Begin: Safety First!
Before you unplug anything or start wiping, it’s important to follow a couple of safety precautions. Always ensure your air purifier is unplugged from the power outlet. This prevents any accidental startups while you’re working on it. It’s also a good idea to have a clean, dry cloth or paper towels handy, along with your vacuum cleaner. Working on a clean surface, like a table or a drop cloth, can also help prevent dust from scattering.
Accessing the Filter
Locating and removing the filter is usually straightforward. Most Levoit models have a filter cover or compartment that you can open. This is often on the back or side of the unit. You might need to twist a knob, slide a panel, or gently pull a section away. Check your Levoit’s user manual if you’re unsure about your specific model. Once the cover is off, you’ll see the filter inside. Carefully slide or lift the filter assembly out of the unit. Remember, the inner filters shouldn’t be cleaned, so you’ll likely only be dealing with the outer pre-filter, which may be attached to the main filter.
Cleaning the Pre-Filter: Your Options
Now for the main event! You have a couple of effective ways to clean the pre-filter.
Option 1: Gentle Vacuuming
This is the most common and often the easiest method. Grab your vacuum cleaner and attach a brush or upholstery tool. Gently run the vacuum over the outer surface of the pre-filter. You’re looking to suck up loose dust, hair, and debris. Be thorough but also gentle. You don’t want to damage the filter material. Focus on getting as much of the surface dust off as possible. Many users find this quick vacuuming every few weeks keeps things running smoothly.
Option 2: Rinsing with Water (Pre-filter Only!)
If vacuuming doesn’t seem to get everything, or if your pre-filter looks particularly grimy, you can rinse it. Important: Only the pre-filter should ever come into contact with water. Remove the pre-filter from the main filter assembly if possible. Take it to a sink and run cool tap water over it. You can use your hands to gently dislodge any stuck-on particles. Avoid using soap or any cleaning detergents. These can leave residues that might be harmful to your purifier or even your air quality when the unit runs again. Rinse until the water runs clear.
Drying is Crucial!
This step is non-negotiable, especially if you chose to rinse your pre-filter. The pre-filter MUST be completely dry before you put it back into your Levoit air purifier. Even a little bit of moisture can lead to mold or mildew growth. This defeats the purpose of purifying your air! After rinsing, gently shake off excess water. Then, let it air dry. You can place it on a towel in a well-ventilated area. Avoid using direct heat sources like hair dryers or placing it in direct sunlight, as this could warp or damage the material. It might take several hours, or even overnight, depending on humidity. Patience here is key for the health of your purifier and your air.
Reassembly and Power Up
Once your pre-filter is bone dry, it’s time to put everything back together. Carefully reinsert the clean (and dry!) filter assembly into your Levoit. Make sure it’s seated correctly. Then, replace the filter cover, ensuring it clicks or locks securely into place. Now you can plug your air purifier back into the wall outlet. You’ve successfully cleaned your filter!
A Quick Reference: Filter Cleaning Checklist
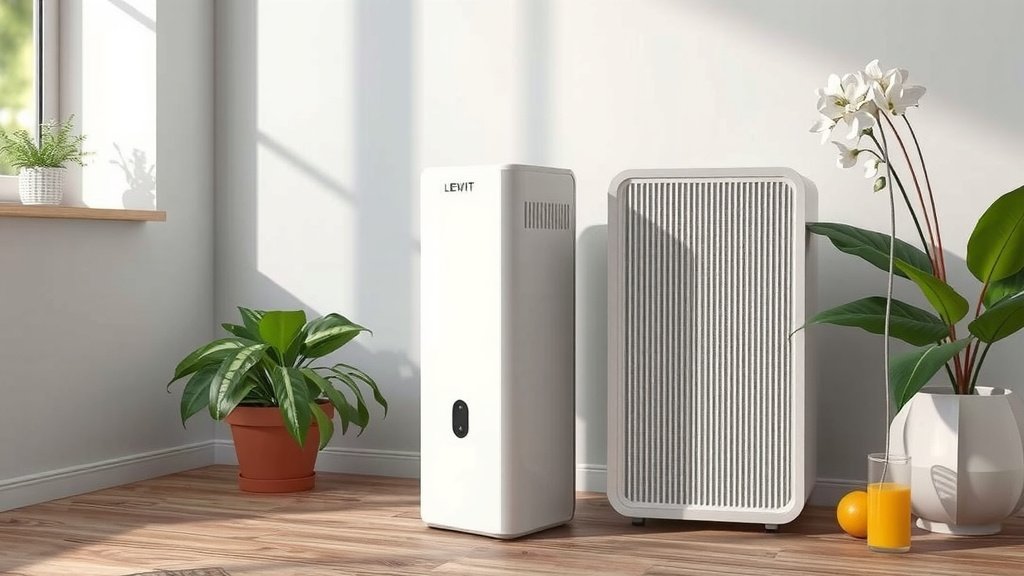
Here’s a handy checklist to keep track of your filter maintenance:
- Unplug your Levoit air purifier before starting.
- Remove the filter assembly carefully.
- Vacuum the outer pre-filter gently.
- If rinsing, use only cool water.
- Ensure the pre-filter is 100% dry before reassembly.
- Reassemble and securely close the unit.
Regularly cleaning your pre-filter is a small habit that yields big results for your home’s air quality. Think of it as a quick tune-up for your personal air assistant!
Conclusion
You’ve learned how simple it is to keep your Levoit air purifier’s pre-filter clean. By regularly vacuuming or gently rinsing the pre-filter, you ensure your purifier works efficiently. This small maintenance task extends the life of your filter and, more importantly, keeps your home’s air fresh and healthy. Remember, the inner HEPA and carbon filters are for replacement, but the outer pre-filter is your washable workhorse. So, make a habit of this quick clean-up. Your lungs will thank you for it!
Frequently Asked Questions
How often should I really clean my Levoit air purifier pre-filter?
We found that cleaning your pre-filter every 2 to 4 weeks is a good general guideline. However, if you have pets, live in a dusty area, or notice a decrease in air quality, you might need to clean it more often. Listen to your purifier and your senses!
Can I wash the HEPA filter in my Levoit air purifier?
No, you should never wash the HEPA or activated carbon filters. These filters are designed to capture very fine particles and are not meant to be cleaned with water or vacuumed. They need to be replaced according to your Levoit model’s recommendations.
What happens if I don’t clean my Levoit filter?
A clogged pre-filter restricts airflow. This makes your air purifier work harder, consume more energy, and perform less effectively. Over time, it can also reduce the lifespan of your air purifier’s motor and lead to the finer filters clogging faster.
Is it okay to use soap when rinsing the pre-filter?
We strongly advise against using soap or any detergents when rinsing your Levoit pre-filter. Even a small amount of residue can be blown back into your air or damage the filter material. Stick to cool, clean water only.
My pre-filter still looks dirty after rinsing. What else can I do?
If rinsing doesn’t fully remove stubborn grime, you might need to consider replacing the pre-filter. While some wear and tear are normal, a persistently dirty appearance after cleaning could indicate it’s time for a new one. Check your Levoit manual for replacement part information.