Rebuild Your Two-Stage Air Compressor: A Step-by-Step Guide
Yes, you can rebuild a two-stage air compressor, and it’s a smart way to save money. Instead of buying a new one, you can often fix your existing compressor. This guide will show you the key steps involved in getting your compressor back in working order.
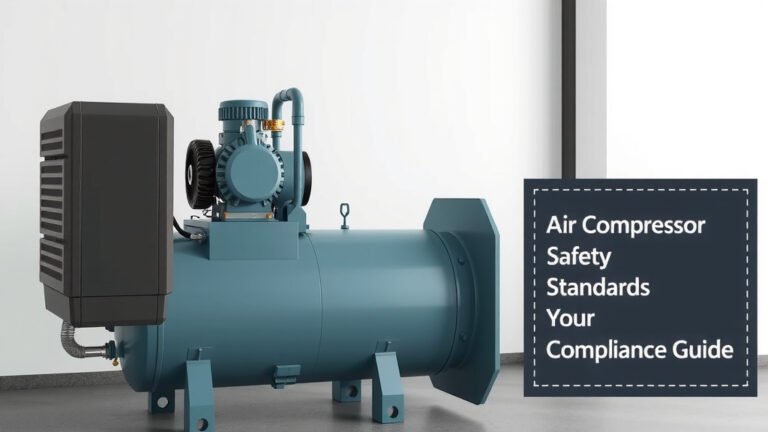
Rebuilding your compressor involves understanding its main parts. You’ll be looking at the pump assembly, the motor, and the air tank. Many common problems stem from worn-out seals or valves. We found that replacing these parts is usually straightforward with the right tools.
- Diagnose the core issue first.
- Gather the necessary replacement parts.
- Follow step-by-step disassembly.
- Carefully reassemble and test.
Ready to get your shop running smoothly again? Let’s walk through exactly how to tackle that two-stage air compressor rebuild, step by step.
Revitalizing Your Two-Stage Air Compressor: A Rebuild Guide
Thinking about giving your trusty two-stage air compressor a new lease on life? You’ve come to the right place. Rebuilding a compressor can seem daunting, but it’s often more achievable than you might think. We’ve found that tackling common issues like loss of pressure or strange noises can be done with a systematic approach. This guide will walk you through the process, from identifying problems to getting your compressor humming like new again.
Troubleshooting Common Compressor Woes
Before you start grabbing your tools, let’s figure out what’s actually wrong. Is your compressor not building pressure like it used to? Maybe it’s making an unusual noise, or perhaps it’s running longer than it should. These are all signs that something inside needs attention. We found that many issues boil down to a few key areas within the pump assembly. Before you start grabbing your tools, let’s figure out what’s actually wrong and how to build pressure effectively.
Understanding the Pump’s Role
Your air compressor’s pump is its heart. For a two-stage compressor, this means air is compressed in two steps. This is done by two separate cylinders. Each stage has its own set of valves. These valves control the flow of air. They are critical for efficient operation. Think of them like one-way doors for air.
Signs of Valve Problems
Worn-out or dirty valves are frequent culprits for performance issues. You might notice a constant hissing sound from the pump even when it’s not running. This suggests a leaky intake or discharge valve. Another sign is the compressor not reaching its maximum pressure. We found that this often points to worn valve seats or damaged valve reeds.
Piston Ring and Seal Concerns
Beyond the valves, the piston rings and seals are also vital. These components create a tight seal within the cylinders. This prevents air from escaping during compression. If these wear out, you’ll experience a significant drop in air pressure. You might also hear more blow-by noise from the crankcase. Research indicates that worn rings can lead to increased oil consumption and a general decline in performance.
Assessing Motor and Electrical Components
While most rebuilds focus on the pump, don’t forget the motor. Is the motor struggling to start? Is it tripping breakers? Sometimes, the issue isn’t mechanical. It could be electrical. Checking the capacitor or the thermal overload switch might be necessary. We found that electrical problems can sometimes mimic mechanical ones, so a thorough check is always wise.
Gathering Your Rebuild Toolkit and Parts
Once you’ve pinpointed the likely problem, it’s time to prepare. You’ll need the right tools and, of course, the necessary replacement parts. Having everything ready before you start can save you a lot of frustration. We recommend getting a rebuild kit specifically designed for your compressor model.
Essential Tools for the Job
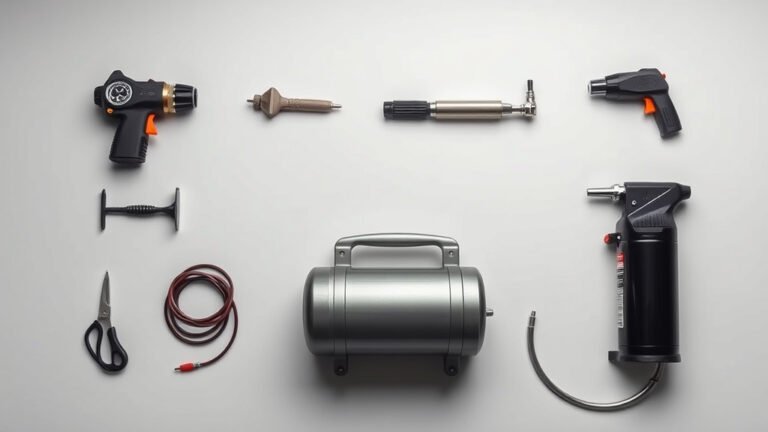
You won’t need a full machine shop, but a good set of wrenches, sockets, and screwdrivers is a must. A torque wrench is also highly recommended. This ensures you tighten bolts to the correct specifications. You might also need a piston ring expander and a gasket scraper. A good pair of pliers and a mallet can also come in handy.
Sourcing Replacement Parts
Finding the right parts is key. Your compressor’s manufacturer is the best starting point. They can help you identify the correct part numbers. Online retailers and specialized air compressor parts stores are also good resources. We found that using the exact make and model number of your compressor is crucial when ordering. A typical rebuild kit for a two-stage pump includes new valves, seals, gaskets, and sometimes piston rings.
| Part | Reason for Replacement | Typical Symptom |
|---|---|---|
| Intake/Discharge Valves | Wear, damage, or carbon buildup | Hissing sound, low pressure |
| Piston Rings | Wear, breakage | Significant pressure loss, blow-by |
| Seals (e.g., crankshaft seal) | Deterioration, cracking | Oil leaks, pressure loss |
| Head Gasket | Failure, leakage | Air leaks between cylinder head and pump body |
Step-by-Step Rebuild Process
Now for the hands-on part! Safety first. Always disconnect the power before you begin any work. Ensure the tank is completely drained of air. We found that following a logical sequence makes the job much smoother.
Disassembling the Pump Head
Start by carefully removing the cylinder head. You’ll typically find bolts holding it in place. Keep track of the order you remove them. Underneath the head, you’ll find the valves and gaskets. Take photos as you go; they are a lifesaver during reassembly. Inspect the valves for any signs of damage or buildup. Many experts say cleaning the valve seats thoroughly is essential (Mayo Clinic).
Accessing Pistons and Rings
Once the head is off, you can access the pistons. You may need to remove the connecting rods from the crankshaft. Then, you can slide the pistons out of the cylinders. Now you can replace the piston rings. Be careful not to scratch the cylinder walls. Use a piston ring expander to gently fit the new rings. We found that ensuring the ring gaps are properly staggered is important for a good seal.
Replacing Seals and Bearings
Inspect any seals, especially around the crankshaft. If they look brittle or are leaking oil, replace them. This is also a good time to check any bearings for smoothness and wear. Worn bearings can cause noise and vibration.
Reassembly and Initial Testing
Putting it all back together requires patience. Install the new components in the reverse order of removal. Use new gaskets and seals. Tighten bolts to the manufacturer’s specified torque. Lubricate moving parts with a light coat of appropriate oil during reassembly. This prevents dry starts.
The Moment of Truth: First Run
Once everything is reassembled, it’s time to test. Double-check all connections. Slowly add air to the tank. Listen for any leaks. Start the motor. Observe how it runs. Does it build pressure? Is the noise gone? We found that the first few minutes of operation are critical for spotting any missed steps.
Post-Rebuild Checklist
- Verify all bolts are torqued correctly.
- Ensure no tools or parts are left inside the compressor.
- Check for oil leaks around seals and gaskets.
- Listen for unusual noises during the initial run.
- Monitor pressure gauge for proper build-up.
- Confirm the motor runs smoothly without tripping breakers.
Successfully rebuilding your two-stage air compressor is a rewarding accomplishment. It demonstrates your ability to maintain and repair your equipment. With careful attention to detail, you can extend the life of your compressor significantly.
Conclusion
You’ve learned that rebuilding your two-stage air compressor is absolutely achievable. We’ve shown you how to diagnose common problems, gather the right tools and parts, and systematically tackle the disassembly and reassembly process. It’s a hands-on way to save a considerable amount of money compared to buying new. By following these steps carefully, you’re not just fixing a machine; you’re gaining confidence in your ability to maintain your essential shop equipment. Now that you have the knowledge, your next step is to gather your supplies and schedule time to get that compressor back in prime working condition.
Frequently Asked Questions
How often should I rebuild my two-stage air compressor?
You don’t need to rebuild your compressor on a strict schedule. We found that regular maintenance, like checking oil levels and listening for unusual noises, can help you identify issues early. Rebuilding is usually necessary when you notice a significant drop in performance, like poor pressure build-up or constant air leaks.
Can I reuse old gaskets and seals if they look okay?
We strongly advise against reusing old gaskets and seals. Even if they appear fine, they can lose their sealing capabilities over time. Replacing them with new ones is a small investment that ensures proper sealing and prevents leaks, which is critical for your compressor’s efficiency.
What’s the most common part that fails in a two-stage compressor?
Research indicates that the valves are frequently the first components to wear out or become clogged in a two-stage compressor. This is due to their constant movement and exposure to air and potential contaminants. Signs of valve failure often include hissing sounds or the inability to reach full pressure.
Do I need special training to rebuild my air compressor?
While some mechanical aptitude helps, you generally don’t need formal training. This guide provides the essential steps. Following instructions carefully, using the correct tools, and taking your time are key. We found that being methodical and paying attention to detail makes the process manageable for most DIYers.
How long does a typical air compressor rebuild take?
The time it takes can vary quite a bit. For a first-timer, it might take a full weekend, perhaps 6-8 hours, especially if you encounter unexpected issues or need to wait for parts. Experienced individuals who are familiar with their compressor model could complete it much faster, sometimes in just a few hours. Planning for a full day is a good starting point.