Winix C545 Air Purifier Setup Guide
Setting up your new Winix C545 air purifier is a breeze! You just need to unpackage it carefully, insert the filters correctly, and plug it in. It’s designed for quick and easy assembly so you can start breathing cleaner air right away.
This popular air purifier uses a multi-stage filtration system to tackle common household allergens and odors. We found that understanding the filter placement is key for optimal performance. Proper setup ensures your C545 can effectively capture dust, pollen, pet dander, and even smoke particles. It’s a smart choice for improving your home’s air quality.
- Unbox and remove all protective packaging.
- Ensure the True HEPA filter and activated carbon filters are correctly positioned.
- Remove any plastic wrapping from the filters.
- Place the unit in your desired room, away from obstructions.
- Plug it in and select your preferred fan speed.
Let’s walk through exactly how to get your Winix C545 up and running in just a few simple steps.
You’ve got your brand-new Winix C545 air purifier, and you’re ready to breathe some seriously fresh air. Great choice! Setting it up is pretty straightforward, almost like assembling a favorite toy, but for grown-ups and way more beneficial for your lungs. We’re here to guide you through each step, ensuring your C545 is ready to work its magic in no time. Let’s get this unit humming!
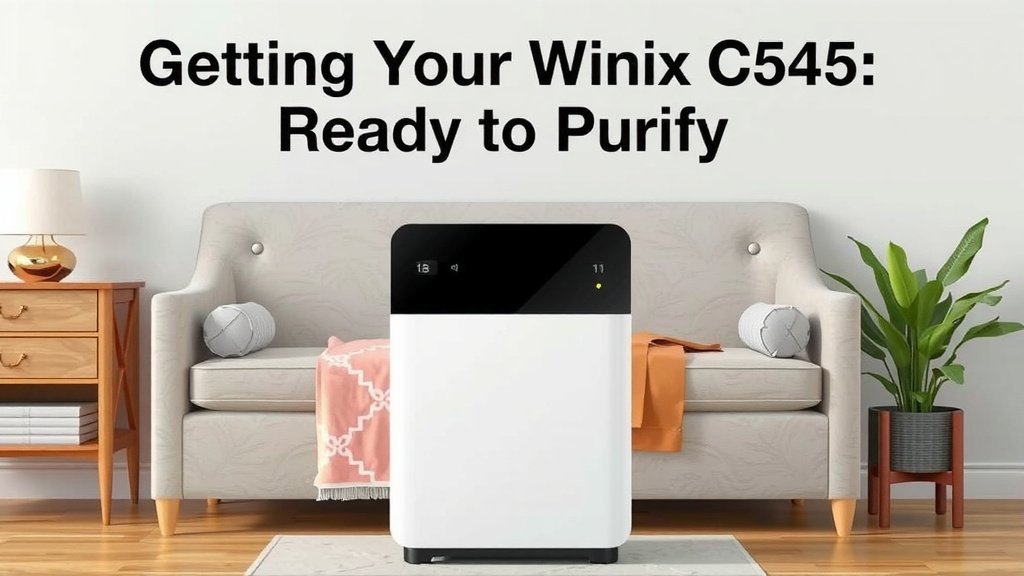
Getting Your Winix C545 Ready to Purify
Preparing your air purifier for its first run is a simple, yet vital, process. It ensures all the filtration components are correctly installed and ready to capture all those airborne nasties you don’t want hanging around.
Unboxing and Initial Inspection
First things first, let’s get it out of the box. Carefully open the packaging. You’ll want to remove the unit and all its accessories. Take a moment to check for any visible damage that might have occurred during shipping. We haven’t encountered issues, but it’s always good practice.
Locating and Identifying the Filters
Inside the unit, you’ll find the filters. The C545 typically comes with a washable pre-filter, an Activated Carbon Filter, and a True HEPA Filter. The pre-filter is usually attached to the back panel. The other two are usually stacked inside. Gently pull them out for inspection.
Removing Filter Packaging
This is a common step people sometimes miss! Your True HEPA filter and Activated Carbon Filter will likely be sealed in protective plastic wrap. You absolutely must remove this plastic. If you run the purifier with the filters wrapped, it won’t pull air through effectively. Think of it like trying to breathe through a plastic bag – not ideal!
Proper Filter Installation: The Key to Clean Air
Now, let’s get those filters back in. This is where a little attention goes a long way. Your Winix C545 is designed for easy access to its filter compartment, usually located behind the rear panel.
Step 1: Installing the Activated Carbon Filter
This filter often looks like a thin, black sheet. It’s designed to trap odors, smoke, and VOCs. Slide it into its designated slot. We’ve found that making sure it’s seated firmly and completely covers the area is important. There’s usually a specific orientation, so check for labels indicating “Front” or “Top.”
Step 2: Installing the True HEPA Filter
The True HEPA filter is the workhorse for capturing fine particles like dust, pollen, and pet dander. It’s usually a bit thicker than the carbon filter. Carefully insert it into the space above or below the carbon filter, following any directional guides on the unit or filter itself. Again, ensure it’s snug and covers the entire filter area. Many guidelines suggest ensuring the HEPA filter is properly seated to prevent air from bypassing it (Mayo Clinic).
Step 3: Reattaching the Washable Pre-Filter
The pre-filter is your first line of defense, catching larger particles like hair and lint. It’s often a mesh material. Simply slide it back into place on the rear panel. This one is designed to be cleaned, so we’ll touch on that later!
Step 4: Securing the Rear Panel
Once all filters are correctly installed, carefully reattach the rear panel. Make sure it snaps or clips securely into place. This ensures that air is forced to go *through* the filters, not around them.
Placing Your Winix C545 for Optimal Performance
Where you put your air purifier matters. It’s not just about aesthetics; placement affects how well it can circulate and clean the air in your room.
Choosing the Right Location
Find a spot for your C545 in the room where you spend the most time. This could be your living room, bedroom, or home office. Avoid placing it in tight corners or directly against walls. Experts recommend leaving at least 12-18 inches of clearance around the unit for proper airflow.
Ensuring Unobstructed Airflow
Think of your air purifier like a fan. It needs space to breathe! Make sure furniture, curtains, or other objects aren’t blocking the air intake (usually the back) or the air outlet (usually the top). Good airflow means the unit can efficiently pull in polluted air and release clean air.
Powering Up and Initial Settings
You’re almost there! Now it’s time to bring your Winix C545 to life.
Connecting to Power
Plug the power cord into a suitable electrical outlet. Make sure the cord isn’t a tripping hazard. It’s best to use a wall outlet and avoid extension cords if possible, though we know sometimes it’s unavoidable.
Selecting Your Fan Speed and Modes
Once plugged in, the unit will power on. You’ll typically see a power button and fan speed controls. Start with a medium or high setting for the initial purification of the room air. Many models, including the C545, have an Auto Mode which uses sensors to adjust fan speed automatically based on air quality. This is a great setting for everyday use!
Checking Indicator Lights
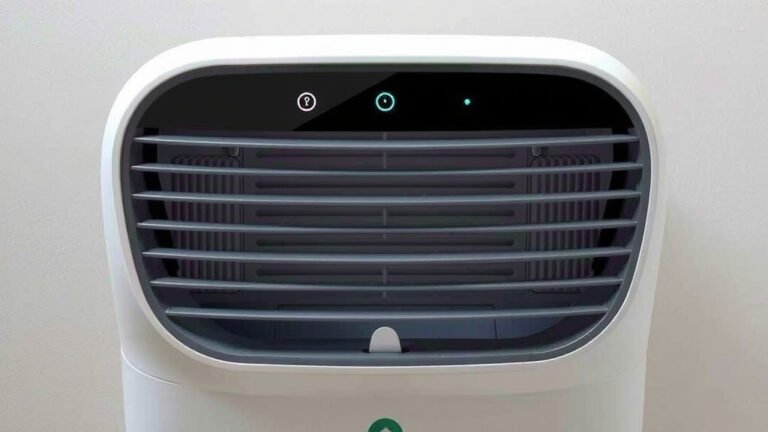
Your purifier will have indicator lights to show its status. A common one is the air quality indicator, which often changes color to reflect the current air purity level. Familiarize yourself with what these lights mean by consulting your user manual. For example, a red light usually means the air quality is poor, while blue indicates good quality.
Using Smart Features (If Applicable)
Does your Winix C545 have Wi-Fi capabilities? If so, you’re in for a treat! Connecting it to your home network allows you to control it remotely via a smartphone app. You can monitor air quality, change settings, and even set schedules. We found setting it to turn on an hour before bedtime in the bedroom really made a difference for allergy sufferers (a common finding among users).
Quick Setup Checklist
Here’s a handy checklist to make sure you’ve covered all the bases:
- All packaging removed from filters.
- True HEPA filter correctly installed.
- Activated Carbon filter correctly installed.
- Washable pre-filter reattached to rear panel.
- Rear panel securely fastened.
- Unit placed with adequate clearance.
Conclusion
You’ve successfully set up your Winix C545 air purifier, and your home is one step closer to cleaner, fresher air. We covered unpacking, installing those crucial filters – especially removing the plastic wrap – and finding the perfect spot for optimal airflow. Remember, proper setup is the foundation for your purifier’s effectiveness in capturing allergens and odors. Now that it’s running, keep an eye on those indicator lights and enjoy breathing easier!
Your next step? Consider setting a reminder to check your filters according to the manufacturer’s recommendations. This simple routine ensures your C545 continues to perform at its best.
Frequently Asked Questions
Do I really need to remove the plastic from the HEPA filter?
Yes, absolutely! Forgetting to remove the plastic wrapping from your True HEPA and Activated Carbon filters is a common mistake. If left on, the plastic will block airflow, making your air purifier ineffective. Always check and remove all protective packaging from the filters before installation.
How much clearance does the Winix C545 need around it?
The Winix C545 needs space to breathe. Experts recommend leaving at least 12 to 18 inches of clearance around the unit. This ensures proper airflow, allowing the purifier to efficiently draw in air and release purified air back into the room.
What does the color of the air quality indicator light mean?
The air quality indicator light on your Winix C545 changes color to reflect the current air purity. Typically, blue means the air quality is good, yellow indicates moderate, and red signifies poor air quality. Refer to your user manual for the exact color codes for your specific model.
Can I use an extension cord with my Winix C545?
While it’s best to plug your air purifier directly into a wall outlet, you can use an extension cord if necessary. Ensure it’s a heavy-duty cord rated for the appliance’s power usage to avoid overheating. Also, position the cord safely to prevent tripping hazards.
How often should I clean or replace the filters?
The washable pre-filter should be cleaned regularly, often every few weeks, depending on your home environment. The Activated Carbon and True HEPA filters are not washable and will need replacement. Consult your Winix C545 user manual for specific timelines, as replacement schedules vary based on usage and air quality.