How to Turn Down Air Compressor Pressure: Simple Steps
You can easily turn down the pressure on your air compressor by adjusting the regulator knob. This simple adjustment is key to controlling the amount of air released. Turning the knob clockwise increases pressure, while turning it counter-clockwise decreases it. Always make small adjustments and check the gauge frequently.
Managing your air compressor’s pressure ensures optimal performance and safety. Too much pressure can damage your tools or the compressor itself. Too little pressure means your tools might not work effectively. Finding the right setting is crucial for your projects.
- Adjust the regulator knob to lower pressure.
- Turn the knob counter-clockwise.
- Watch the pressure gauge carefully.
- Make small, gradual changes.
Let’s walk through exactly how to get that pressure just right for whatever you’re working on.
Regulating Your Air Compressor’s Output Pressure
Knowing how to adjust your air compressor’s output pressure is a skill every DIYer and professional needs. It’s like tuning a guitar – get it right, and everything sounds great. Get it wrong, and it’s just noise. We’re here to make sure you get that perfect pitch for your air tools.
Why You Need to Adjust Compressor Pressure
Your air compressor’s “tank pressure” is one thing, but the pressure coming out to your tools is another. This is controlled by a regulator. Why bother adjusting it? Well, different tools have different needs. A nail gun might need a steady 90 PSI, while a delicate paint sprayer might prefer 30 PSI. Using the wrong pressure is like trying to hammer a tiny finishing nail with a sledgehammer – messy and ineffective.
Protecting Your Tools and Compressor
Many tools have a maximum PSI rating. Pushing too much air through them can cause them to break or malfunction. Think of it like overinflating a balloon; eventually, it pops. Plus, consistent over-pressurization can stress your compressor’s motor and pump over time. We found that keeping pressure within a tool’s recommended range is a key factor in longevity (Tool User’s Manual).
Optimizing Tool Performance
Too little pressure is also a problem. If your impact wrench isn’t getting enough air, it won’t have the torque to loosen stubborn bolts. A spray gun might sputter or produce uneven paint coverage. Finding that sweet spot ensures your tools perform as they were designed. Many users report frustration and wasted time when tool performance is subpar due to incorrect pressure.
Locating the Regulator on Your Air Compressor
Before you can turn anything down, you need to find the adjustment point. Almost all portable air compressors have a regulator. It’s usually a knob or a dial located on the compressor’s control panel, often near the air outlet where you connect your hose.
Understanding the Components
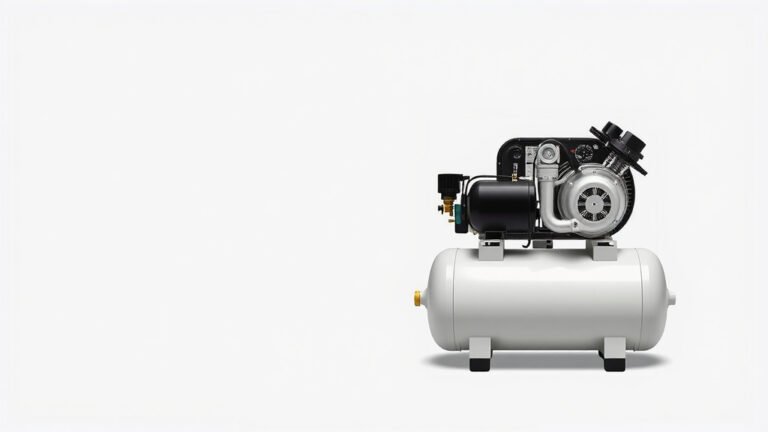
You’ll typically see a few things on the control panel:
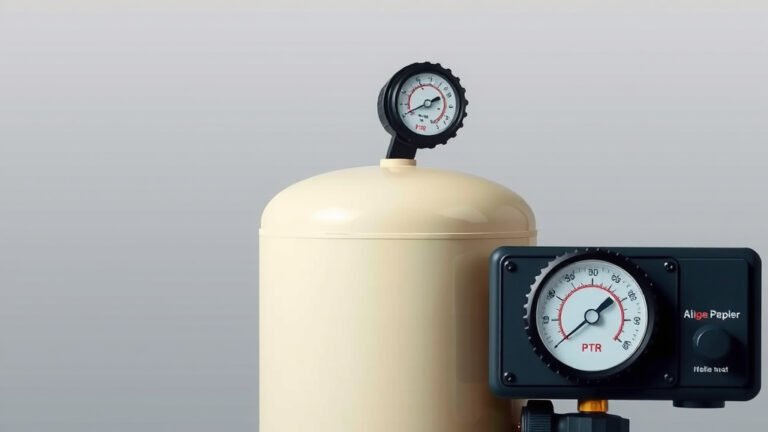
- Pressure Gauge(s): There might be one gauge for tank pressure and another for regulated output pressure. You want to watch the output gauge.
- Regulator Knob/Dial: This is what you’ll turn. Some have a simple knob you pull out and turn; others are fixed dials.
- Air Outlet(s): Where you connect your air hose.
We found that newer models often have very clear labeling. If you’re unsure, consulting your compressor’s user manual is always a smart move.
How to Turn Down the Pressure Step-by-Step
This is the part where we get hands-on! It’s a straightforward process once you know what to do.
Step 1: Ensure the Compressor is Running
The regulator only works when the compressor is actively building or supplying air. If the compressor is off or idle, the regulator won’t show any change. So, start your compressor up. You’ll hear it building pressure.
Step 2: Identify the Regulator Knob
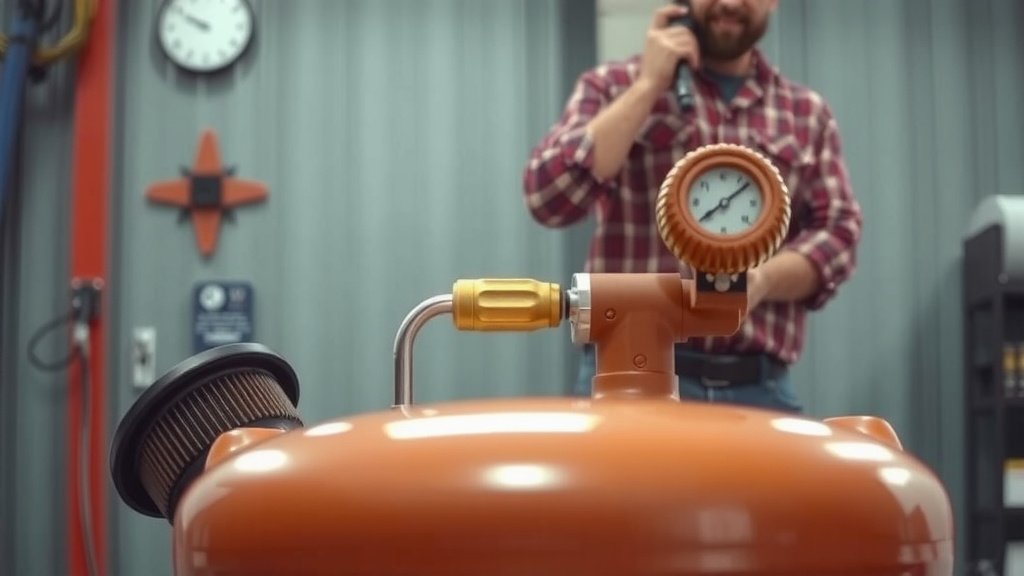
Locate that knob we talked about earlier. It’s usually a black or colored plastic knob. Some might have small arrows indicating direction. On many models, you might need to pull the knob outward slightly to unlock it for adjustment.
Step 3: Observe the Pressure Gauge
Keep an eye on the regulated output pressure gauge. This gauge will show you the air pressure being delivered to your hose and tools. You want to see the needle on this gauge.
Step 4: Make Gradual Adjustments
To decrease the pressure, you’ll turn the regulator knob counter-clockwise. Think of it like unscrewing something – that’s how you lower the flow. We found that turning it just a little bit at a time is best. Watch the gauge closely. You’ll see the needle drop.
Small Turns, Big Impact
Resist the urge to crank the knob. Small, deliberate turns are key. If you turn it too much, you’ll have to turn it back up. It’s like finding the perfect volume on your stereo – you don’t just blast it and hope for the best. Many technicians recommend making adjustments in increments of 5 PSI.
Step 5: Reach Your Desired Pressure
Continue turning the knob counter-clockwise in small increments until the gauge reads the pressure recommended for your specific tool or application. Once you reach the target pressure, you can often push the knob back in (if it was pulled out) to lock it in place. This prevents accidental changes.
Checking the Pressure with Your Tool
Once you’ve set the regulator, it’s wise to do a quick test. Connect your air tool and give it a brief burst. Does it feel right? Is it performing as expected? If not, you might need to make another tiny adjustment.
When to Adjust Upward (and How)
While our focus is turning pressure down, it’s good to know the opposite. To increase pressure, you turn the regulator knob clockwise. Again, do this in small increments. Many experts agree that slowly increasing pressure is safer than rapidly decreasing it.
Common Scenarios and Pressure Settings
Here’s a quick guide for some common tasks. Remember, these are general guidelines, and your specific tool’s manual is the ultimate authority.
| Application | Typical Pressure Range (PSI) |
|---|---|
| Inflating Tires | 30-40 PSI |
| Airbrush Painting | 15-30 PSI |
| Brad Nailer/Stapler | 70-100 PSI |
| Impact Wrench (General Use) | 90-120 PSI |
| Spray Painting (HVLP Gun) | 30-50 PSI |
Safety First: Always Be Mindful
Pressure regulation isn’t just about performance; it’s about safety. Over-pressurizing can lead to unexpected tool failure or even burst hoses, which can cause injury. We found that adhering to recommended pressure settings is one of the easiest ways to prevent accidents (OSHA Guidelines).
Troubleshooting Common Issues
What if the regulator isn’t responding? Sometimes, the regulator can get clogged with debris. Ensure your air intake filter is clean. If the knob feels stuck, don’t force it. Try a gentle wiggle while pulling. If you’re still having trouble, it might be time to consult a professional or your compressor’s manufacturer.
Your Pressure Adjustment Checklist
To recap, here’s a quick checklist to help you remember:
- Start the compressor.
- Locate the regulator knob.
- Watch the output pressure gauge.
- Turn knob counter-clockwise to lower pressure.
- Make small, gradual turns.
- Test your tool.
Conclusion
You’ve learned how to confidently adjust your air compressor’s pressure. Remember, finding the right setting is about more than just convenience; it’s vital for your tools’ longevity and your own safety. By mastering the simple turn of the regulator knob, you ensure your air tools perform at their best, project after project. So next time you power up, take a moment to dial in that perfect pressure. Your tools will thank you for it.
Frequently Asked Questions
Why does my air compressor pressure drop after adjusting it down?
This usually means the regulator is functioning correctly. When you decrease the pressure, the regulator restricts the airflow from the tank. If you don’t have a tool connected, the output gauge might show a drop as the regulator works to maintain the set low pressure. Ensure your compressor is running and the tank pressure is sufficient.
Can I turn down the pressure on my air compressor if it’s not running?
No, the regulator only controls the output pressure when the compressor is actively supplying air. While you can physically turn the knob, it won’t affect the pressure reading on the gauge or the air delivered to your tools unless the compressor is on and pressurized. Always make adjustments with the compressor running and building or supplying air.
What’s the difference between tank pressure and regulated pressure?
Tank pressure is the total amount of air stored in your compressor’s tank. Regulated pressure is the pressure that comes *out* of the compressor and goes to your tool. You adjust the regulator to control this output pressure, ensuring it’s safe and effective for the specific tool you’re using, independent of the higher tank pressure.
How do I know if I’ve turned the pressure down too much?
If your air tool isn’t performing its intended function – for instance, a nailer not driving nails fully or an impact wrench not loosening bolts – you likely have the pressure set too low. The tool might sound weak or just not work. It’s best to increase the pressure slightly and test again until the tool operates effectively.
Is it safe to leave the regulator set to a low pressure all the time?
Yes, it is generally safe and often recommended to set your regulator to the lowest pressure needed for your most common tasks if you’re not frequently changing tools. However, always double-check the required pressure for any new tool you connect. Leaving it set too low is far safer than accidentally running a tool at too high a pressure.