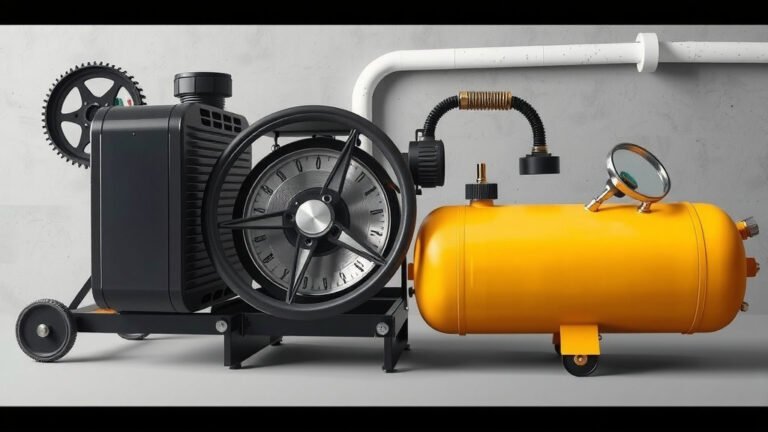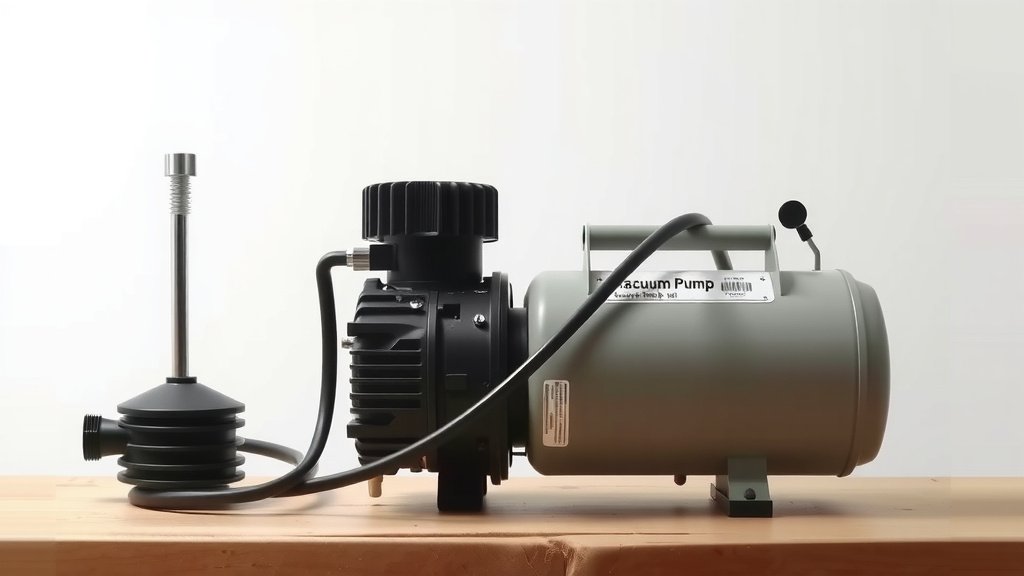
Air Compressor to Vacuum Pump: A DIY Guide
Yes, you can absolutely turn an air compressor into a vacuum pump with a few simple parts. It’s a clever way to repurpose equipment you likely already have. This modification can be a **cost-effective solution** for various tasks, from simple cleaning to more involved projects requiring suction. You’ll be surprised at how effective it can be with the **right setup**.
Many DIYers and mechanics look for ways to get more utility from their tools. An air compressor, when adapted, can create a powerful vacuum. This is often achieved by using a venturi system, which uses compressed air to generate suction. Think of it like a super-powered siphon, perfect for **removing unwanted liquids** or debris. It’s a project that requires a bit of know-how but is **well within reach** for many.
- Repurpose an air compressor for suction needs.
- Requires a venturi vacuum generator kit.
- Can be used for cleaning, fluid transfer, and more.
- A DIY-friendly project with great results.
- Save money compared to buying a dedicated vacuum pump.
Ready to see how you can transform your compressor? Let’s walk through the process step by step to get your new vacuum pump up and running.
So, you’ve got an air compressor sitting around and a need for some suction? That’s a fantastic starting point! Many people don’t realize their trusty air compressor can do double duty. With a few clever additions, you can transform it into a capable vacuum pump. This is a smart move for any DIYer or tinkerer looking to get the most out of their tools. Let’s figure out how you can make this happen.
Transforming Your Air Compressor into a Vacuum Pump
Turning your air compressor into a vacuum pump is simpler than you might think. It primarily involves adding a device that uses compressed air to create suction. This is typically a venturi vacuum generator, sometimes called a venturi ejector. It’s a clever piece of engineering that requires no moving parts in the vacuuming process itself.
Understanding the Venturi Principle
The magic behind this conversion is the venturi effect. You’ve probably seen it in action before, maybe with a spray bottle or a carburetor. When fluid (in this case, air) is forced through a narrow section of a tube, its speed increases. This increase in speed causes a drop in pressure. This lower pressure creates suction, which is exactly what you need for a vacuum pump.
Think of it like this: imagine water rushing through a wide pipe, and then suddenly it hits a narrow opening. The water speeds up there, right? As it speeds up, it pulls things along with it. That’s the basic idea we’re using here. This process is very efficient for generating vacuum quickly.
How a Venturi Vacuum Generator Works
A venturi vacuum generator is a small, self-contained unit. It has an inlet for your compressed air and an outlet where the vacuum is created. Compressed air enters the generator and is forced through a constricted passage. This high-speed air then expands into a larger chamber, creating a low-pressure zone. A separate port connected to this low-pressure zone becomes your vacuum source. The spent air and any drawn-in material are exhausted out of a third port. It’s a closed loop system powered by your compressor’s air.
What You’ll Need: The Essential Parts
To make this conversion, you don’t need much. The core component is the venturi vacuum generator. These are readily available online or at hardware supply stores. Make sure you select one designed for your air compressor’s pressure output. You’ll also need some basic plumbing fittings to connect the generator to your compressor and your desired vacuum hose. Some Teflon tape for sealing threads is also a good idea.
Choosing the Right Venturi Generator
Venturi generators come in various sizes and flow rates. For most common air compressors (like the 5-10 gallon portable types), a small to medium-sized generator will work perfectly. Look for specifications that match your compressor’s CFM (cubic feet per minute) output. You want a generator that can handle the air volume your compressor provides without becoming a bottleneck. Many kits include all the necessary fittings, making it a truly plug-and-play experience.
Connecting the Hoses and Fittings
You’ll typically connect the air inlet of the generator to your compressor’s air outlet using a standard air hose and fittings. The vacuum port on the generator is where you’ll attach your vacuum hose. This can be a simple rubber hose or a more specialized hose depending on your application. Ensure all connections are tight and secure. Leaks will significantly reduce the vacuum strength you can achieve.
Putting Your New Vacuum Pump to Work
Once everything is hooked up, you’re ready for some serious suction! The applications for this DIY vacuum pump are surprisingly diverse. You can use it for simple tasks around the garage or workshop.
Practical Applications for Your DIY Vacuum Pump
One of the most common uses is for cleaning up spills, especially liquids. Imagine quickly siphoning water out of a clogged sink or a leaky basement. You can also use it to remove debris from tight spaces where a regular shop vac might struggle to reach. Some people even use this setup for tasks like degassing small amounts of epoxy or resin, though for precision work, a dedicated vacuum chamber might be better.
Liquid Siphoning and Transfer
Transferring liquids is a breeze. You can siphon gasoline, coolant, or any other non-corrosive fluid from one container to another. Just make sure your vacuum hose is rated for the fluid you’re moving. For instance, transferring motor oil from a car or lawnmower becomes much easier. You won’t need to tilt heavy engines or struggle with messy pumps.
Workshop Cleanup and Dust Removal
Your workshop can benefit immensely. Use it to clean out sawdust from your tools or work surfaces. It’s also great for cleaning the nooks and crannies of your car interior. If you’re working with materials that create fine dust, like drywall compound, this can help contain the mess. Always wear appropriate safety gear, like safety glasses, when operating any pressurized equipment.
Safety and Maintenance Considerations
Safety is always our top priority. When working with compressed air, always ensure your compressor’s pressure regulator is set to a safe level. Most venturi generators operate effectively within a range of 40-100 PSI. Over-pressurizing can damage the generator or your hoses. Also, be mindful of where the exhausted air is going, especially if you’re sucking up dust or debris.
Checking for Leaks and Secure Connections
Before you start a big job, it’s wise to perform a quick leak test. Once the compressor is running and creating vacuum, listen carefully for any hissing sounds. A little bit of soapy water applied to the connections can reveal tiny leaks; the soap will bubble where air is escaping. Fixing these small leaks can drastically improve your vacuum pump’s performance.
Maintaining Your Compressor and Generator
Just like any tool, regular maintenance is key. Keep your air compressor’s tank drained to prevent rust. Ensure the air filter is clean. For the venturi generator, there’s usually not much maintenance needed beyond keeping it clean and dry. If you notice reduced vacuum, double-check all your connections and ensure there are no obstructions in the generator’s air path. Many sources recommend draining the compressor tank regularly (U.S. Department of Labor).
Here’s a quick checklist to get you started:
- Gather your venturi vacuum generator kit.
- Ensure you have appropriate air hoses and fittings.
- Check your compressor’s pressure regulator.
- Seal all connections with Teflon tape.
- Test for air leaks before full use.
- Keep safety glasses on during operation.
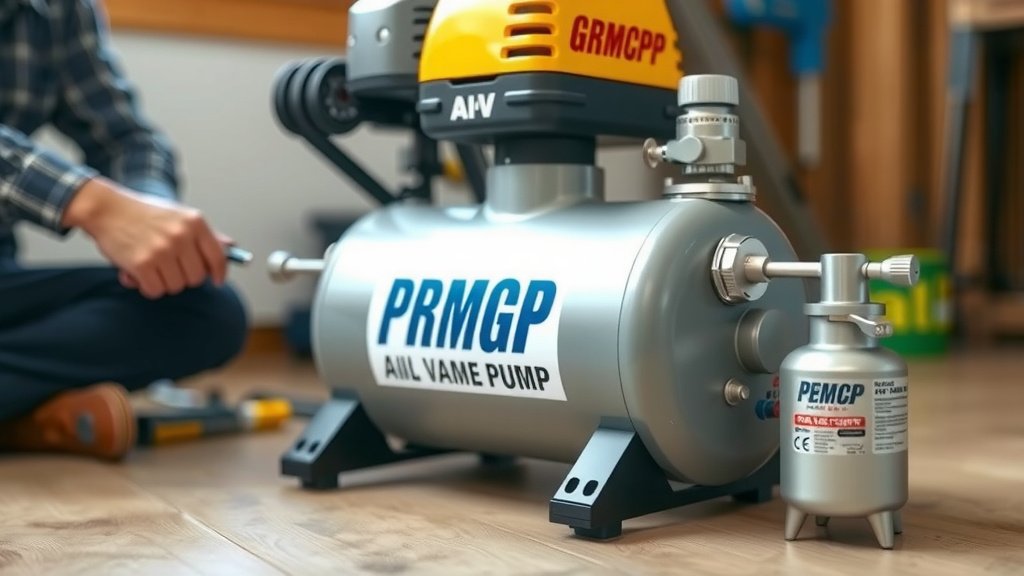
Conclusion
You’ve learned how to transform your air compressor into a functional vacuum pump using a venturi generator. This project is a fantastic way to add versatility to your tools and tackle tasks requiring suction without buying specialized equipment. Remember to prioritize safety by checking connections and regulator settings. With the right setup, you’ve got a cost-effective solution for cleaning, siphoning, and more. Your next step is to find a venturi vacuum generator kit that matches your compressor and get ready to put your new DIY vacuum pump to the test!
Frequently Asked Questions
Can I use any air compressor for this conversion?
Yes, most common air compressors can be adapted. You’ll want to match the venturi generator’s specifications to your compressor’s CFM output. Smaller portable compressors work well for lighter tasks. Larger industrial compressors can create a more powerful vacuum.
How strong of a vacuum can I expect?
The vacuum strength depends on your compressor’s power and the efficiency of the venturi generator. You can typically achieve a respectable vacuum for most DIY needs, suitable for siphoning liquids and general cleanup. For very high-vacuum applications like vacuum bagging, a dedicated pump might be better.
Do I need any special tools for the installation?
You likely won’t need many specialized tools. Basic tools like adjustable wrenches for tightening fittings and possibly a pipe thread sealant (like Teflon tape) are usually sufficient. Ensure you have the correct size air hose and fittings to connect to your compressor and the generator.
What happens to the air the compressor blows out?
The venturi generator uses the compressed air to create suction. This air, along with whatever you’ve vacuumed up, is then exhausted through a separate port on the generator. It’s important to position this exhaust away from you and where it won’t kick up dust.
Are there any risks if I don’t seal the connections properly?
Absolutely. Poorly sealed connections will lead to air leaks, which severely reduces the vacuum pressure you can generate. This means your DIY vacuum pump won’t be as effective. It’s also less efficient, making your compressor run longer than necessary.