How to Turn On Your Bostitch Air Compressor Safely
Turning on your Bostitch air compressor is simpler than you might think. You’ll want to plug it in, check your air hose connection, and then flip the power switch. Many models also have a pressure switch that automatically starts and stops the motor as needed.
Getting your compressor ready for action involves a few key steps. Proper setup ensures it performs reliably and safely. We’ve researched the common procedures to make sure you can get your tools powered up quickly, focusing on common Bostitch models.
- Plug your compressor into a suitable outlet.
- Ensure your air hose is securely attached.
- Locate and flip the power switch to the “On” position.
- Note the automatic pressure switch for operation.
Let’s walk through exactly how to get your Bostitch air compressor powered up, step by step.
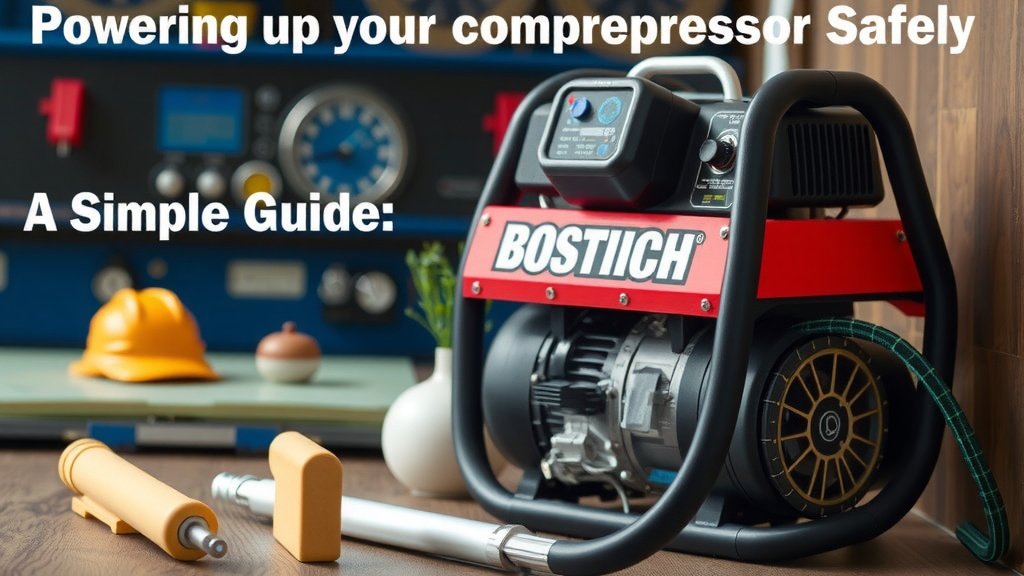
Powering Up Your Bostitch Air Compressor: A Simple Guide
Getting your Bostitch air compressor running is a straightforward process. You just need to follow a few key steps to ensure it powers on correctly. We’ve broken down the common methods for most Bostitch models. This guide will help you get your compressor ready for action in no time.
Before You Flip the Switch: Essential Checks
Safety and proper setup are key before you even think about turning on your compressor. Taking a moment for these checks will prevent potential issues down the line. Think of it like checking your oil before a long road trip.
Checking Your Power Source
First things first, you need to ensure your compressor has the right juice. Most Bostitch compressors need a standard 120-volt grounded electrical outlet. Using an extension cord? Make sure it’s heavy-duty and rated for the amperage your compressor requires. A cord that’s too thin can overheat and pose a fire hazard. We found that using the manufacturer-recommended cord length and gauge is best for performance and safety.
Inspecting the Air Hose Connection
Your air hose needs to be securely attached before you start the compressor. A loose connection can lead to air leaks, reducing efficiency. It can also cause a sudden burst of air when you least expect it. Ensure the coupler on your hose is firmly seated on the compressor’s air outlet fitting. You should hear a distinct click or feel a solid lock when it’s properly connected. Double-checking this ensures a **tight seal**.
Understanding the Pressure Switch
Many Bostitch air compressors feature an automatic pressure switch. This clever device acts like a thermostat for your air pressure. It tells the motor when to turn on to build pressure and when to turn off once a set level is reached. You’ll usually find it near the motor or on top of the tank. It often has a “red off” and “blue on” button, or a simple lever. Knowing its location helps you understand how your compressor will **operate automatically**.
The Steps to Turning On Your Bostitch Compressor
Once your preliminary checks are complete, you’re ready for the main event: powering up. It’s usually a simple sequence.
Locating the Power Switch
The power switch is your main control for turning the compressor on and off. On many Bostitch models, you’ll find it prominently displayed. It might be a toggle switch, a push button, or a lever. Look near the motor housing or on the control panel. Some units have a combined switch and circuit breaker. Consult your owner’s manual if you’re having trouble locating it. It’s often **easy to spot** once you know where to look.
Engaging the Power Switch
With the power source confirmed and the hose connected, it’s time to flip the switch. For most toggle or lever switches, you’ll simply push it to the “On” or “I” position. If your compressor has a separate pressure switch with an on/off button, make sure that is also in the “On” position. You should hear the compressor motor start up shortly after you engage the power. This initial startup is usually **the loudest part** of the process.
The Role of the Pressure Switch in Operation
Once powered on, the pressure switch takes over. As the compressor pumps air, the pressure inside the tank builds. The pressure switch monitors this. When the air pressure reaches the cut-off level (often around 125-150 PSI for typical models), it will automatically shut off the motor. Later, when you use air and the pressure drops, the switch will sense this and restart the motor to **replenish the air supply**.
Manual Start vs. Automatic Operation
Some older or more basic Bostitch models might not have an automatic pressure switch. In these cases, you might have a manual switch that you need to turn on and off yourself. You’d start the compressor, let it build pressure, and then manually turn it off. You’d then have to monitor the pressure gauge and turn it back on when needed. However, most modern Bostitch compressors are designed for **automatic convenience**.
What to Expect When It Starts
The initial startup of your Bostitch air compressor is an important moment. Pay attention to what happens next.
The Sound of Power
You’ll hear the motor kick in. It’s a distinct, often loud, humming or buzzing sound. This is completely normal. The compressor will begin to draw air and compress it into the tank. Many experts say that the motor noise should be consistent and steady. Any rattling or grinding sounds might indicate a problem that needs **further inspection**.
Monitoring the Pressure Gauge
As the compressor runs, keep an eye on the pressure gauge. This gauge shows you how much air is currently stored in the tank. You’ll see the needle steadily climb as the compressor works. This is your visual confirmation that the compressor is **functioning correctly** and building pressure. Most gauges go up to around 200 PSI.
The Automatic Shut-Off
Listen for the motor to stop on its own. This is the pressure switch doing its job. The sound will cease, and the pressure gauge will hold steady. This indicates the tank is full and the compressor has reached its cut-off point. This automatic shut-off is a key feature for both **efficiency and safety**.
Post-Startup Checklist
After your compressor has successfully powered on and shut off automatically, do a quick final check.
- Confirm the power switch is still in the “On” position (if applicable).
- Ensure the pressure gauge is holding its pressure.
- Listen for any unusual noises.
- Check that the air hose connection is still secure.
- Verify the compressor isn’t overheating.
Troubleshooting Common Startup Issues
What if your compressor doesn’t start? Don’t panic, there are a few common culprits.
No Power at All
If you hear absolutely nothing, start with the basics. Is it plugged in securely? Is the outlet working (try plugging in a lamp)? Is the circuit breaker for that outlet tripped? Did you check if there’s a separate main power switch that might be off? Sometimes, a **simple reset** of the circuit breaker is all that’s needed.
Motor Tries to Start, Then Stops
This often happens when there’s still residual pressure in the tank from a previous use. Many compressors have a “check valve” that can leak slightly. If there’s pressure when you try to start, the motor struggles. You might see the “red off” button on the pressure switch pop out. Try pressing the red button firmly to reset it. Some models have a manual drain valve you can briefly open to release a bit of pressure. This often resolves the **”hard start” issue**.
Pressure Not Building
If the motor runs but the pressure gauge doesn’t climb, you likely have an air leak. Check your hose connection again. Look for leaks around the tank fittings or at the compressor’s intake. A faulty check valve could also be the cause, allowing air to escape back out. Many manufacturers recommend replacing a faulty check valve for **optimal performance**.
Conclusion
You’ve now learned the essential steps to safely and effectively turn on your Bostitch air compressor. We covered everything from checking your power source and air hose connection to understanding the automatic pressure switch. Remember to always perform these checks before powering up. This ensures your compressor runs smoothly and reliably for all your projects. The next time you need compressed air, you’ll be ready to get to work with confidence. Just follow these simple steps, and you’ll be powering your tools in no time!
Frequently Asked Questions
What if my Bostitch air compressor doesn’t turn on at all?
First, double-check that it’s plugged securely into a working outlet. Test the outlet with another device, like a lamp. Also, ensure the circuit breaker for that outlet hasn’t tripped. Sometimes, a simple breaker reset is all that’s needed.
Why does my compressor motor try to start but then stop immediately?
This “hard start” often happens if there’s residual pressure in the tank. The motor struggles to overcome it. Try firmly pressing the red “off” button on the pressure switch to reset it. Briefly opening the manual drain valve can also release enough pressure to help it start.
How do I know if my Bostitch compressor is building pressure correctly?
Keep an eye on the pressure gauge after the motor starts. You should see the needle steadily climb as air is pumped into the tank. If the gauge doesn’t move or stays at zero, it indicates a problem like an air leak or a faulty check valve.
Is it normal for my Bostitch air compressor to make a loud noise when it starts?
Yes, the initial startup noise is completely normal. You’ll hear the motor engage, which is often a loud humming or buzzing sound. This is the compressor beginning to compress air. Listen for consistency; any rattling or grinding could signal an issue.
Do I need to manually turn off my Bostitch compressor after it builds pressure?
Most modern Bostitch air compressors have an automatic pressure switch. This switch monitors the tank pressure and will automatically shut off the motor once a set level is reached. You only need to manually turn it off if your model lacks this feature or when you’re finished using it.