Air Compressor Nail Gun Guide: Simple Steps for Use
Using an air compressor nail gun is surprisingly straightforward once you know the basic steps. You’ll want to connect your air hose to both the compressor and the nail gun, set the correct pressure, and then pull the trigger while holding the nose of the gun firmly against your material. Getting this right means your projects will come together much faster and with less effort, making DIY projects a breeze.
It’s smart to understand the different types of nail guns out there, as they’re designed for specific jobs. Whether you’re framing a house or adding trim, the right tool and proper setup will save you time and prevent frustration. Many people find success by starting with simpler projects to get a feel for the tool before tackling bigger tasks. Safety is always number one, so we’ll cover that too.
- Connect the air hose securely.
- Adjust the compressor’s pressure settings.
- Always wear safety glasses.
- Test fire on scrap wood first.
Let’s walk through exactly how to get your air compressor nail gun ready to go and how to use it safely and effectively for your next project.
“`htmlGetting Started with Your Air Compressor Nail Gun
You’re ready to speed up your projects! Using an air compressor nail gun is a fantastic way to drive nails quickly and efficiently. It might seem a bit intimidating at first, but it’s really quite manageable once you get the hang of it. We’ll guide you through each step so you feel confident.
Understanding the Basics of Air Compression
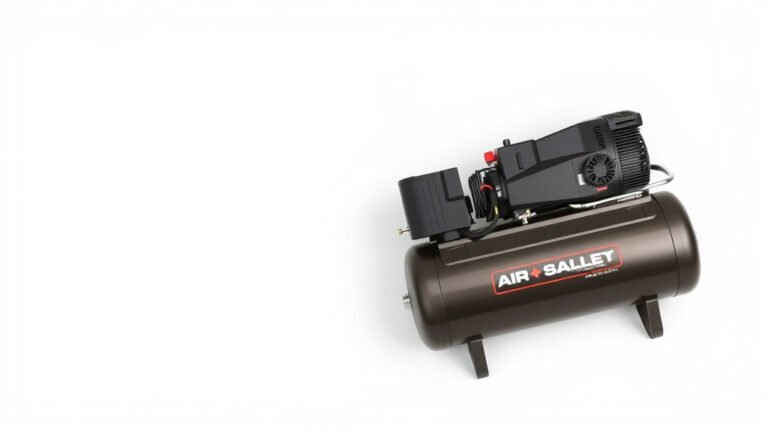
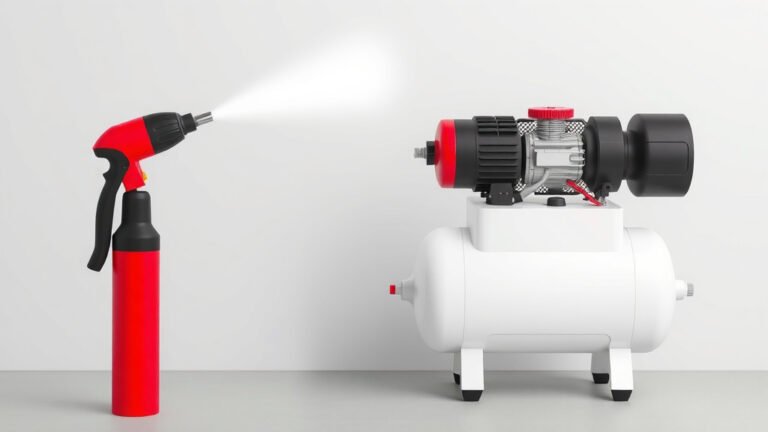
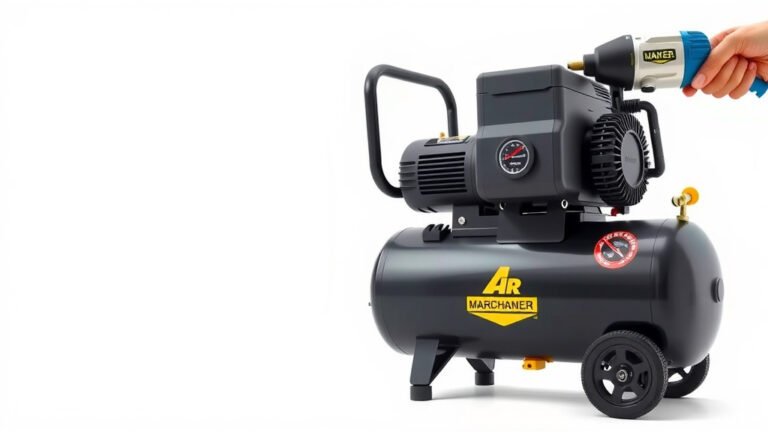
An air compressor nail gun works by using compressed air to power the tool. The compressor stores air at high pressure. When you pull the trigger on the nail gun, a valve opens. This releases a burst of that compressed air. This air pushes a piston, which then drives the nail into your material. It’s a neat system that makes nailing much easier than using a hammer for many tasks. Choosing the right gallon air compressor is crucial for your nail gun; our guide reviews the best options for home use.
What Pressure Do You Need?
Setting the right air pressure is super important. Too little pressure, and your nails might not drive all the way in. Too much pressure, and you could damage your workpiece or even the nail gun itself. Most nail guns work best in the 70-120 PSI range. Always check the manual for your specific nail gun. You’ll find the recommended PSI there.
Connecting the Air Hose
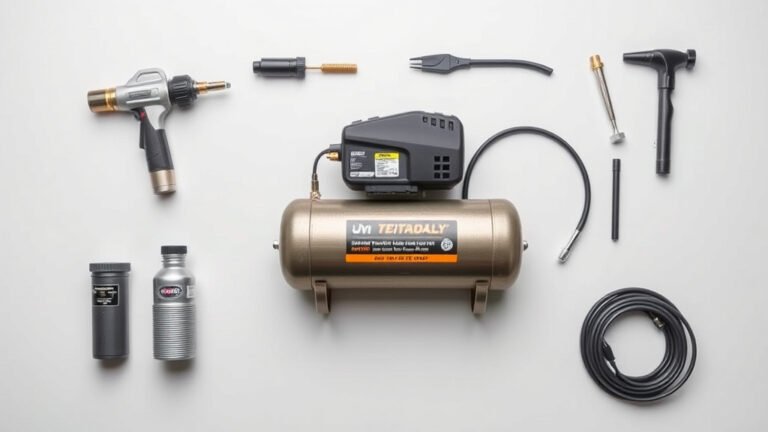
Before you can even think about firing a nail, you need to hook everything up. Make sure your air compressor is turned off and unplugged. Connect one end of your air hose to the compressor’s output valve. You’ll usually see a quick-connect fitting. Ensure it clicks securely into place. Then, attach the other end of the hose to the nail gun’s air inlet. Again, a quick-connect fitting should make this easy. A good seal is key for proper operation. Ensure your air hose is the correct size for optimal airflow; our guide to 1/4 vs 3/8 air compressor hose explains the differences.
Preparing Your Nail Gun for Action
Once your air hose is connected, it’s time to get the nail gun ready. This involves loading nails and ensuring everything is set up correctly. Don’t rush this part; precision here pays off.
Loading the Nails
Nail guns use magazines to hold the nails. These magazines are typically found on the side or underneath the gun. You’ll need to slide open the magazine cover. Then, insert a strip of the correct type and size of nails. Make sure they are seated properly and aligned. Slide the cover shut until it clicks. Some guns have a spring-loaded mechanism that helps feed the nails. You’ll want to be sure the nails are snug.
Setting the Depth Adjustment
Many nail guns have a depth adjustment feature. This lets you control how deep the nail is driven into the wood. You can usually find a dial or a small lever near the nose of the gun. For basic tasks, start with a medium setting. You can always tweak it later. For example, if you’re working with soft pine, you might need a shallower setting. Hardwood might require a deeper setting. Experimentation is your friend here.
Safety First, Always!
Using a nail gun involves some risk, so safety is non-negotiable. Think of safety gear as your trusty sidekick. It protects you so you can focus on the job. Many experts stress the importance of proper protective equipment (Occupational Safety and Health Administration).
Eye Protection is Mandatory
This is the most critical safety rule. Always wear safety glasses or goggles. Small pieces of wood or metal can fly off at high speeds. They can also ricochet. Your eyes are precious, and a simple pair of safety glasses can prevent a serious injury. Make it a habit to put them on *before* you even plug in the compressor.
Hearing Protection is Wise
Nail guns can be quite loud. Prolonged exposure to loud noise can cause hearing damage. We found that wearing earplugs or earmuffs is a good idea, especially if you’ll be using the nail gun for an extended period. It makes the job more comfortable and protects your hearing for the future.
Keep Fingers Away from the Trigger and Nose
Never point the nail gun at yourself or anyone else. Keep your finger off the trigger unless you are actively driving a nail. Also, be mindful of where the nose of the gun is. Many nail guns have a safety tip that must be pressed against the material before the nail will fire. However, don’t rely solely on this. Treat every nail gun as if it can fire at any moment.
Putting Your Nail Gun to Work: Step-by-Step
Now comes the exciting part: actually using the nail gun! Follow these steps to fire your first nail.
Test Fire on Scrap Material
Before you hit your main project, always test fire the nail gun on a piece of scrap wood. This is like a practice run. It helps you confirm the pressure settings and depth adjustment are correct. You don’t want to discover an issue when you’re halfway through attaching a valuable piece of trim. Make sure the nail drives in cleanly and to the desired depth.
Positioning and Firing
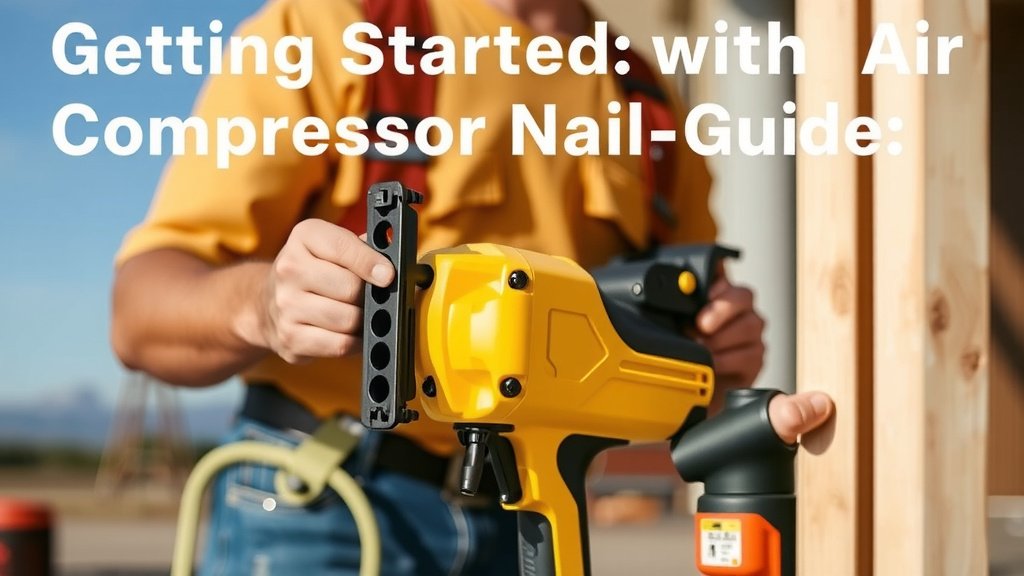
Place the nose of the nail gun firmly against the surface where you want to drive the nail. Ensure the safety contact tip is pressed down. Once it’s properly positioned, pull the trigger. You should hear the tool fire and feel a slight recoil. The nail will be driven into the wood. You’ll get a feel for the right amount of pressure needed to hold the gun steady.
Sequential vs. Contact Firing Modes
Some nail guns offer different firing modes. The most common are sequential and contact (or “bump”) firing. Sequential firing means you must pull the trigger for each nail. This offers the most control. Contact firing allows you to drive nails rapidly by holding the trigger down and “bumping” the nose against the wood. For most general tasks, sequential firing is safer and more precise. Many experts recommend using sequential firing for beginners (National Safety Council).
Troubleshooting Common Issues
Even with careful setup, you might run into minor hiccups. Here are a few common problems and how to fix them.
Nails Not Firing
If the nail gun isn’t firing, first check the air pressure. Is it too low? Is the air hose connected securely? Is there a nail jammed in the firing mechanism? You might also need to check if the safety tip is being depressed properly against the wood. A lack of air is often the culprit.
Nails Not Driving Fully
This usually means the air pressure is too low. Increase the PSI on your compressor. It could also be that your material is too hard. If you’ve increased the pressure and the nails still aren’t going in, your compressor might not be powerful enough for that specific task or material. Ensure you’re using the correct type of nails for your gun and project.
Jamming Issues
Nail jams can happen. If a nail gets stuck, turn off the air compressor and disconnect the air hose. Consult your nail gun’s manual for specific instructions on how to clear jams. Often, it involves opening the nose of the gun and carefully removing the jammed nail with pliers. Never force it.
Quick Checklist for Success
Here’s a quick rundown to ensure you’re ready to go:
- Double-check air hose connections are secure.
- Verify the correct nail size and type are loaded.
- Ensure safety glasses are on and secure.
- Set the depth adjustment to a medium setting initially.
- Test fire on scrap wood to confirm settings.
- Keep fingers off the trigger until ready to fire.
Conclusion
You’ve learned the essential steps to safely and effectively use your air compressor nail gun. From setting the right pressure and connecting your hose to loading nails and firing them precisely, you’re now equipped to tackle projects with confidence. Remember, safety is your top priority, so always wear your eye and ear protection. Getting the hang of the depth adjustment and firing modes will make your work look professional. Now, go ahead and put your new skills to the test on your next DIY build!
Frequently Asked Questions
How do I know if my nail gun is getting enough air?
If your nails aren’t driving in fully, it’s usually a sign of low air pressure. You should also feel a strong burst of air when the gun fires. Check your compressor’s gauge and ensure the air hose is securely connected to both the compressor and the nail gun.
Can I use any type of nail with my nail gun?
No, you must use the specific type and size of nails recommended for your nail gun model. Using the wrong nails can cause jams or damage the tool. Always check your nail gun’s manual for the correct specifications.
What is the “safety tip” on a nail gun, and why is it important?
The safety tip, also called the contact trip, is the part that must be pressed against your workpiece before the nail gun will fire. This prevents accidental firing when you’re not actively nailing, adding an important layer of safety.
How do I adjust the depth of the nails?
Most nail guns have a depth adjustment dial or lever, usually located near the nose of the gun. Experiment on scrap wood by turning this adjustment. Turning it one way will drive nails deeper, and the other way will set them shallower.
My nail gun is jamming. What should I do?
First, disconnect the air supply and turn off the compressor. Consult your nail gun’s manual for instructions on how to clear jams, as it varies by model. Often, it involves opening the nose of the gun and carefully removing the jammed nail.