Stanley 1200 Air Compressor: How to Use Guide
Using your Stanley portable power 1200 air compressor is straightforward. You’ll connect your air hose, set your desired PSI, and then press the power button to inflate. It’s designed to be user-friendly for everyone.
This compact compressor is great for topping off tires on your car, bike, or even your kid’s toys. We found that having a reliable air source like this can save you time and hassle. It’s a handy tool for quick fixes and everyday needs.
- Connect your air hose securely.
- Select your target tire pressure.
- Press the power button to start.
- Disconnect and check pressure when done.
Let’s walk through exactly how to get your air compressor up and running so you can get back to what matters.
Getting Started with Your Stanley Portable Air Compressor
Ready to put that Stanley portable air compressor to work? You’ve got the right tool for lots of jobs. It’s designed to make inflating tires and other items a breeze. We’ll guide you through each step.
Understanding Your Compressor’s Components
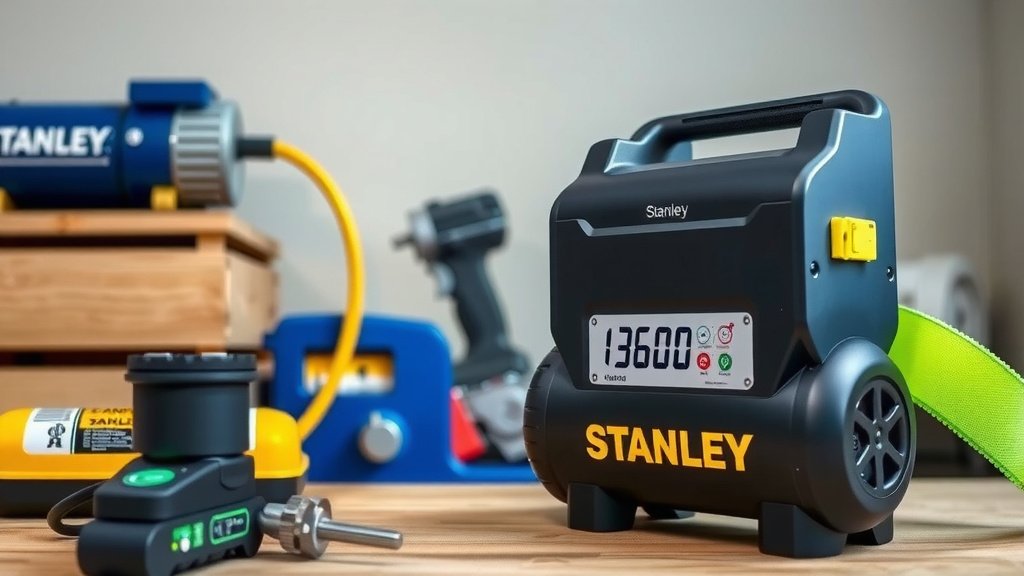
Before you even plug it in, take a moment to familiarize yourself. You’ll see the power button, usually a clear display for your pressure readings, and the port where your air hose connects. Knowing where everything is makes the process smoother.
Connecting the Air Hose
This is a key step for getting air where you need it. Make sure you have the correct This is a key step for getting air where you need it; our guide to air hose sizes can help.air hose with the right fitting for your compressor’s output. Most Stanley compressors come with a standard fitting. Simply twist it onto the compressor’s air outlet until it’s snug. You don’t need super strength here; just a firm connection.
Ensuring a Secure Seal
A loose connection is the enemy of efficient inflation. If you feel air escaping when you turn it on, it’s not sealed properly. You might need to tighten it a bit more. Some hoses have a lever to lock them in place; make sure that lever is engaged.
Setting Your Target Pressure (PSI)
This is where you tell the compressor how much air you need. You’ll see buttons to increase or decrease the displayed PSI, which stands for pounds per square inch. Find the recommended PSI for what you’re inflating. This is usually on the item itself, like a tire sidewall or a sports ball.
Where to Find Recommended PSI
For car tires, the recommended PSI is typically on a sticker inside the driver’s side doorjamb. For bicycle tires, it’s often printed right on the tire’s sidewall. For inflatable toys, check the packaging or the item itself.
Using the Controls to Set PSI
You’ll use up and down arrow buttons, or similar controls, to set your desired PSI. Many people find it helpful to set it just a pound or two higher than the target. This is because some air will escape when you disconnect the hose.
Inflating Your Tires and Other Items
Now for the main event! Connecting the hose to your tire or item is next. Most tire inflator hoses have a chuck that you attach to the valve stem. You might need to push down or flip a lever to secure it.
Attaching the Hose to the Valve Stem
Line up the hose chuck with the tire’s valve stem. Push it firmly onto the stem. You should hear a slight hiss as it connects. If there’s a lever on the chuck, flip it up to lock it in place. This seals the connection and stops air from escaping prematurely.
Dealing with Different Valve Types
Standard Schrader valves, found on most cars and bikes, are usually straightforward. If you’re working with a Presta valve on a road bike, you might need an adapter, or your hose might have a dual-head design. Always check your hose’s compatibility.
Starting the Inflation Process
With the hose securely attached and your PSI set, it’s time to power on. Press the power button. The compressor will start to build pressure. You’ll see the PSI gauge on the compressor’s display increase.
Monitoring the Pressure Gauge
Keep an eye on the display as it inflates. The compressor will automatically stop once it reaches the PSI you set. This feature is a real lifesaver, preventing over-inflation. We found that the display is usually quite accurate.
When to Stop Inflation
The compressor automatically shuts off at your target PSI. If you’re inflating something that doesn’t have an auto-shutoff, or if you want to stop manually, simply press the power button again. It’s good practice to let it run until it reaches your set PSI for consistency.
Post-Inflation Steps and Maintenance
You’re almost done! Once the compressor stops, it’s time to disconnect and check your work.
Disconnecting the Air Hose
Carefully remove the hose from the valve stem. If there was a lever, flip it back down. You might hear a small puff of air as you disconnect; this is normal. Try to do this quickly to minimize air loss.
Checking Tire Pressure Accurately
It’s a good idea to use a separate tire pressure gauge, if you have one, to confirm the reading. Sometimes, a bit of air escapes during disconnection. If it’s a pound or two low, you can reconnect and top it off. Many experts recommend checking tire pressure when tires are cold (Research Institute of Automotive Engineers).
Storing Your Compressor
When you’re finished, turn the compressor off completely. Unplug the power cord. Coil the air hose neatly and store it with the compressor. Keep the unit in a dry place, away from extreme temperatures. Proper storage helps extend its lifespan.
Quick Maintenance Checklist
Here’s a simple checklist to keep your compressor in top shape:
- Wipe down the unit after each use.
- Check the power cord for damage.
- Ensure the air filter (if accessible) is clean.
- Store it in a cool, dry location.
- Test it periodically to ensure it’s working.
Conclusion
You’ve now got a clear roadmap for using your Stanley portable power 1200 air compressor. We walked through connecting your hose, setting the precise PSI, and safely inflating tires and other items. Remember, a secure connection and checking your pressure afterward are key steps. Your compressor is a handy tool for quick fixes, and following these steps will help you get the most out of it. Now, go ahead and put it to good use!
Frequently Asked Questions
How do I know if my Stanley air compressor is working properly?
Listen for the compressor motor to start when you press the power button. You should also see the pressure gauge increase on the display. If you hear air hissing and the gauge doesn’t move, check your hose connection for a secure seal.
Can I use this compressor for inflating larger items like air mattresses?
While this model is excellent for tires and smaller inflatables, it might be slow for very large items. For larger air mattresses, you might want to check if your compressor came with specific adapters. If not, consider if its CFM (Cubic Feet per Minute) rating is sufficient for that job.
What should I do if the compressor stops working mid-inflation?
First, check if the unit has overheated. Many have thermal protection and will shut off. Let it cool down for 15-20 minutes before trying again. Also, ensure it’s properly plugged into a functioning power source.
Is it okay to leave the compressor running unattended?
No, you should always supervise your Stanley air compressor while it’s running. While it has an auto-shutoff feature, unexpected issues can arise. Keep an eye on the pressure gauge and the unit itself for safety.
How often should I check the air filter on my compressor?
It’s a good idea to inspect the air filter periodically, especially if you use the compressor frequently or in dusty environments. A dirty filter can reduce performance. Wipe it clean or replace it according to your compressor’s manual for optimal airflow.