How to Change Your Honeywell Air Purifier Filter
Changing the filter in your Honeywell air purifier is simpler than you might think! You can typically complete the process in under 10 minutes. Just remember to turn off and unplug your purifier before you start for your safety. This quick maintenance is key to keeping your air fresh.
Regular filter changes ensure your Honeywell air purifier continues to effectively capture dust, pollen, and other airborne irritants. Many experts recommend changing filters every 6-12 months, depending on your home environment and purifier usage. Neglecting this can reduce its performance and air-cleaning power.
- Turn off and unplug the purifier.
- Locate and open the filter cover.
- Remove the old filter.
- Insert the new filter.
- Close and secure the cover.
Ready to breathe easier? Let’s walk through how to change your Honeywell air purifier filter, step by step.
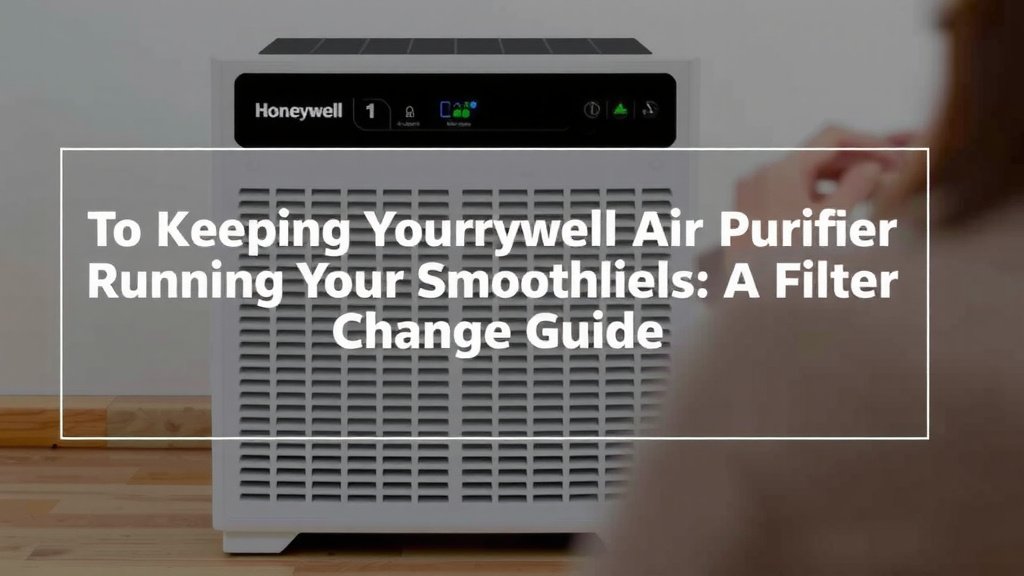
Keeping Your Honeywell Air Purifier Running Smoothly: A Filter Change Guide
Your Honeywell air purifier is a fantastic tool for cleaner air. But like any hardworking appliance, it needs a little TLC. Changing the filter is perhaps the most important maintenance task you’ll do. It ensures your machine keeps trapping allergens and dust effectively. Don’t worry, it’s a straightforward process. We’ll guide you through it, step by step.
When Should You Change Your Honeywell Air Purifier Filter?
Knowing when to swap out your filter is key. It’s not a one-size-fits-all answer. Several factors influence how often you’ll need to do this. Your air quality, how much you run the purifier, and even the type of filter all play a role.
Understanding Filter Lifespan Indicators
Many Honeywell models come with a helpful indicator light. This light will typically turn red or yellow when it’s time for a new filter. This is your purifier’s way of telling you, “Hey, I need some fresh parts!” Always consult your specific model’s manual for the exact meaning of these lights.
Factors Affecting Filter Replacement Frequency
Beyond the indicator light, consider your environment. Do you have pets? Lots of pollen in your area? Live near a busy road? These conditions can mean your filter gets dirty faster. Many experts suggest replacing filters every 6 to 12 months for optimal performance. For instance, if you run your purifier 24/7 in a dusty home, you might need to change it sooner. Conversely, light use in a cleaner environment might stretch the filter’s life.
| Usage Level | Recommended Replacement Interval | Notes |
|---|---|---|
| Heavy (24/7 use, pets, allergies) | Every 6 months | Filter may appear visibly dirty sooner. |
| Moderate (12-18 hours/day, some dust) | Every 9 months | Monitor indicator lights closely. |
| Light (less than 12 hours/day, clean environment) | Every 12 months | Check filter condition visually between changes. |
Gathering Your Supplies Before You Start
Before you dive in, make sure you have everything ready. This will make the process quick and painless. Having your new filter on hand is the most important step. You don’t want to start this job only to realize you don’t have the replacement.
Choosing the Right Replacement Filter
It’s essential to use the correct filter for your specific Honeywell model. Honeywell offers various types of filters designed for different needs. You might have HEPA filters for fine particles or activated carbon filters for odors. Using an incompatible filter won’t clean your air properly. It could even damage your purifier. Always check your purifier’s manual or the old filter itself for the correct part number. You can usually find this on the side of the filter.
What Else Will You Need?
For most Honeywell purifiers, you won’t need many tools. In fact, you might not need any! The filter cover usually unlatches easily. Sometimes, a clean, dry cloth can be handy. You might want to give the inside of the purifier a quick wipe-down while the filter is out. Just make sure it’s completely dry before putting the new filter in.
Step-by-Step: Changing Your Honeywell Air Purifier Filter
Now for the main event! Let’s get that old filter out and a fresh one in. Remember, safety first! Always unplug your air purifier before you begin. This prevents any accidental power surges or starts.
Step 1: Power Down and Unplug
This is non-negotiable. Go to the power cord and pull it directly from the wall outlet. Do not rely on just turning off the power button. A physical disconnect ensures your safety. It also protects the electronics inside your purifier. Give it a moment to ensure all power has dissipated.
Step 2: Accessing the Filter Compartment
Each Honeywell model has a slightly different design. However, most have a filter cover on the back or side. Look for latches, clips, or a simple seam. You might need to gently press a release tab or slide a panel. Some units require you to lift the top off. Your user manual will show you the exact location and method for your model. Don’t force anything; if it feels stuck, re-check your manual.
Step 3: Removing the Old Filter
Once the cover is open, you’ll see the filter. It might be quite dusty or discolored. This is a good sign it’s been doing its job! Gently pull the old filter straight out. Be careful not to shake loose any accumulated dust. You can immediately place the old filter into a trash bag to keep your workspace clean. Some people like to do this outside to avoid spreading dust.
Step 4: Installing the New Filter
Take your new, clean filter out of its packaging. Note any directional arrows on the filter. These usually indicate airflow direction. Line up the new filter with the space inside the purifier. Slide it in gently until it sits snugly. Make sure it’s seated correctly. An improperly installed filter won’t work effectively. It might even cause air to bypass the filter material.
Step 5: Securing the Filter Cover
Now, put the cover back on. Align it with the unit and re-engage any latches or clips. You should hear or feel a click when it’s properly secured. Double-check that there are no gaps around the edges. A good seal is vital for efficient air purification. If the cover doesn’t seem to fit right, remove it and try again. Ensure the filter is fully seated before attempting to close the cover.
Step 6: Power Up and Reset (If Applicable)
Plug your air purifier back into the wall outlet. Turn it on. If your model has a filter reset indicator light, you’ll likely need to reset it now. This tells the purifier that a new filter has been installed. Consult your manual for instructions on how to reset the filter indicator for your specific model. It often involves pressing and holding a button for a few seconds.
A Quick Filter Change Checklist
To make sure you haven’t missed anything, here’s a quick rundown:
- Power Off and Unplug: Always disconnect from the wall.
- Locate Filter Cover: Find where the filter is hidden.
- Open Cover Carefully: Use latches or slides as needed.
- Remove Old Filter: Slide it out gently.
- Insert New Filter: Align correctly and push it in.
- Close and Secure Cover: Ensure a tight seal.
- Plug In and Power On: Get your purifier running again.
- Reset Filter Indicator: If your model has one.
And that’s it! You’ve successfully changed your Honeywell air purifier filter. It’s a simple task that makes a big difference in the air you breathe. Keep up with this maintenance, and your purifier will serve you well for a long time. You’re doing a great job taking care of your home environment!
Conclusion
You’ve now successfully navigated the process of changing your Honeywell air purifier filter. Remember, this simple maintenance task is your best defense against reduced performance and ensures your purifier continues to deliver fresh, clean air. By following these steps, you’ve taken a proactive approach to your home’s air quality. Keep this routine in mind, and your Honeywell will serve you reliably for years to come. Your next step is to simply enjoy the cleaner air you’ve helped create!
Frequently Asked Questions
How often should I really check my Honeywell air purifier filter?
While manufacturer recommendations often range from 6-12 months, it’s wise to check your filter visually every 3-4 months. Factors like pets, allergies, and local air pollution can significantly shorten its lifespan. Keeping an eye on it helps you decide if a change is needed sooner than expected.
What happens if I don’t change the filter in my Honeywell air purifier?
If you skip filter changes, your purifier’s effectiveness will decrease. A clogged filter restricts airflow, making the unit work harder and consume more energy. It can also lead to dust and allergens being recirculated, defeating the purifier’s purpose.
Can I wash my Honeywell air purifier filter instead of replacing it?
Most Honeywell filters, especially HEPA and activated carbon types, are designed for single use and cannot be washed. Washing them can damage the filter media and reduce their ability to capture pollutants. Always refer to your model’s manual to confirm if a washable pre-filter exists for your unit.
My Honeywell air purifier has an indicator light. Should I rely solely on that?
The indicator light is a helpful guide, but it’s not always perfect. Environmental factors can cause the filter to clog faster than the indicator suggests. It’s best to use the indicator light as a primary reminder and supplement it with occasional visual checks of the filter’s condition.
Where can I find the correct replacement filter for my specific Honeywell air purifier model?
The most reliable place to find the correct filter is your Honeywell air purifier’s user manual. You can also often find the part number printed directly on the old filter itself. Checking Honeywell’s official website or contacting their customer support are also good options.

![5 Best Dyson Air Purifier for Large Room [In 2026]](https://homeunderstandable.com/wp-content/uploads/2025/05/best-dyson-air-purifier-for-large-room-top-models-reviewed-768x384.jpg)