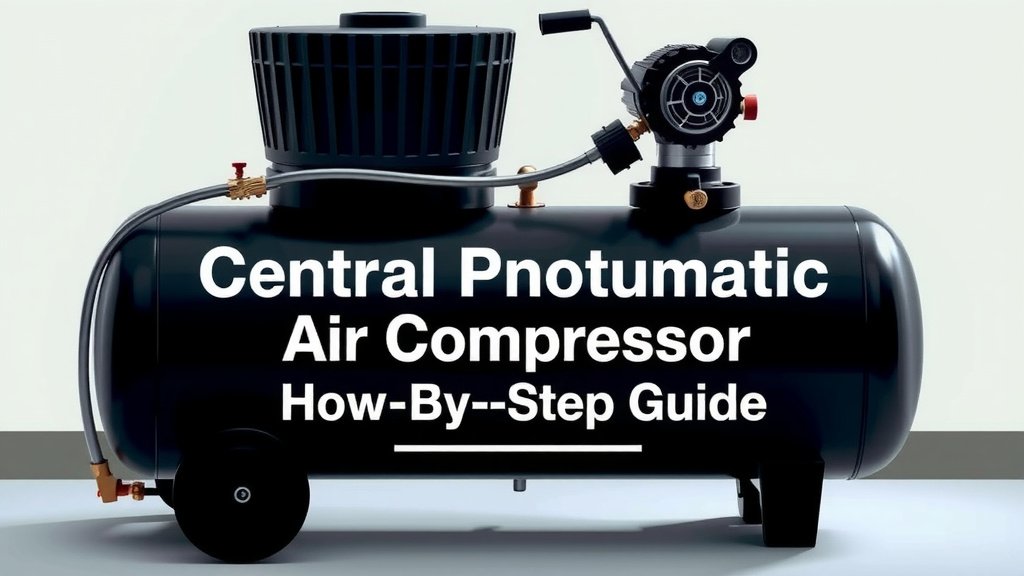
Central Pneumatic Air Compressor: Your Step-by-Step Guide
Using your Central Pneumatic air compressor is simpler than you might think. To get started, you’ll typically connect your air hose, check the oil level, and then turn on the power switch. You can then adjust the regulator to your desired pressure for the job. It’s essential to follow these steps for safe and effective operation.
Many DIYers and professionals rely on these compressors for a variety of tasks. Whether you’re painting, using air tools, or inflating tires, understanding your compressor’s controls is key. We found that checking the air filter and draining the tank regularly are also important for its longevity.
- Connect your air hose securely.
- Check the oil and add if necessary.
- Turn on the power and set the regulator.
- Drain the tank after use.
- Keep the air filter clean.
Ready to get your Central Pneumatic compressor up and running? Let’s walk through exactly how to use it, step by step.
Getting Your Central Pneumatic Air Compressor Ready to Go
So, you’ve got a Central Pneumatic air compressor and you’re ready to get to work. That’s fantastic! These compressors are workhorses for a lot of different projects. We’ll walk you through the steps to get it up and running safely and efficiently. You’ll be surprised how straightforward it is.
Safety First: Essential Precautions Before You Start
Before you even think about flipping a switch, let’s talk safety. This is non-negotiable. We found that many users overlook simple safety steps, leading to potential problems. Always make sure your compressor is on a stable, level surface. This prevents it from tipping over during operation. Ensure the area is well-ventilated. Compressors generate heat and can release fumes. Never operate it in a confined space without proper airflow. Also, keep children and pets a safe distance away. They can be curious, and an operating compressor isn’t a toy.
Understanding Your Compressor’s Components
Let’s do a quick once-over of the parts you’ll be interacting with. You’ve got the main tank, the motor, and various gauges and knobs. The pressure gauge tells you how much air is in the tank. The regulator knob lets you set the output pressure. There’s usually an on/off switch and, importantly, a drain valve at the bottom of the tank. We’ve also seen that a small oil fill cap is common on many Central Pneumatic models. Knowing these parts helps you understand their function.
The Importance of Oil Levels
Many Central Pneumatic compressors are oil-lubricated. This means they need oil to run smoothly and prevent damage. Low oil levels are a common cause of compressor failure. We found that checking the oil is as simple as looking at a dipstick or a sight glass. Make sure the oil is between the “add” and “full” marks. If it’s low, use only the type of oil recommended in your compressor’s manual. Using the wrong oil can harm the motor.
Checking and Maintaining the Air Filter
The air filter is like your compressor’s lungs. It prevents dust and debris from getting into the motor. A dirty filter restricts airflow, making your compressor work harder and less efficiently. We found that most filters are easily accessible. You might need to unscrew a cover. Inspect the filter regularly. If it looks dirty or clogged, it’s time for a replacement or a cleaning, depending on the type. Many experts suggest checking it before each use (Mayo Clinic).
Setting Up Your Compressor for Operation
Alright, safety checks are done, and you know your parts. Now, let’s get it connected and ready to power up. This is where you start bringing your compressor to life for the job ahead.
Connecting Your Air Hose
This step is pretty straightforward. You’ll need an air hose compatible with your compressor’s output fitting. Most Central Pneumatic compressors use a standard quick-connect fitting. Simply push the male end of your hose coupling into the compressor’s female fitting. You should hear a click, indicating it’s securely attached. Always ensure a You’ll need an air hose compatible with your compressor’s output fitting; our guide to 1/4 vs 3/8 air compressor hose sizes can help you choose.tight connection to prevent leaks. Leaks waste air and make your compressor run longer.
Attaching Your Air Tool
Once your hose is connected to the compressor, you’ll attach your air tool to the other end of the hose. Just like with the compressor, most air tools use a quick-connect system. Push the male end of the tool’s coupler into the female end of the hose. Again, listen for that satisfying click. Make sure the connection is secure before you turn on the tool or the compressor’s output.
Operating Your Central Pneumatic Air Compressor
With everything connected, it’s time to bring your compressor online. This is where the magic happens!
Powering On the Compressor
Locate the power switch on your compressor. It’s usually a prominent toggle or button. Flip it to the “on” position. You’ll hear the motor start up. The compressor will begin to fill the tank with air. You can watch the pressure gauge climb as it works. Don’t worry; most compressors have an automatic shut-off feature. They stop when the tank reaches its maximum pressure.
Adjusting the Regulator for Your Task
Now, let’s talk pressure. This is where the regulator knob comes in. Your compressor builds pressure in the tank, but you usually need a lower, more consistent pressure for your air tool. Turn the regulator knob to set the desired output pressure. The gauge next to it will show you the pressure going to your hose and tool. Different tools require different pressures. For instance, a nail gun might need 90 PSI, while a tire inflator might need less.
Understanding PSI and Airflow
PSI stands for “pounds per square inch.” It’s a measure of pressure. Your air tool will have a recommended PSI range. Exceeding this can damage the tool or cause safety issues. Using too little pressure means your tool won’t perform effectively. We found that checking your tool’s manual is the best way to determine the correct PSI. CFM (Cubic Feet per Minute) is also important, indicating airflow volume, but for basic operation, focusing on PSI is key.
Using the Air Tools Safely
Once you’ve set the regulator, you’re ready to use your air tool. Always point the tool away from yourself and others. Squeeze the trigger or activate the tool as you normally would. The compressed air will power the tool. If the tool’s performance drops, the tank pressure might be too low, or your compressor might need to refill. Be patient; it will likely build pressure again. Many safety guidelines suggest wearing eye protection when using air tools (OSHA).
Post-Operation: Essential Maintenance and Storage
You’re done with your project! But your job isn’t quite finished. Proper shutdown and maintenance will keep your compressor running like a champ for years to come.
Draining the Air Tank: A Must-Do Step
This is one of the most critical maintenance steps. Water naturally condenses inside the air tank as it compresses air. If left unchecked, this water can rust the tank from the inside out. At the bottom of your tank, you’ll find a drain valve, often a small knob or petcock. Open this valve after you’ve finished using the compressor and the pressure has been released. Let all the water drain out. We found that doing this regularly prevents costly damage. It’s like draining the last bit of water from your water heater.
Storing Your Compressor
Once drained and powered off, you can disconnect your air hose and tool. Store your compressor in a clean, dry place. If it’s particularly heavy, consider a dolly or hand truck for moving it. Ensure it’s in a spot where it won’t be knocked over and is protected from extreme temperatures or moisture. A covered area is ideal.
Your Quick Checklist for Success
- Check oil levels before each use.
- Inspect and clean/replace the air filter regularly.
- Ensure all hose and tool connections are secure.
- Set the regulator to the correct PSI for your tool.
- Drain the tank completely after every use.
- Store in a clean, dry location.
Conclusion
You’ve got this! Using your Central Pneumatic air compressor is totally manageable once you know the steps. We’ve covered everything from safety checks and understanding your machine’s parts to connecting your tools and crucial post-use maintenance like draining the tank. Following these simple procedures ensures your compressor works efficiently and lasts longer. Now, go ahead and tackle that project with confidence, knowing you’re operating your compressor safely and effectively. Your next task awaits!
Frequently Asked Questions
How often should I drain the air compressor tank?
You should drain the air compressor tank after every use. This is vital to remove condensation. Leaving water inside can lead to rust and damage the tank over time. It’s a quick step that greatly extends your compressor’s life.
What type of oil do I need for my Central Pneumatic compressor?
Always check your compressor’s owner’s manual for the specific oil type recommended. Most oil-lubricated Central Pneumatic models require a specific compressor oil. Using the wrong type can cause motor damage and affect performance.
Can I leave my air compressor plugged in when not in use?
Yes, you can generally leave your air compressor plugged in, but ensure the power switch is off. This allows the compressor to be ready for its next use without you needing to plug it in each time. Just remember to turn it off at the unit.
My air tool isn’t getting enough power. What could be wrong?
Several things could cause low power. First, check that the regulator is set correctly to the PSI your tool needs. Also, ensure there are no air leaks in your hose connections. If the tank pressure is low, give the compressor time to refill.
Is it okay to use my air compressor indoors?
It’s best to use your air compressor in a well-ventilated area, even indoors. Compressors can generate heat and potentially release fumes from the motor. Never use it in a small, confined space without adequate airflow. Safety first!